What if the “standard” frame you bought at a local shop is actually doing more harm to your artwork than good? We understand the frustration of finding a beautiful print only to realize it doesn’t quite fit a mass-produced frame, or seeing your favorite image obscured by dull, scratched perspex. You want your art to be a centerpiece, not a DIY project that ends in compromise. You’ll quickly see the Advantages of buying from First4frames gallery your prints already framed & delivered to your door. With various framing & mounting options. At First4Frames Gallery, we take the guesswork out of displaying your art by providing a finished product that is ready to hang the moment it arrives.
In this article, we’ll show you why our bespoke, hand-made approach offers a superior experience compared to off-the-shelf alternatives. We’ll explain how our use of professional Giclée printing and 2mm float glass ensures crystal-clear clarity that cheap plastic simply can’t provide. You’ll also learn about the care we put into our professional logistics, ensuring your gallery-quality piece reaches you in perfect condition without the stress of potential transit damage. From custom sizing to expert mounting, discover how our 20 years of craftsmanship can transform your space and protect your most cherished images.
Key Takeaways
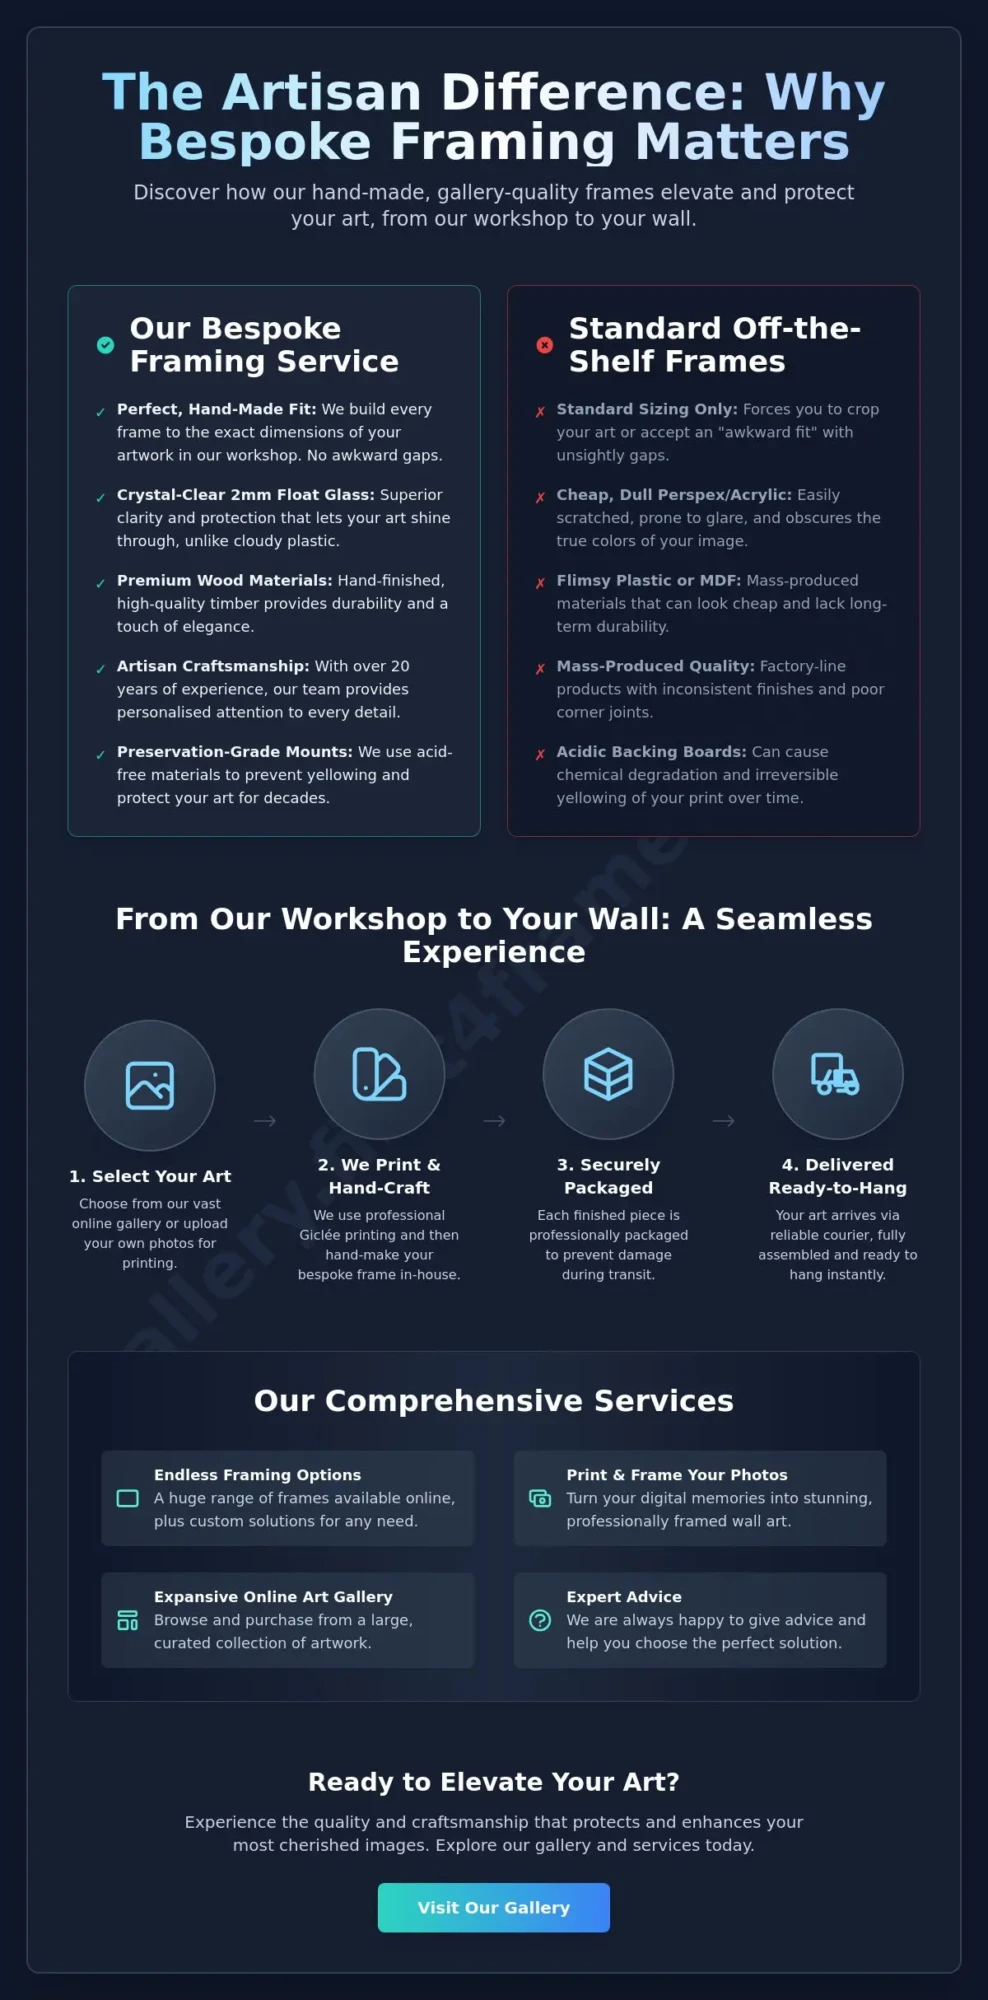
- Discover why bespoke frames eliminate the “awkward fit” of standard sizes. We hand-make every piece in our workshop to ensure a perfect marriage between the frame and your artwork.
- Learn about the superior clarity of 2mm float glass compared to dull, scratch-prone perspex. Our focus on premium materials ensures your art remains protected and visually stunning for years.
- Explore the advantages of buying from First4frames gallery your prints already framed & delivered to your door. With various framing & mounting options, you have the creative freedom to design a piece that truly complements your space.
- Understand how our professional logistics and secure packaging prevent damage during transit. We partner with reliable couriers to provide a stress-free delivery experience for every hand-made order.
- See how our one-stop-shop approach simplifies the journey from inspiration to installation. We handle everything from Giclée printing to the final polish, so your art is ready to hang immediately.
Why Choose Ready-to-Hang Framed Art Over DIY Solutions?
Choosing a frame is often an afterthought, but it’s the final step that brings your creative vision to life. A frame serves as more than just a protective and decorative edging; it’s a structural necessity that preserves the print for years to come. We’ve seen many people struggle with DIY projects that end in frustration. By choosing a professional solution, you ensure your art is handled with the respect it deserves from start to finish.
One of the primary advantages of buying from First4frames gallery your prints already framed & delivered to your door. With various framing & mounting options, you sidestep the trial-and-error of trying to match separate components yourself. We handle the technical details so you don’t have to. Our team ensures that every component is perfectly aligned, saving you time and protecting you from the hidden costs of independent framing mistakes.
To better understand the level of detail involved in professional framing, watch this helpful video:

The Pitfalls of Standard Shop-Bought Frames
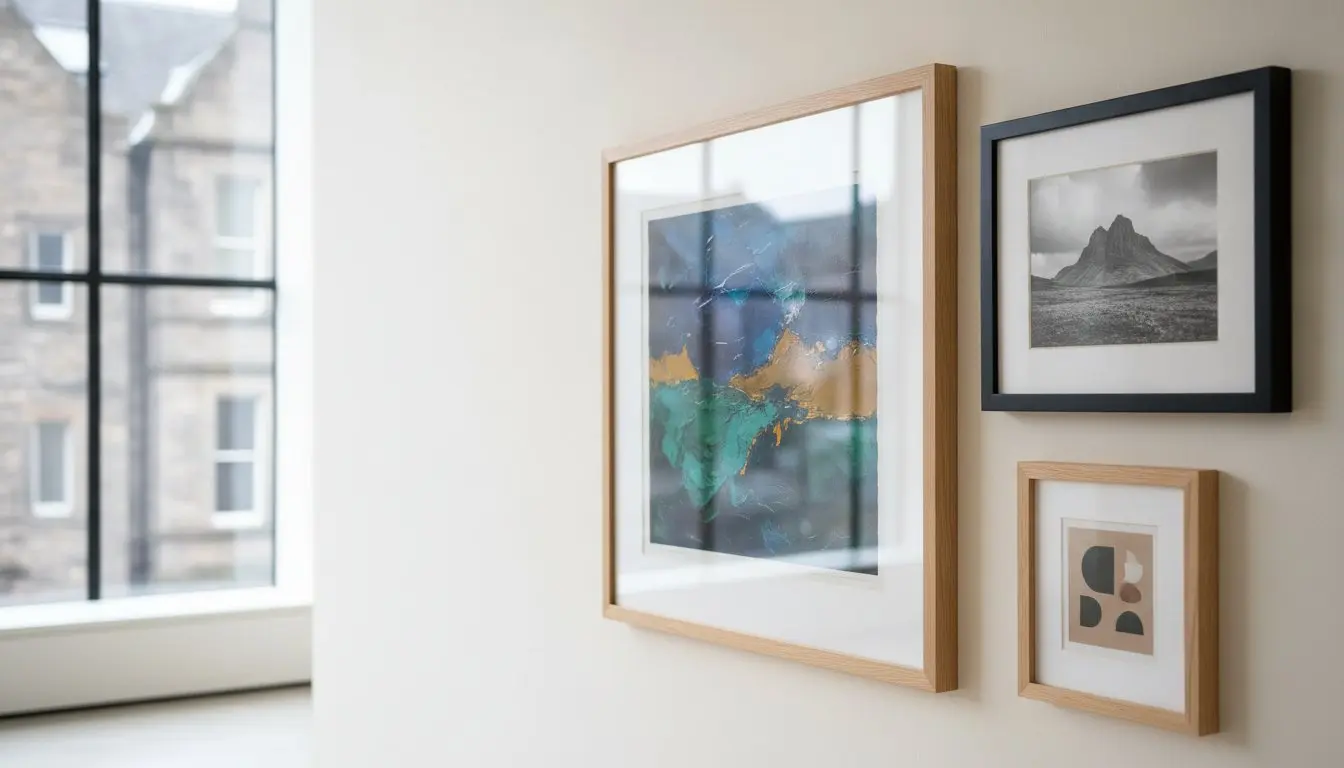
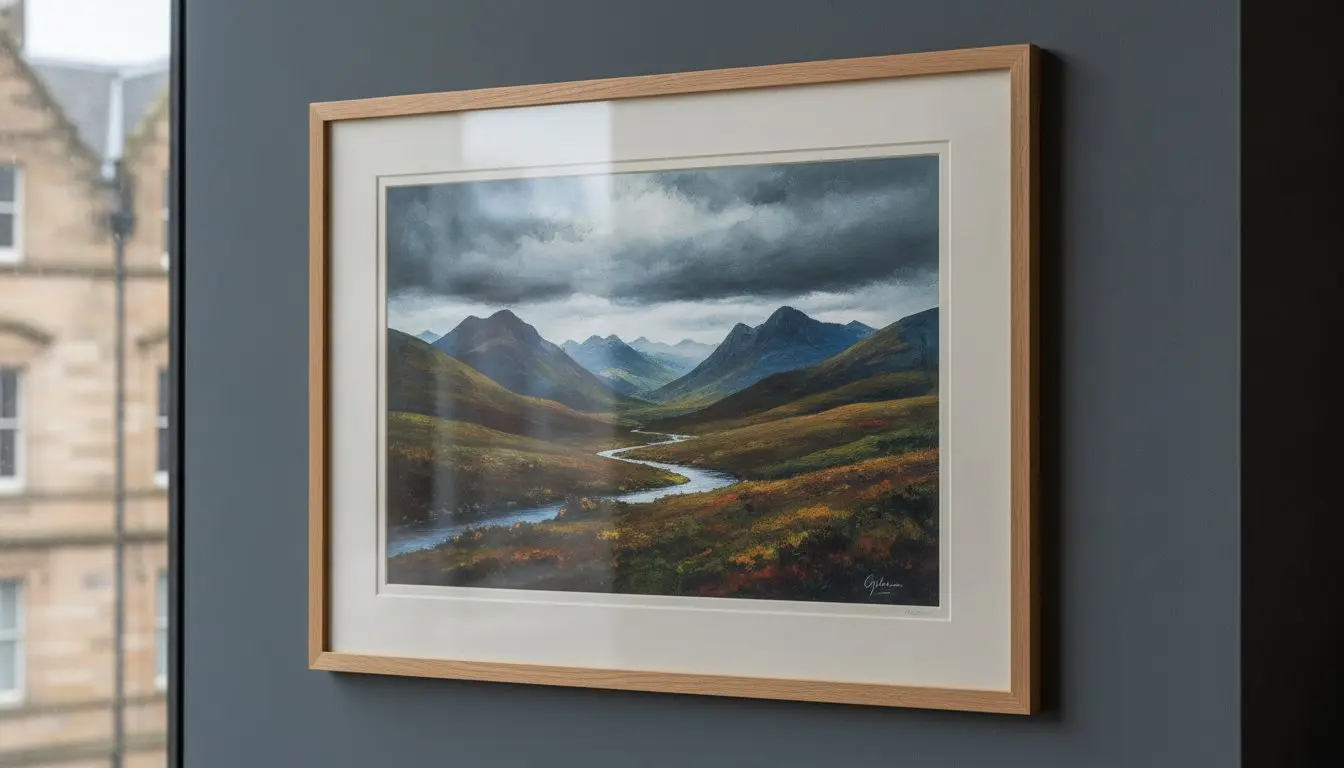
Standard frames are built for a handful of common sizes. If your print is unique, you’re forced to either crop the image or live with unsightly gaps around the edges. We eliminate this “awkward fit” by hand-making every frame to your exact specifications in our Falkirk workshop. Unlike mass-produced plastic alternatives found in high street shops, our hand-finished wood frames provide a depth and warmth that only real timber can offer. You’ll notice the difference in texture and durability immediately.
A Seamless Experience from Selection to Hanging
We’ve designed our service to be a true one-stop-shop for art lovers. You can browse our online gallery to find a new favorite piece, or use our specialized photo printing service to turn a digital memory into a physical masterpiece. Because we control both the printing and the framing process, we guarantee a perfect match every time. This integration ensures that your art is ready to hang the moment our courier arrives at your door.
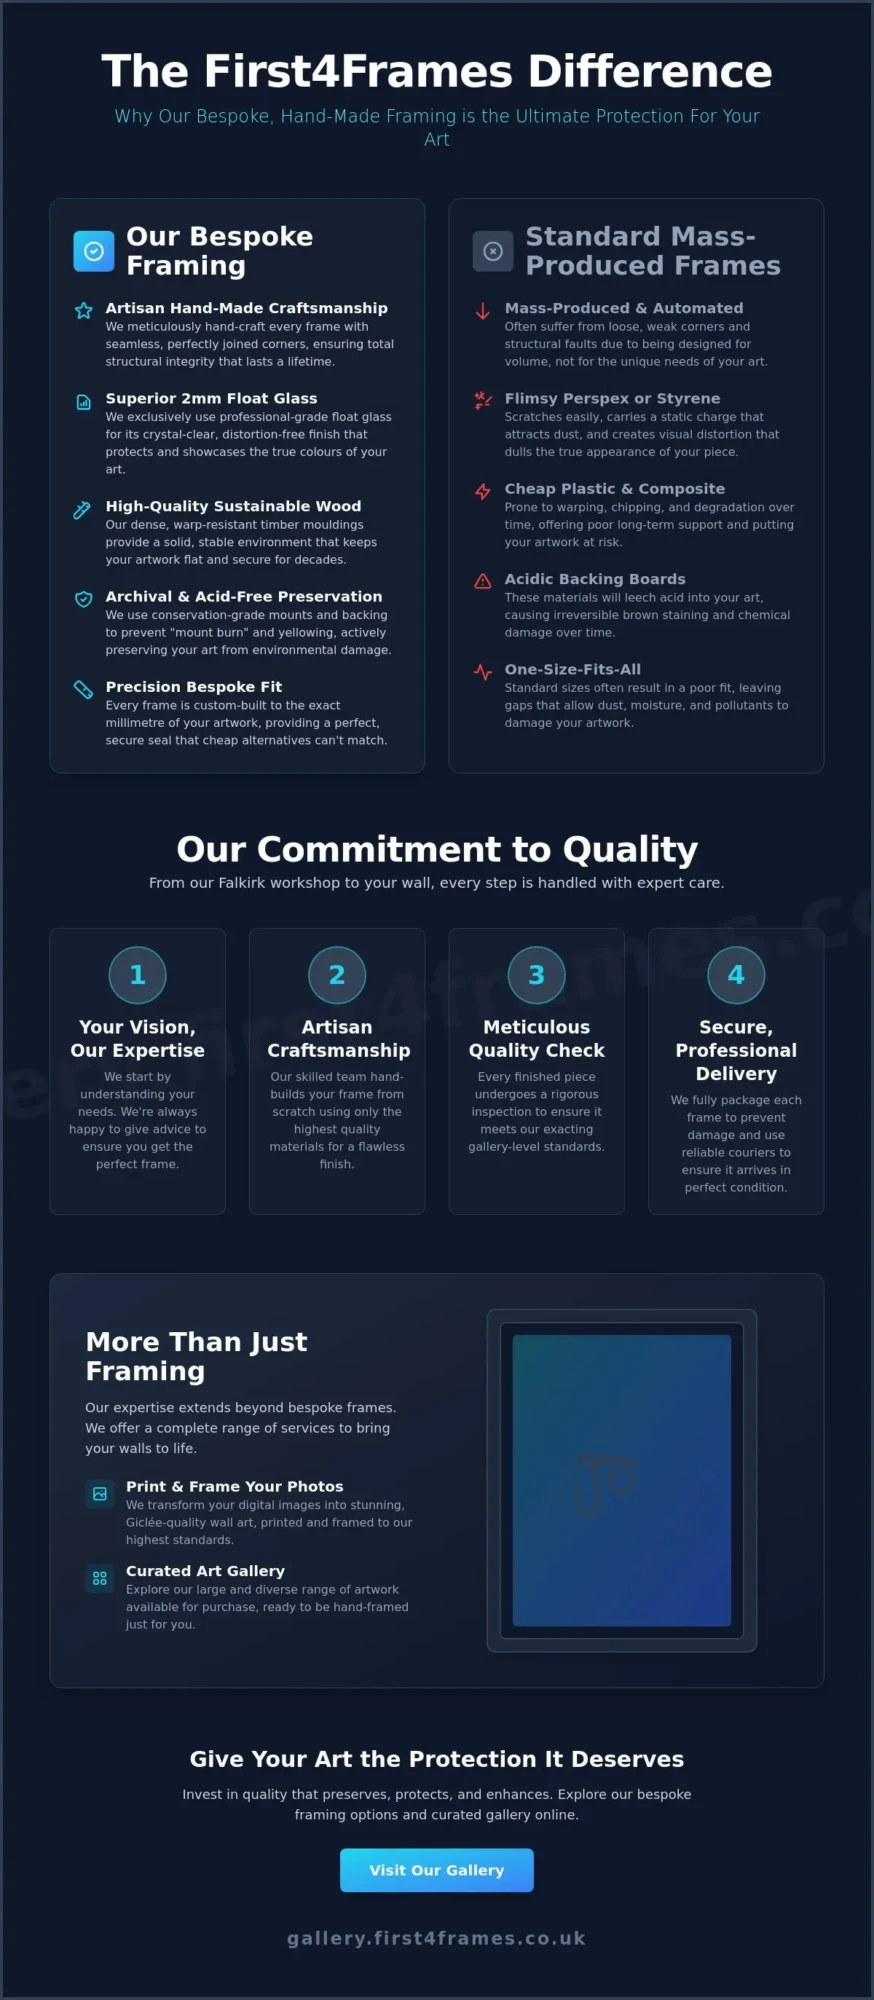
The Artisan Difference: Hand-Made Bespoke Framing vs. Mass-Produced Options
Our workshop in Falkirk isn’t a factory line; it’s a space where traditional craftsmanship meets modern precision. We don’t believe in one-size-fits-all solutions. Every piece of art has its own personality, weight, and structural requirements. That’s why we hand-make every frame to order, ensuring the corners are perfectly joined and the finish is flawless. One of the main Advantages of buying from First4frames gallery your prints already framed & delivered to your door. With various framing & mounting options is that you receive a product built specifically for your art by people who care about the result. At First4Frames Gallery, we treat every order as a unique project requiring personalized attention.
We prioritize preservation. By using high-quality woods and acid-free, preservation-grade mount boards, we align our workshop standards with the best practices for professional art handling and care. This prevents the yellowing or chemical degradation that often occurs with budget frames. We build our frames to protect your investment for decades, not just for a few months on a wall.
Why We Use 2mm Float Glass (And Why It Matters)
Glazing is often where mass-produced frames fail. Most online retailers use cheap perspex or acrylic to save on shipping costs. While lightweight, perspex is prone to static that attracts dust and scratches with even a light touch. We use 2mm float glass for its incredible clarity and scratch resistance. It ensures the vibrant colours of our Giclée prints are seen exactly as intended, without the dull or wavy finish common in plastic alternatives. It’s easier to clean and maintains its integrity over time.
Bespoke vs. Standard: A Comparison of Quality
When you analyze the Advantages of buying from First4frames gallery your prints already framed & delivered to your door. With various framing & mounting options, the quality gap is undeniable. We’ve summarized the key differences below:
| Feature | First4Frames Gallery (Bespoke) | High Street Budget (Standard) |
|---|---|---|
| Materials | Hand-finished solid woods | Plastic, MDF, or thin veneers |
| Glazing | 2mm Float Glass | Cheap Perspex or Acrylic |
| Sizing | Millimetre perfect for your art | Fixed A-sizes only |
| Mounting | Preservation-grade boards | Thin, non-archival cardboard |
Our team is always happy to give advice if you’re unsure which materials will best suit your home or specific piece of art. If you’re ready to see the artisan difference, feel free to explore our online gallery.

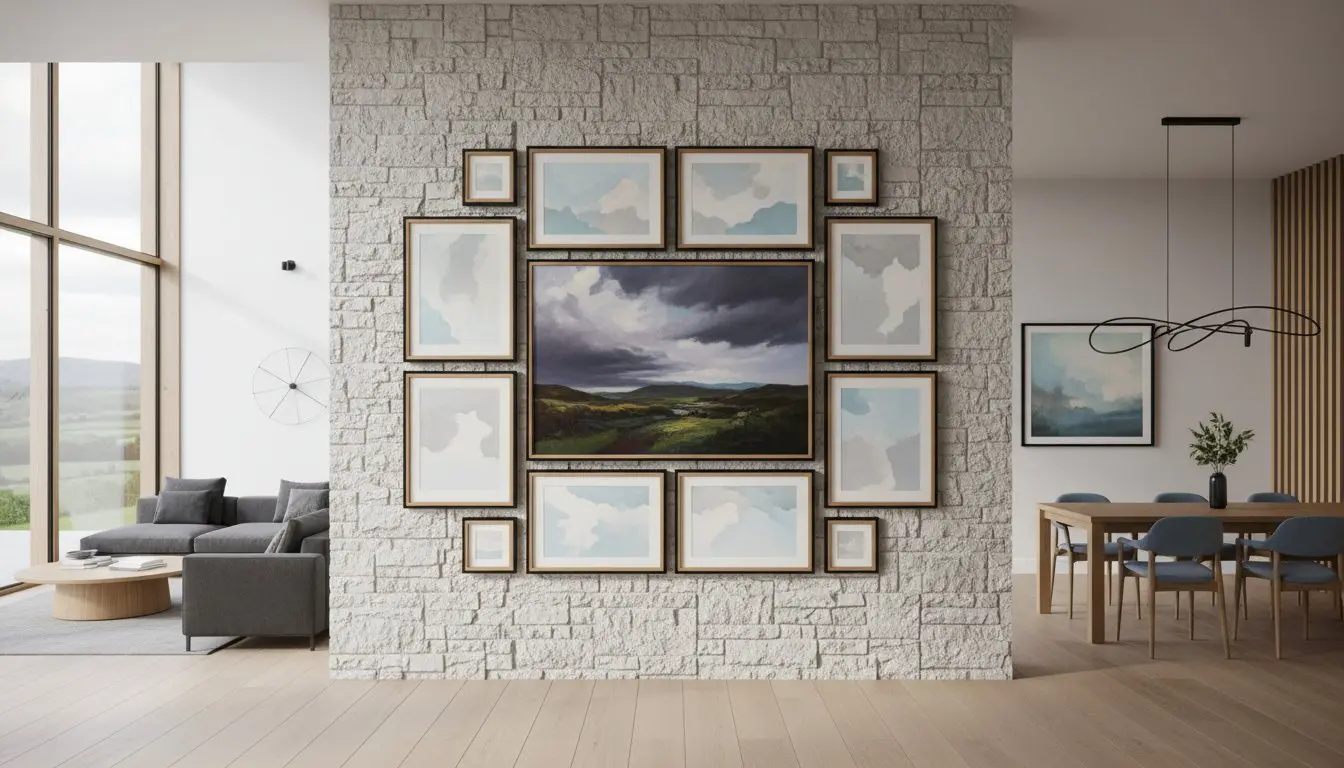
Endless Choice: Exploring Our Various Framing and Mounting Options
Choice is at the heart of what we do. While high street shops offer a handful of generic options, we provide an extensive online range that spans from minimalist modern profiles to ornate traditional styles. We believe that the frame should be a partner to the art, enhancing its story rather than distracting from it. This is why we curate a diverse selection of artwork from world-class Scottish artists like Jolomo and Matylda Konecka. Our team understands how to pair a bold landscape with a frame that highlights its unique energy.
One of the key advantages of buying from First4frames gallery your prints already framed & delivered to your door. With various framing & mounting options, is the ability to customize every detail to match your home’s decor. If you don’t see exactly what you’re looking for online, we’re always happy to give advice on unique or complex projects. Our workshop has the capacity to undertake almost any custom framing requirement you might have. We take pride in being a comprehensive solution for both individual collectors and commercial clients.
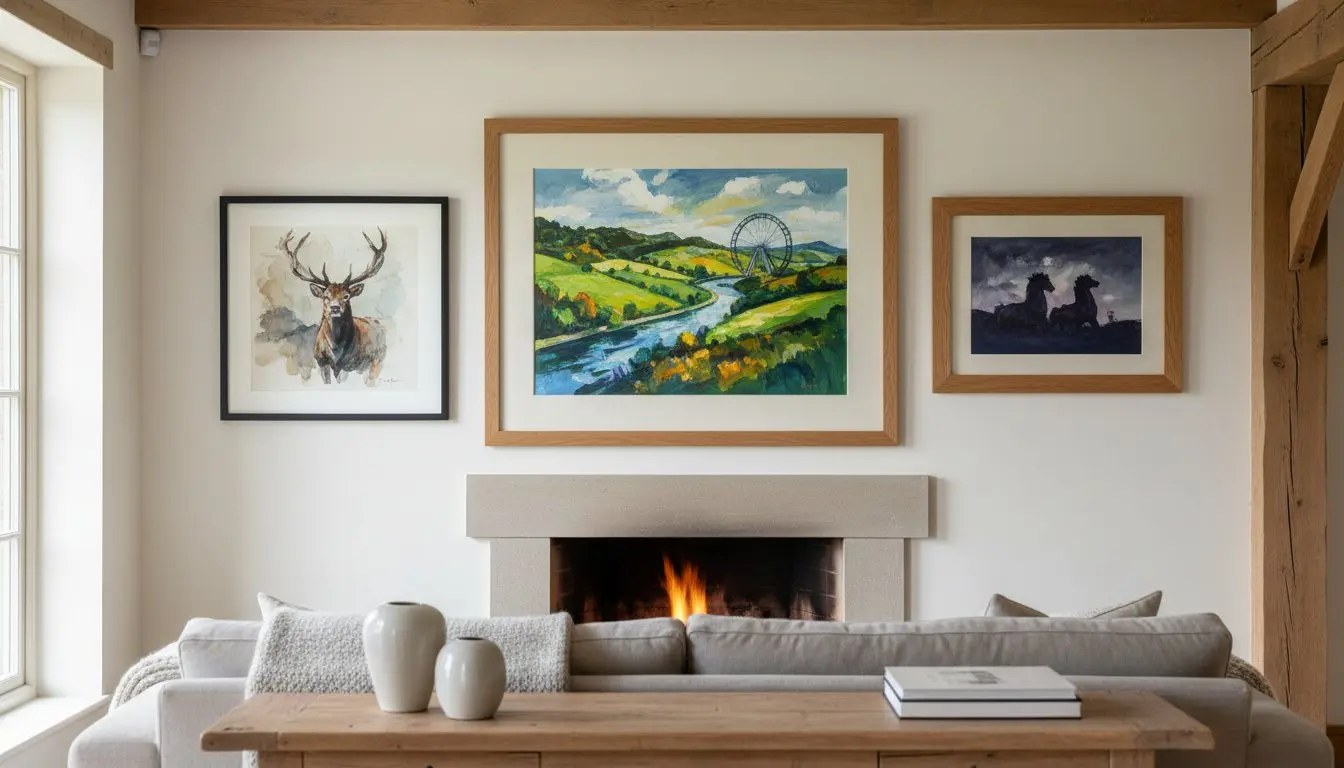
Selecting the Perfect Mount for Your Print
A mount does more than separate the art from the glass; it adds depth and creates a visual “breathing space” for the print. Different mount widths and colours can completely transform the mood of a Scottish landscape, making a piece feel more expansive or intimate. You can find more tips on identifying professional standards in our guide on choosing the best art frame shops. We use only preservation-grade materials to ensure your mount doesn’t discolour over time.
Giclée Prints: The Foundation of Our Gallery
We use Giclée printing as our gold standard for fine art reproduction. This technique utilizes archival inks and specialized papers to ensure longevity and colour fidelity that standard digital prints cannot match. Your art will maintain its vibrancy for decades without fading. To see how these high-quality prints can be displayed in your home, explore our Ultimate Guide to Scottish Wall Art.
Ready to find your next masterpiece? Browse our full collection of framed art today.
Professional Logistics: Secure Delivery to Your Door
The journey of your art doesn’t end when the final nail is driven into the frame. We treat the delivery process with the same level of care as the framing itself. One of the main Advantages of buying from First4frames gallery your prints already framed & delivered to your door. With various framing & mounting options, is the peace of mind that comes from professional handling. At First4Frames Gallery, we’ve spent over 20 years refining our logistics to ensure that your hand-made investment arrives in the same pristine condition it left our workshop. Our 4.8-star Trustpilot rating reflects our commitment to getting this final step right every time.
We partner with reliable UK couriers who understand the value of the items they carry. While delivery can take up to two weeks, this time allows us to hand-finish your order and package it with the attention it deserves. We don’t just ship boxes; we deliver carefully crafted centerpieces for your home or business. Our team is always reachable if you need an update or have specific delivery requirements for a larger commercial project.
Packaging Excellence: How We Protect Your Investment
We don’t believe in “flat-pack” style shipping. Our frames are fully assembled and ready for display. To protect them, we use a multi-layered system that starts with reinforced corner protectors to prevent impact damage. We then apply specialized wrapping to safeguard the 2mm float glass from scratches. Every parcel is custom-boxed to ensure there’s no movement during transit. This rigorous process is why we can confidently ship our premium products to any destination in the United Kingdom.
Ready-to-Hang: The Final Step in Your Creative Journey
When your parcel arrives, the creative work is already done. We include the necessary hanging hardware and clear instructions, so you aren’t left searching for the right tools. You can take your art straight from the box to the wall in minutes. If you’re unsure about the best placement or need help with a complex gallery wall, contact our team for personalized support. We’re happy to give advice and help you complete your space with confidence.
Elevate Your Art with Artisan Craftsmanship
You’ve seen how professional framing protects your investment and elevates the visual impact of your art. We don’t just provide a product; we offer a partnership rooted in over 20 years of craftsmanship. Our team in the Falkirk workshop handles every detail, from specialist Giclée printing to the final polish of our 2mm float glass. This dedication ensures your piece is a gallery-quality centerpiece from the moment it arrives. It’s about more than just a frame; it’s about preserving a story for years to come.
One of the primary advantages of buying from First4frames gallery your prints already framed & delivered to your door. With various framing & mounting options, is the sheer convenience of a bespoke, ready-to-hang solution. You skip the stress of finding the right size or worrying about transit damage, knowing our secure logistics have you covered. We take pride in every hand-made order, ensuring it meets our high standards before it ever reaches your home.
Explore our full collection of framed prints and bespoke options at First4Frames Gallery.
We’re excited to help you bring more beauty into your environment through art that’s truly built to last.
Frequently Asked Questions
What are the main advantages of buying prints already framed from First4Frames Gallery?
One of the core Advantages of buying from First4frames gallery your prints already framed & delivered to your door. With various framing & mounting options, is the assurance of receiving a bespoke, hand-made product. We eliminate the struggle of finding a frame that fits unique print sizes perfectly. By trusting our team of craftsmen, you receive a gallery-quality piece that’s structurally sound and ready for immediate display in your home or office.
Why do you use 2mm float glass instead of the perspex used by other online galleries?
We choose 2mm float glass because it provides superior visual clarity that cheap perspex simply can’t match. Perspex is highly prone to static and scratches easily, which can dull the appearance of your print over time. Our use of real glass ensures that the fidelity of our Giclée prints remains perfectly visible, offering a professional finish that is both durable and easy to maintain for years to come.
Can I choose a custom frame that isn’t listed on the website?
Absolutely, as we can source almost any frame available in the UK to suit your specific aesthetic. While our online selection is vast, we understand that some projects require a more personalized touch. Our team at First4Frames Gallery is always happy to give advice and work with you on custom framing options that might not be visible in our standard digital gallery, ensuring you get the perfect solution for your space.
How do you ensure the framed art isn’t damaged during delivery?
We protect your investment using a multi-layered packaging system that includes reinforced corner protectors and specialized wrapping for the glass. Every order is fully packaged in our Falkirk workshop and shipped via reliable, insured couriers who specialize in handling delicate items. This professional logistics process ensures that your hand-made frame reaches your door in the same perfect condition it left our hands.
Can you print and frame my own digital photographs to the same gallery standard?
Yes, we offer a specialized service to print and frame your own digital photographs using the same high-quality Giclée techniques we use for our art prints. We apply the same artisan standards to your personal images, ensuring they’re produced with archival inks and housed in bespoke frames. This allows you to turn your own memories into professional, ready-to-hang masterpieces without the stress of DIY assembly.