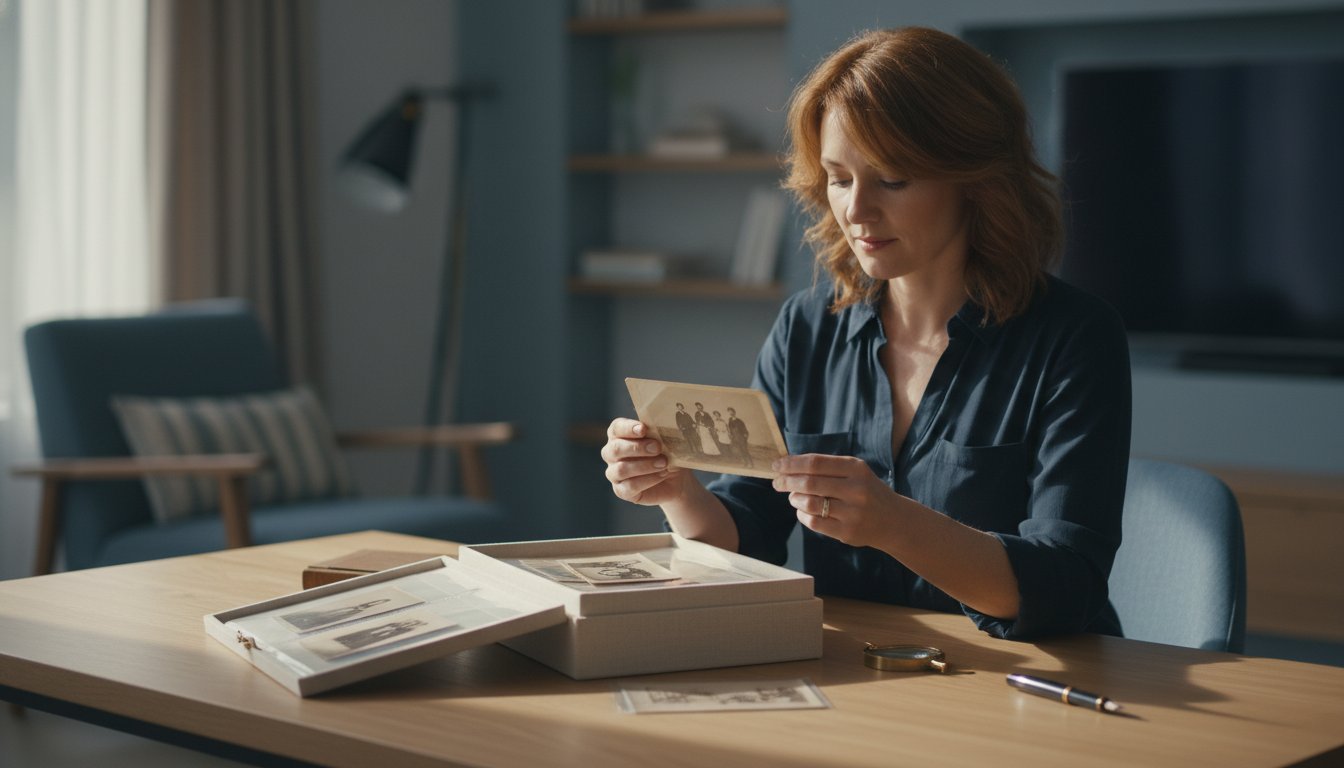
In early 2024, a visitor to our First4Frames Gallery noted that the bold textures of our featured artists felt just as evocative as their own child’s first paintings, though the latter were already beginning to fade. It’s a common worry for parents who want to save every milestone but feel overwhelmed by the sheer volume of paper stacking up on the kitchen counter. You’re right to feel that these early sparks of creativity are worth more than a temporary spot on the fridge; they’re the first chapters of your family’s story.
We believe every piece of art deserves expert care, which is why we’ve compiled this guide on how to preserve a child’s drawing using the same archival-grade standards we apply to our professional gallery collections. You’ll gain a clear system for sorting the “keepers” from the “clutter” and learn why a bespoke frame acts as a vital bridge between a simple sketch and a professional piece of decor. We’ll walk you through everything from acid-free storage to our premium print-and-frame service, ensuring your child’s work receives the same five-star treatment that earns us our top-rated customer reviews. By the end, you’ll have the knowledge to transform a messy drawing into a lasting family legacy.
Key Takeaways
- Understand the science of paper preservation and how archival-grade materials ensure your child’s creativity remains vibrant for over 75 years.
- Learn the “Curation Filter” technique to identify your most precious pieces and the professional handling steps needed to avoid damaging delicate paper.
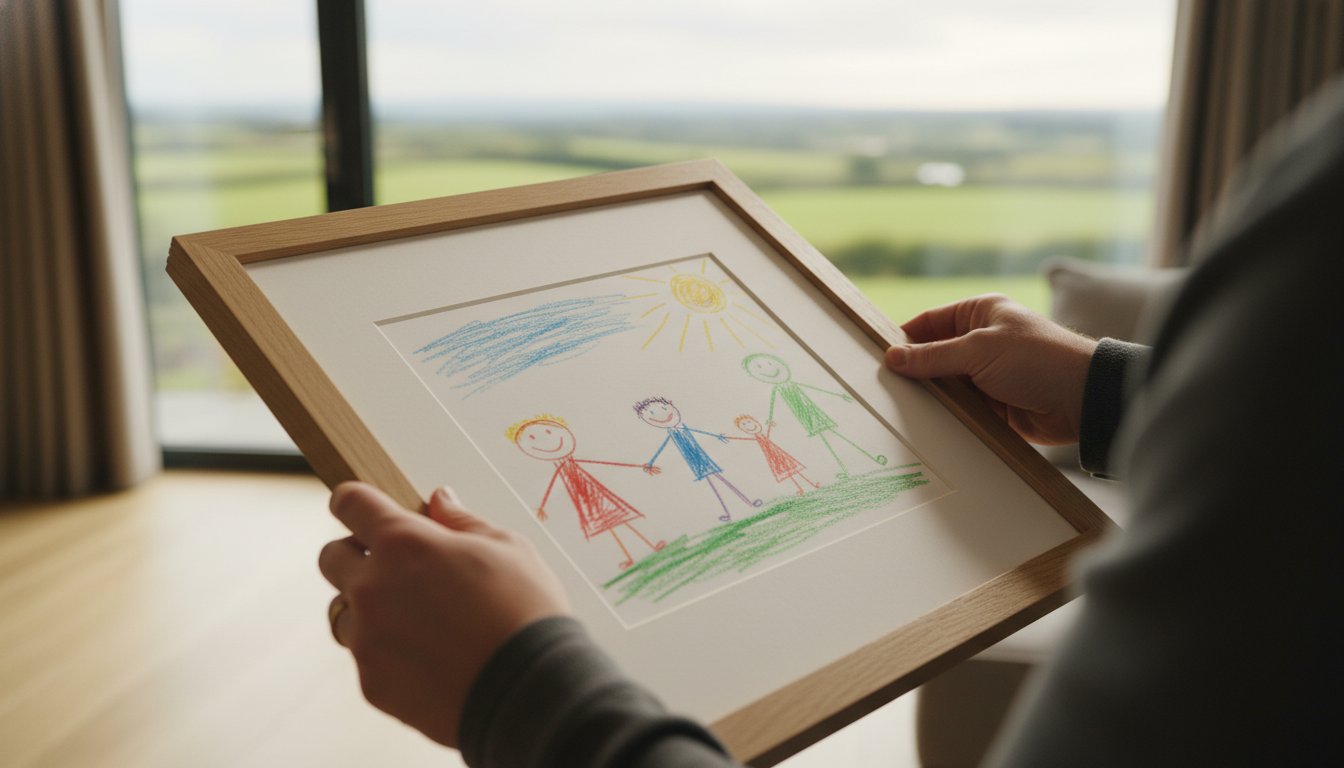
- Discover how to preserve a child’s drawing with bespoke framing that serves as a protective bridge between the artwork and your home’s interior design.
- Explore creative ways to display preserved art, including how to seamlessly blend your child’s work with professional Giclée prints from the First4Frames gallery.
- Experience the First4Frames advantage, where every drawing receives the same artisan craftsmanship and high-quality service that has earned us top ratings across the UK.
Why Child Art Fades: The Science of Paper Preservation
Every parent knows the joy of a new masterpiece stuck to the fridge with a magnet. Those vibrant felt-tip strokes and crayon textures are often fleeting. At the First4frames gallery, we see how professional artists select materials for longevity, yet most school-grade supplies are designed for immediate fun rather than the long haul. Cheap sugar paper often contains high levels of lignin, which breaks down and turns brittle within 24 months. Understanding how to preserve a child’s drawing starts with recognizing that these materials are chemically unstable from the moment they leave the craft box.
Professional archival preservation involves maintaining an artwork in its original state for 75 years or more. This standard is what we aim for when framing fine art prints for our customers. Acid-free refers to a pH-neutral environment that prevents the yellowing and deterioration of paper over time. By moving away from hoarding stacks of paper in dusty cardboard boxes, you can curate a childhood gallery that celebrates your child’s growth. This approach treats their early marks with the same respect we show the established artists in our collection, turning a cluttered drawer into a meaningful timeline of their development.
The Three Main Threats to Paper Art
Preserving paper requires a basic understanding of chemistry and environmental science. We rely on the same principles used in the Conservation and restoration of paper to ensure art remains vibrant for decades. The three biggest enemies are light, acidity, and moisture.
- Light damage: UV rays are relentless. They break down the chemical bonds in pigments, causing felt-tip pens and watercolours to fade by up to 40% within a single summer if placed in direct sunlight.
- Acidity: Standard brown parcel tape and cheap backing boards are acidic. Over time, they “burn” the paper, leaving dark brown stains that are impossible to remove without professional restoration.
- Humidity: UK homes often experience fluctuating humidity levels. When moisture gets trapped against a drawing, it causes cockling, which is the wavy rippling of the paper, and can lead to mould growth in non-sealed environments.
Temporary vs. Permanent Preservation
It’s vital to choose the right storage method based on the artwork’s value. Plastic sleeves are a great temporary solution for transporting work home from school, but they aren’t a permanent fix. Some plastics release gasses that can actually speed up the degradation of crayon wax. If a piece is a “keeper,” it’s time to move to professional mounts. Our bespoke framing service uses high-quality materials that create a protective barrier, ensuring the paper doesn’t touch the glass directly.
Many parents think digital scanning is the ultimate answer for how to preserve a child’s drawing. While a scan is a brilliant backup, it’s a secondary tool. A digital file lacks the physical texture of a heavy crayon stroke or the way a child pressed down hard on the paper. You should also be wary of fixative sprays. While they stop charcoal from smudging, they can cause “spotting” or yellowing on cheap paper types within five years. Instead of reaching for a spray can, trust a professional frame to provide the protection the art needs. With our 4.9-star rating on Google and over 20 years of experience, we’ve seen how the right frame acts as a bridge between your home décor and your child’s creativity, keeping those memories safe for a lifetime.
Step-by-Step: How to Prepare Drawings for Long-Term Storage
Every parent knows the “fridge door flood.” It’s tempting to keep every single scribble, but true preservation starts with what we call the Curation Filter. To maintain a collection that’s manageable and meaningful, aim to select the top 5% of drawings that capture a specific milestone or artistic breakthrough. Once you’ve chosen these gems, treat them with the same reverence we show the professional works in our First4Frames gallery. Learning how to preserve a child’s drawing correctly ensures that a 2024 nursery masterpiece looks just as vibrant when your child reaches their 30th birthday.
Preparation begins with handling. The natural oils on your skin can cause permanent yellowing over several decades. Always wash and dry your hands thoroughly or wear white cotton gloves before touching the paper. If a school project arrives home rolled tightly in a tube, don’t force it flat immediately. Place it on a clean, flat surface and weigh down the corners with smooth, heavy books for 48 to 72 hours. This gentle method prevents the paper fibres from cracking and ensures the piece sits perfectly in a folder or frame later.
Sorting and Cataloguing the Masterpieces
Use acid-free tissue paper between every layer of art in your storage box. This prevents “off-setting,” where charcoal, heavy crayon, or graphite from one piece transfers to the back of the drawing sitting on top of it. When it’s time to label the work, put down the ballpoint pen. Ink can bleed through the page or become acidic over time. Instead, use a soft 2B pencil to lightly write the child’s name, age, and the date on the reverse side. At First4Frames, we treat every piece with the respect of a gallery find, and you can follow expert guidelines to properly store works on paper to maintain that gallery-standard quality at home.
Materials Checklist for DIY Archiving
Standard cardboard boxes are the enemy of longevity. They contain lignin, a natural polymer that turns paper brittle and brown. Invest in acid-free portfolio boxes instead. For pieces you want to view often without causing wear, Mylar sleeves offer a crystal-clear, PVC-free window that protects against dust and fingerprints. It’s vital to remember that professional Giclée standards for prints can be applied to original art storage; if a material isn’t pH-neutral, it shouldn’t touch the paper. Never use standard Sellotape or masking tape on originals. These adhesives dry out, leave dark orange stains, and can tear the paper surface if you ever try to remove them. If you must secure a piece, only use archival-grade linen tape.
By following these steps, you’re doing more than just tidying up a playroom. You’re acting as a curator for your family’s history. Taking these small, professional steps today prevents the heartbreak of finding a faded, stuck-together mess in ten years. Our team has over 20 years of experience handling delicate works, and we’ve seen how proper early care makes all the difference when it’s finally time to move a piece from a storage box into a bespoke frame.
Bespoke Framing: The Ultimate Shield for Your Child’s Art
A bespoke frame does the heavy lifting in the relationship between a creative spark and your home’s interior design. At First4Frames, we often describe a frame as a bridge. It connects your child’s vibrant imagination to your existing room décor, turning a simple sketch into a permanent focal point. While a standard, off-the-shelf frame from a high-street shop might seem like a quick fix, these mass-produced items often lack the archival quality needed to stop paper from yellowing or becoming brittle. Our professional framing service, backed by over 20 years of expertise, ensures your memories receive the same care as the fine art pieces we showcase in our Falkirk gallery.
Choosing a professional service means you aren’t just buying a border; you’re securing a controlled environment for the paper. Standard frames often use acidic backing boards that “burn” the paper over time, leaving brown stains that are impossible to remove. By opting for a bespoke solution, you’re choosing materials that actively protect the work. Our customers consistently award us five-star ratings because we treat every crayon smudge and felt-tip line with the professional respect it deserves. We understand that knowing how to preserve a child’s drawing isn’t just about aesthetics; it’s about stopping the clock on physical decay.
Choosing the Right Glass and Mounts
The most important functional element of a frame is the mount, often called a mat. It isn’t just there to look pretty. A mount creates a vital air gap between the artwork and the glass. Without this space, changes in UK humidity can cause the paper to stick to the glass, leading to mould growth or permanent “glazing” damage. For the best results, we use 100% acid-free cotton rag mounts. These are the gold standard in the industry and provide a chemically stable environment that won’t degrade the paper fibers.
When it comes to the glass, standard float glass offers little protection against the sun. In bright UK living rooms, UV rays can bleach the vibrant colours of a drawing in just a few summers. We recommend UV-protective glass that filters out up to 99% of harmful rays. For those looking for professional standards, the Government of Canada provides excellent guidelines on Basic care for works of art on paper, which highlights why keeping paper away from direct contact with glass is vital. If your child’s drawing has irregular, “fringe” edges from a spiral notebook, we often suggest a “float mount” technique. This suspends the paper above the backing board, celebrating the raw, authentic edges of the work rather than hiding them.
Why Quality Framing is a Legacy Investment
It’s easy to view a frame as a simple purchase, but quality framing is actually a legacy investment. While a bespoke frame might cost between £40 and £95 depending on the size and glass type, the value of a preserved memory is priceless. At our Falkirk gallery, we apply the same meticulous standards to a toddler’s finger painting as we do to the work of our featured professional artists. This level of craftsmanship ensures that the piece will not fade over time, allowing you to pass it down through the family.
Our team handles delicate paper items daily, and we’ve seen first-hand how cheap materials can ruin a masterpiece in less than five years. By choosing First4Frames, you’re accessing a “one-stop-shop” where expertise meets passion. We don’t just put a piece of wood around a picture; we create a sealed capsule for your child’s history. Whether it’s a charcoal sketch or a bright watercolour, our goal is to make fine art accessible while ensuring that how to preserve a child’s drawing becomes a worry-free process for every parent. You can trust our proven track record to keep those early sparks of creativity looking as fresh as the day they were brought home from school.
Creative Ways to Display Preserved Artwork
Choosing the right display method is the final step in learning how to preserve a child’s drawing properly. A “Rotating Gallery” uses specialised frames with front-opening doors, making it easy to update your home’s look without a toolkit. You don’t need to take the frame off the wall to switch the artwork. This approach keeps the collection dynamic and encourages children to keep creating because they see their work valued in real-time. These frames often include internal storage, allowing you to keep up to 50 previous masterpieces tucked safely behind the current featured piece.
The “Feature Wall” concept is where your child’s work truly shines. By mixing these personal memories with professional Giclée prints, you create a sophisticated aesthetic that feels curated rather than cluttered. The frame acts as a bridge between your room décor and the artwork, unifying different styles through consistent textures and colours. When you understand how to preserve a child’s drawing using acid-free materials, the display becomes a long-term investment in family history. For layout ideas that balance scale and colour effectively, our Gallery Wall guide provides professional configurations suitable for any UK home.
Proper lighting is essential for any display, but it requires a careful touch. You should avoid placing art in direct sunlight, as UV rays break down paper fibres and cause pigments to vanish. High-heat halogen bulbs are also a risk, as they can cause “light fatigue” and yellowing of the paper over time. Instead, use LED spot lights with a high Colour Rendering Index (CRI) of 90 or above. These provide a beautiful, crisp glow without the thermal energy that leads to cracking or fading. It’s a simple, practical change that ensures your preserved drawings last for decades.
Mixing Child Art with Famous Artists
A child’s bold, abstract brushstrokes often share the same vibrant energy found in a Jolomo print or a classic Scottish landscape. You can unify these different worlds by using consistent, professional framing styles across the entire wall. This creates a fascinating narrative of an “Artist in Training” standing alongside established icons. We’ve helped many customers frame simple crayon sketches in the same premium wood and mount board as their high-end gallery purchases. It elevates the child’s work, giving it the respect a fine art piece deserves while adding a splash of personality to your living space.
Commercial Staging with Personal Touches
Many UK businesses are moving away from sterile, generic office environments. Recent 2023 data suggests that 82% of workers feel more welcome and inspired in spaces that feature personal or local art. Our First4Frames commercial service specialises in these bespoke projects, helping businesses integrate personal touches into professional settings. We recently completed a project for a local firm where we turned a small, heartfelt doodle into a spectacular 40-inch focal piece using our premium Giclée printing and framing service. This approach humanises a professional space and creates a unique talking point for clients and staff alike.
Discover our full range of professional prints and find the perfect companion for your child’s masterpiece by visiting the First4Frames online gallery.
From Playroom to Gallery: The First4Frames Advantage
Turning a chaotic pile of school sketches into a curated home gallery requires more than just a roll of tape. At First4Frames, we’ve spent decades perfecting a one-stop-shop service that simplifies the transition from the playroom floor to the living room wall. We treat every piece of art with the same level of reverence; whether it’s a limited edition Jack Vettriano print from our gallery or your toddler’s first attempt at a self-portrait. Our team understands that the emotional value of a family memory often outweighs the price tag of a fine art investment.
We’ve streamlined the experience into a simple three-step process to ensure your home remains clutter-free and beautiful. First, you browse our extensive range of styles. Second, you select the mounting and frame options that complement your interior. Third, you place your order. This hassle-free approach is why we maintain a consistent 4.9-star rating from our clients who value both speed and precision. Learning how to preserve a child’s drawing shouldn’t feel like a chore; it should be the start of a new family tradition.
Expert Craftsmanship in Every Frame
Since opening our doors in 2003, we’ve dedicated over 20 years to mastering the bespoke picture framing industry. We don’t settle for “good enough” materials. Our workshop sources only premium FSC-certified woods and acid-free archival components to prevent the yellowing or brittle textures often seen in cheap, store-bought frames. When you see the “professionally framed” label from our Falkirk workshop, it’s a guarantee that your artwork is shielded from environmental damage. We apply the same rigorous quality checks to a simple crayon drawing as we do to the high-end Giclée prints featured in our gallery collection.
Start Your Preservation Journey Today
If you’re ready to elevate your child’s creativity, bring their favourite drawing to our Falkirk gallery for a professional consultation. We offer bespoke quotes for complex projects, including 3D art, sports memorabilia, or clay imprints that require deep-set shadow boxes. Our experts will guide you through the best techniques for how to preserve a child’s drawing while ensuring the final product matches your home’s aesthetic. We believe a frame is the essential bridge that turns a simple piece of paper into a lifelong masterpiece. Visit us today to see how our craftsmanship can transform your space and protect your most precious memories for the next 20 years and beyond.
Give Your Child’s Creativity the Gallery Treatment
Every scribble and splash of colour represents a vital milestone in your child’s development. You’ve learned that acid-free materials and UV-protective glass are essential to stop fragile paper from yellowing over time. Understanding how to preserve a child’s drawing ensures these fleeting moments don’t fade into history. At First4Frames, we treat every piece of art with the same meticulous care we give to the professional Scottish fine art featured in our online gallery.
With over 20 years of bespoke framing expertise, we’ve earned excellent ratings on Google and Trustpilot by helping UK families turn playroom sketches into professional displays. Our specialists understand the technical requirements of archival preservation, ensuring your keepsakes remain vibrant for decades. Whether you need a single frame or a complete print-and-frame service, we provide the premium craftsmanship your memories deserve. Our frames act as a bridge between your home decor and your child’s unique vision, pulling you into the picture every time you walk past.
Transform your child’s art into a gallery masterpiece-Get a Bespoke Framing Quote
Let’s give those early masterpieces the spectacular spotlight they deserve today. Your child’s journey from the playroom to the gallery starts with the right protection.
Frequently Asked Questions
Can I use hairspray to preserve a pencil drawing?
You shouldn’t use hairspray to protect your child’s sketches because the chemicals often cause paper to yellow and become brittle within 5 to 10 years. While it’s a common DIY tip, hairspray isn’t pH-neutral and can react badly with the graphite. It’s much safer to use a professional-grade fixative spray designed for fine art, which provides a clear, non-yellowing barrier that keeps the drawing crisp.
Is it better to frame an original drawing or a scan?
Framing a high-quality Giclée scan is often the best choice if you want to display the art while keeping the original tucked away in archival storage. While our print-and-frame service at First4Frames can create an identical paper copy, a digital file also allows you to turn the art into a custom clothing transfer for a t-shirt. If you’d like to explore that option, you can learn more. This is a brilliant way to learn how to preserve a child’s drawing while making extra copies for family members.
What is the best way to store drawings I don’t want to frame yet?
The best way to store loose art is inside an acid-free portfolio or a polypropylene storage box. You should avoid standard cardboard boxes, as 85% of them contain acidic lignin that causes brown spots and deterioration. Keep these folders in a dry area of your home, as humidity levels above 60% can encourage mould growth on the paper fibres.
How much does it cost to professionally frame a child’s drawing in the UK?
Professional framing for a child’s drawing in the UK typically starts at £35 for a small A4 frame and can rise to £145 for larger, bespoke designs with premium mounts. At First4Frames, we offer a transparent, three-step process to ensure you get a high-quality result that fits your budget. Our 4.9-star customer rating reflects our dedication to providing a premium service for every piece of art.
Does UV glass really stop drawings from fading?
UV-protective glass is incredibly effective and blocks up to 99% of the harmful rays that cause pigments to bleach. Standard picture glass only filters about 45% of UV light, which means a vibrant felt-tip drawing could lose its colour in as little as 18 months. Using specialist glass acts as a protective bridge between your room’s light and the delicate artwork.
What kind of tape is safe for child art?
You should only use acid-free, archival-quality artist tape or pH-neutral hinging tissue to secure artwork to a mount. Standard sticky tape or masking tape contains harsh adhesives that turn orange and rot paper fibres in less than 4 years. Choosing the right adhesive is a critical step in how to preserve a child’s drawing so it lasts for future generations.
How do I flatten a drawing that has been rolled up for years?
To flatten a rolled drawing, place it face down on a clean, flat surface and cover it with heavy books for 48 to 72 hours. If the paper feels particularly stiff or brittle, leave it in a room with a humidifier for 25 minutes before pressing it to make the fibres more flexible. This preparation ensures the artwork sits perfectly flat once it’s placed inside one of our bespoke frames.
Can First4Frames frame 3D art like pasta drawings or clay reliefs?
Yes, First4Frames can professionally frame 3D art and textured reliefs using our custom shadow box frames. These deep frames create a spectacular display while ensuring the glass doesn’t touch or crush the delicate materials. Our team has over 20 years of experience in craftsmanship, so we know exactly how to secure heavy or unusual items like clay so they stay in place permanently.