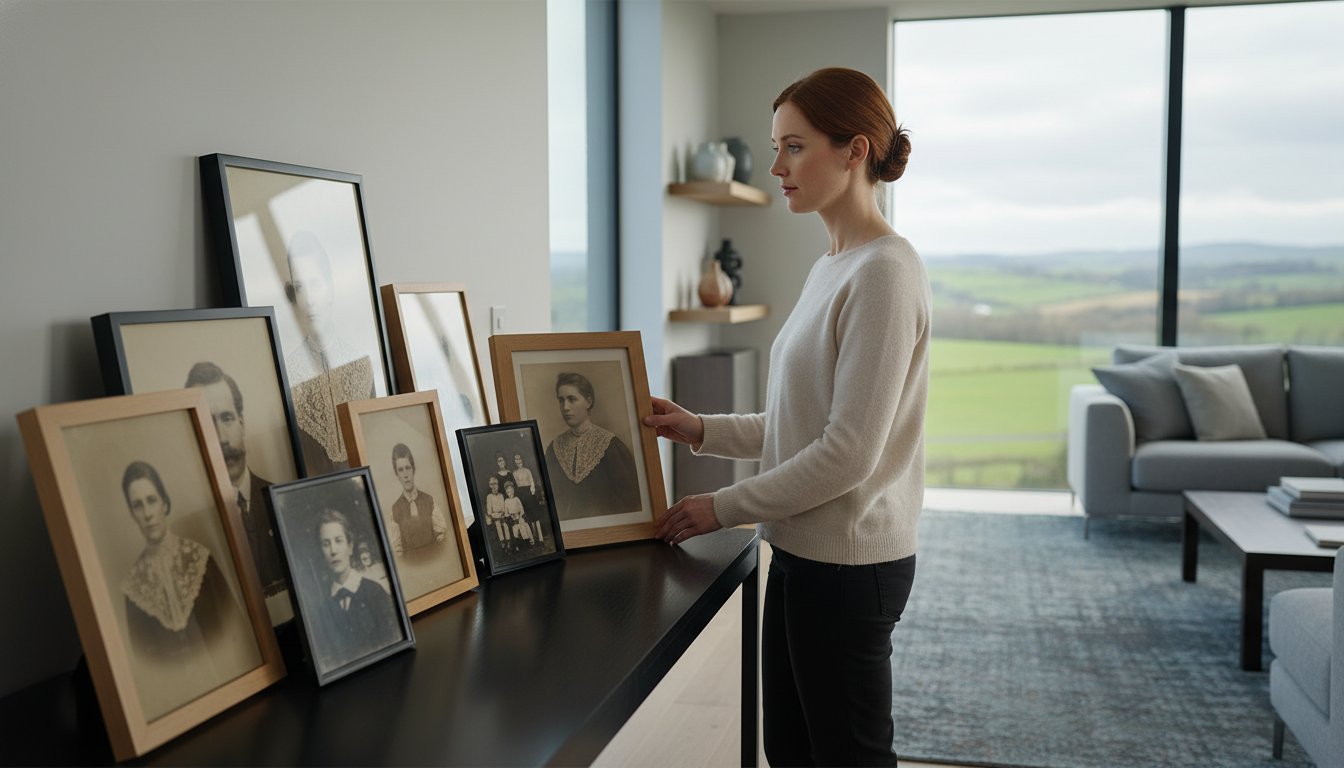
Imagine finding that one irreplaceable photograph of a loved one tucked away in a drawer, only to realize that light and moisture are slowly stealing the details of their smile. You want to honor their memory, yet the fear of damaging the original or settling for a generic, low-quality gift frame often leads to hesitation. Choosing thoughtful memorial picture framing is about more than just aesthetics; it’s a collaborative act of storytelling that ensures a legacy remains vibrant for generations.
At First4Frames Gallery, we understand that every life has a unique rhythm, and your tribute should reflect that personal history. In this guide, we’ll show you how to transform your most precious photos into museum-quality displays using archival materials and bespoke designs. You’ll learn how to match a frame’s character to a loved one’s personality and why professional glazing is essential for long-term protection. From selecting the perfect mount to exploring our artisan workshop’s custom capabilities, we’re here to provide a stress-free journey from inspiration to a beautiful, finished tribute.
Key Takeaways
- Discover how to move beyond generic options by selecting bespoke frame textures and colors that reflect your loved one’s unique personality.
- Learn why archival-grade materials and UV-protective glass are essential for preventing yellowing and fading in irreplaceable photographs.
- Explore creative multi-aperture layouts for thoughtful memorial picture framing that can include physical keepsakes like medals or letters.
- Understand our simple consultation process that ensures your vision is translated into a museum-quality tribute with professional care.
- Find out how our artisan team sources specific prints and provides flexible framing options to create a completely personalized legacy.
What Makes Memorial Picture Framing ‘Thoughtful’?
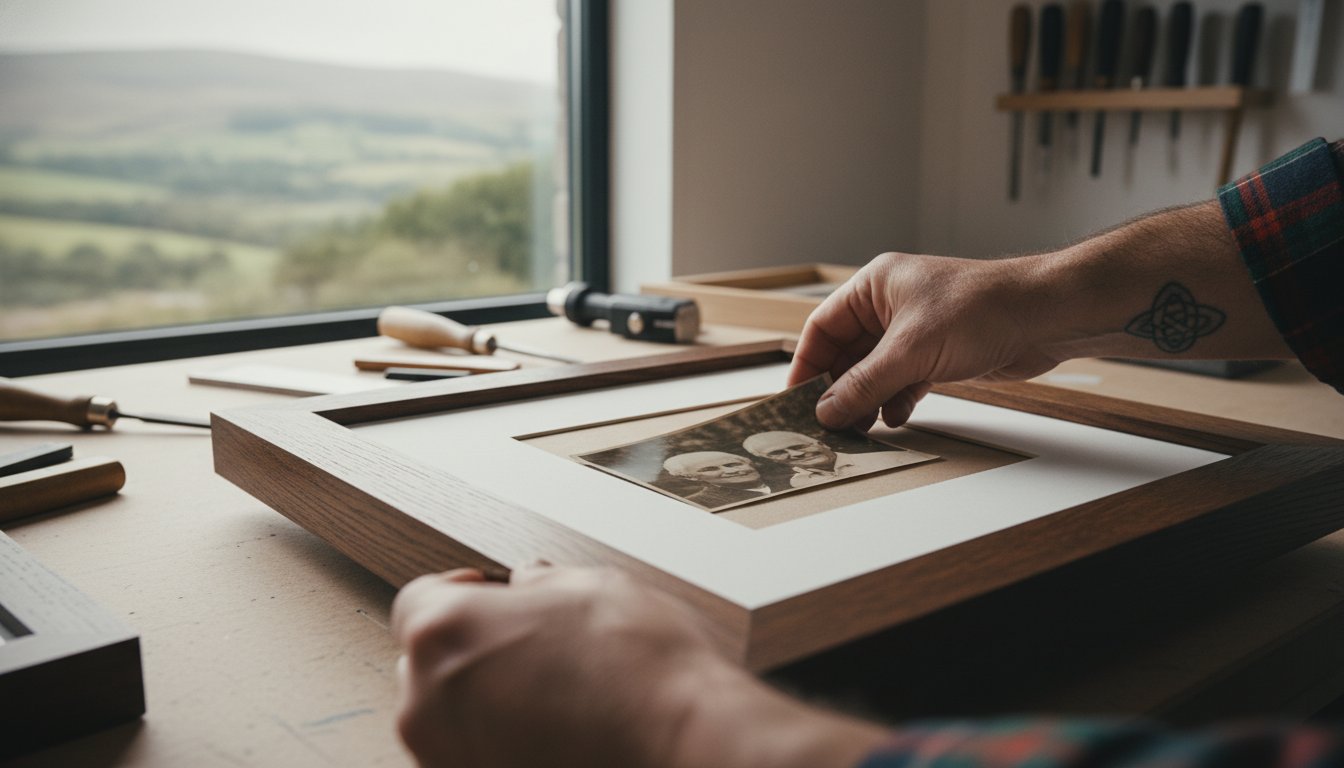
At First4Frames Gallery, we believe thoughtful memorial picture framing is an intentional act of preservation that goes far beyond picking a generic frame from a retail shelf. It’s about personification. We help you choose textures and colors that mirror the unique spirit of the person you’ve lost. A rugged, textured wood might reflect a love for the outdoors, while a delicate, satin finish suggests a more gentle nature. This bespoke approach ensures the final piece feels like a true extension of their character.
Treating a photograph as a “sanctuary” means providing it with the structural integrity it deserves. Irreplaceable family heirlooms are vulnerable to environmental damage; professional framing is the only way to ensure they aren’t lost to time. We apply the same principles found in the conservation and restoration of painting frames to every memorial piece we handle. This ensures the housing is as durable as the memory it holds.
To better understand how these elements come together visually, watch this helpful tutorial on designing a memorial tribute:
Balancing Emotion and Home Aesthetic
It’s vital to find a balance between honoring a legacy and complementing your living space. We guide you through selecting styles that bridge this gap, from traditional ornate golds that command respect to modern minimalist woods that blend into a contemporary home. Our goal is to create a piece that feels like a natural part of your environment. You can see how we’ve achieved this for others by reading our reviews on Trustpilot, Google, and Yell.
The Value of Bespoke Sourcing
One of the greatest benefits of working with a dedicated artisan is our flexibility. First4Frames Gallery can source almost any frame available in the UK, even if it isn’t listed on our website. This is particularly important for older, non-standard vintage photographs that don’t fit into retail sizes. Whether you need thoughtful memorial picture framing for a vintage heirloom or a specific giclée print sourced, we handle the entire process. We offer convenient shipping across the country or local collection at our workshop for a more personal touch. Browse our custom picture framing options to start your project today.
Choosing Materials for Lifelong Preservation
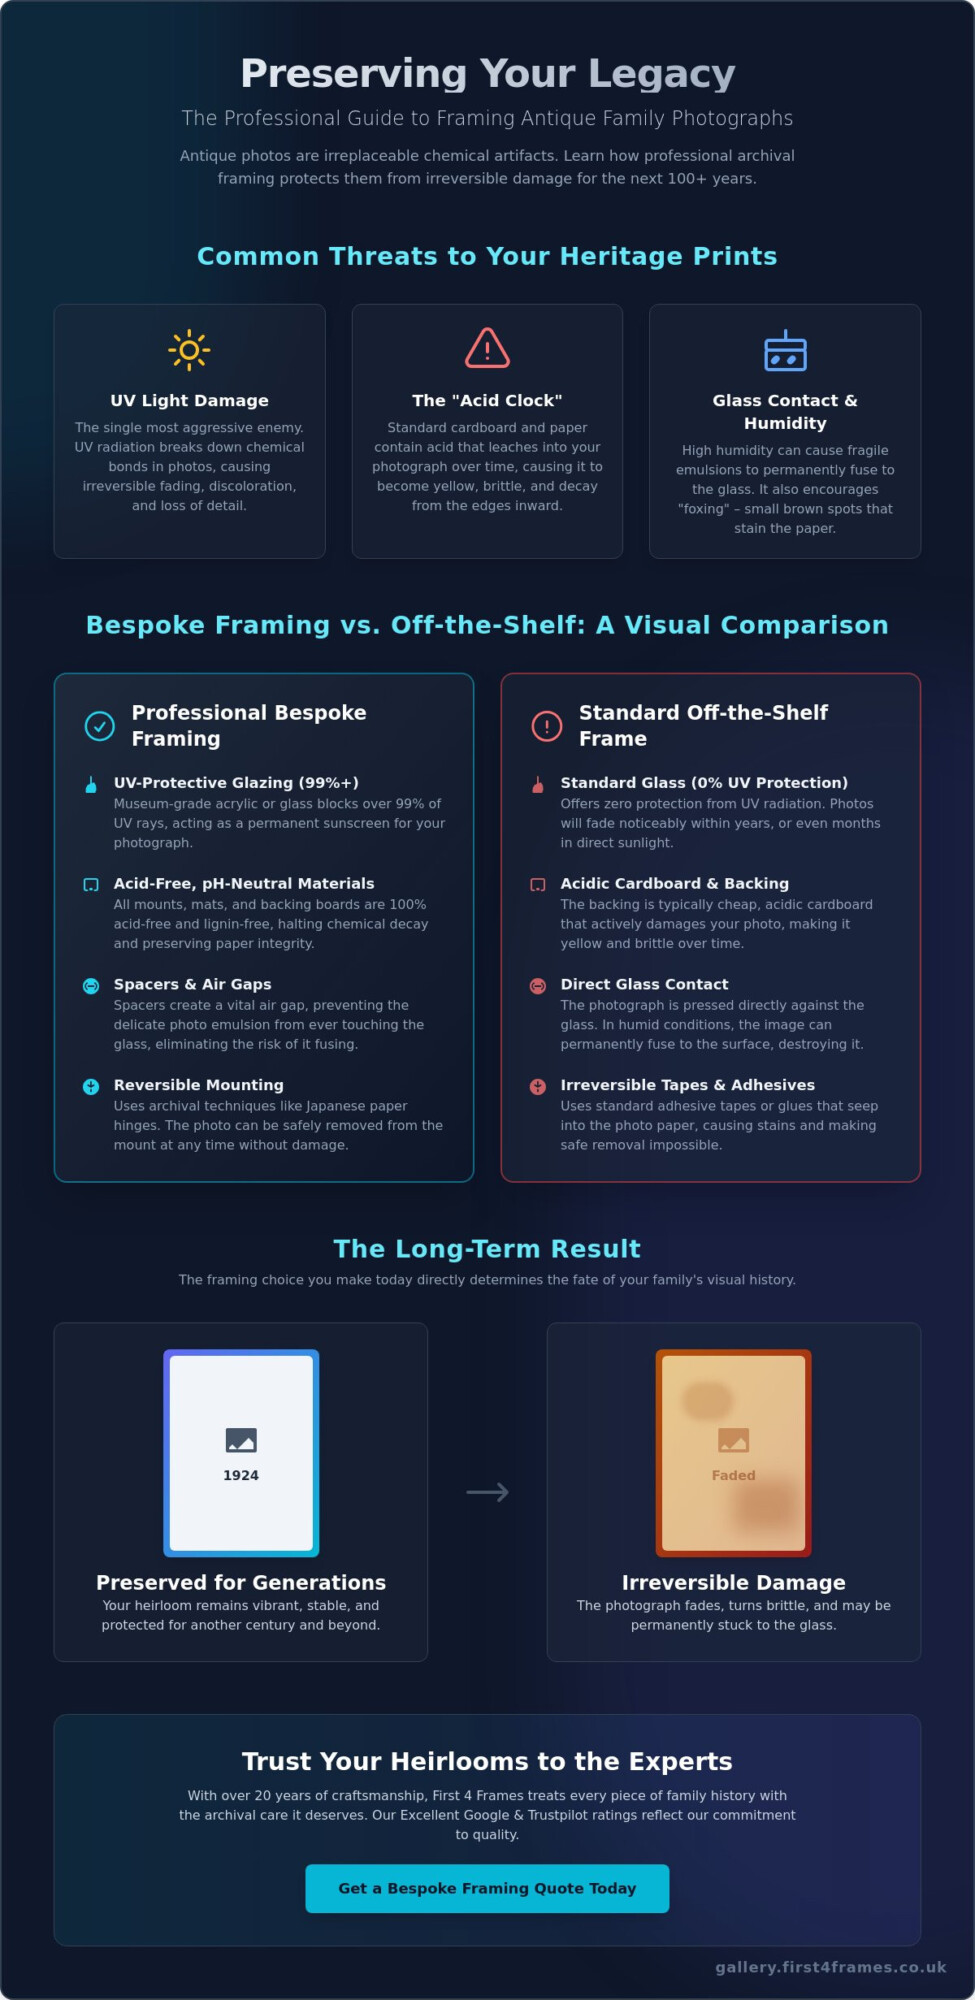
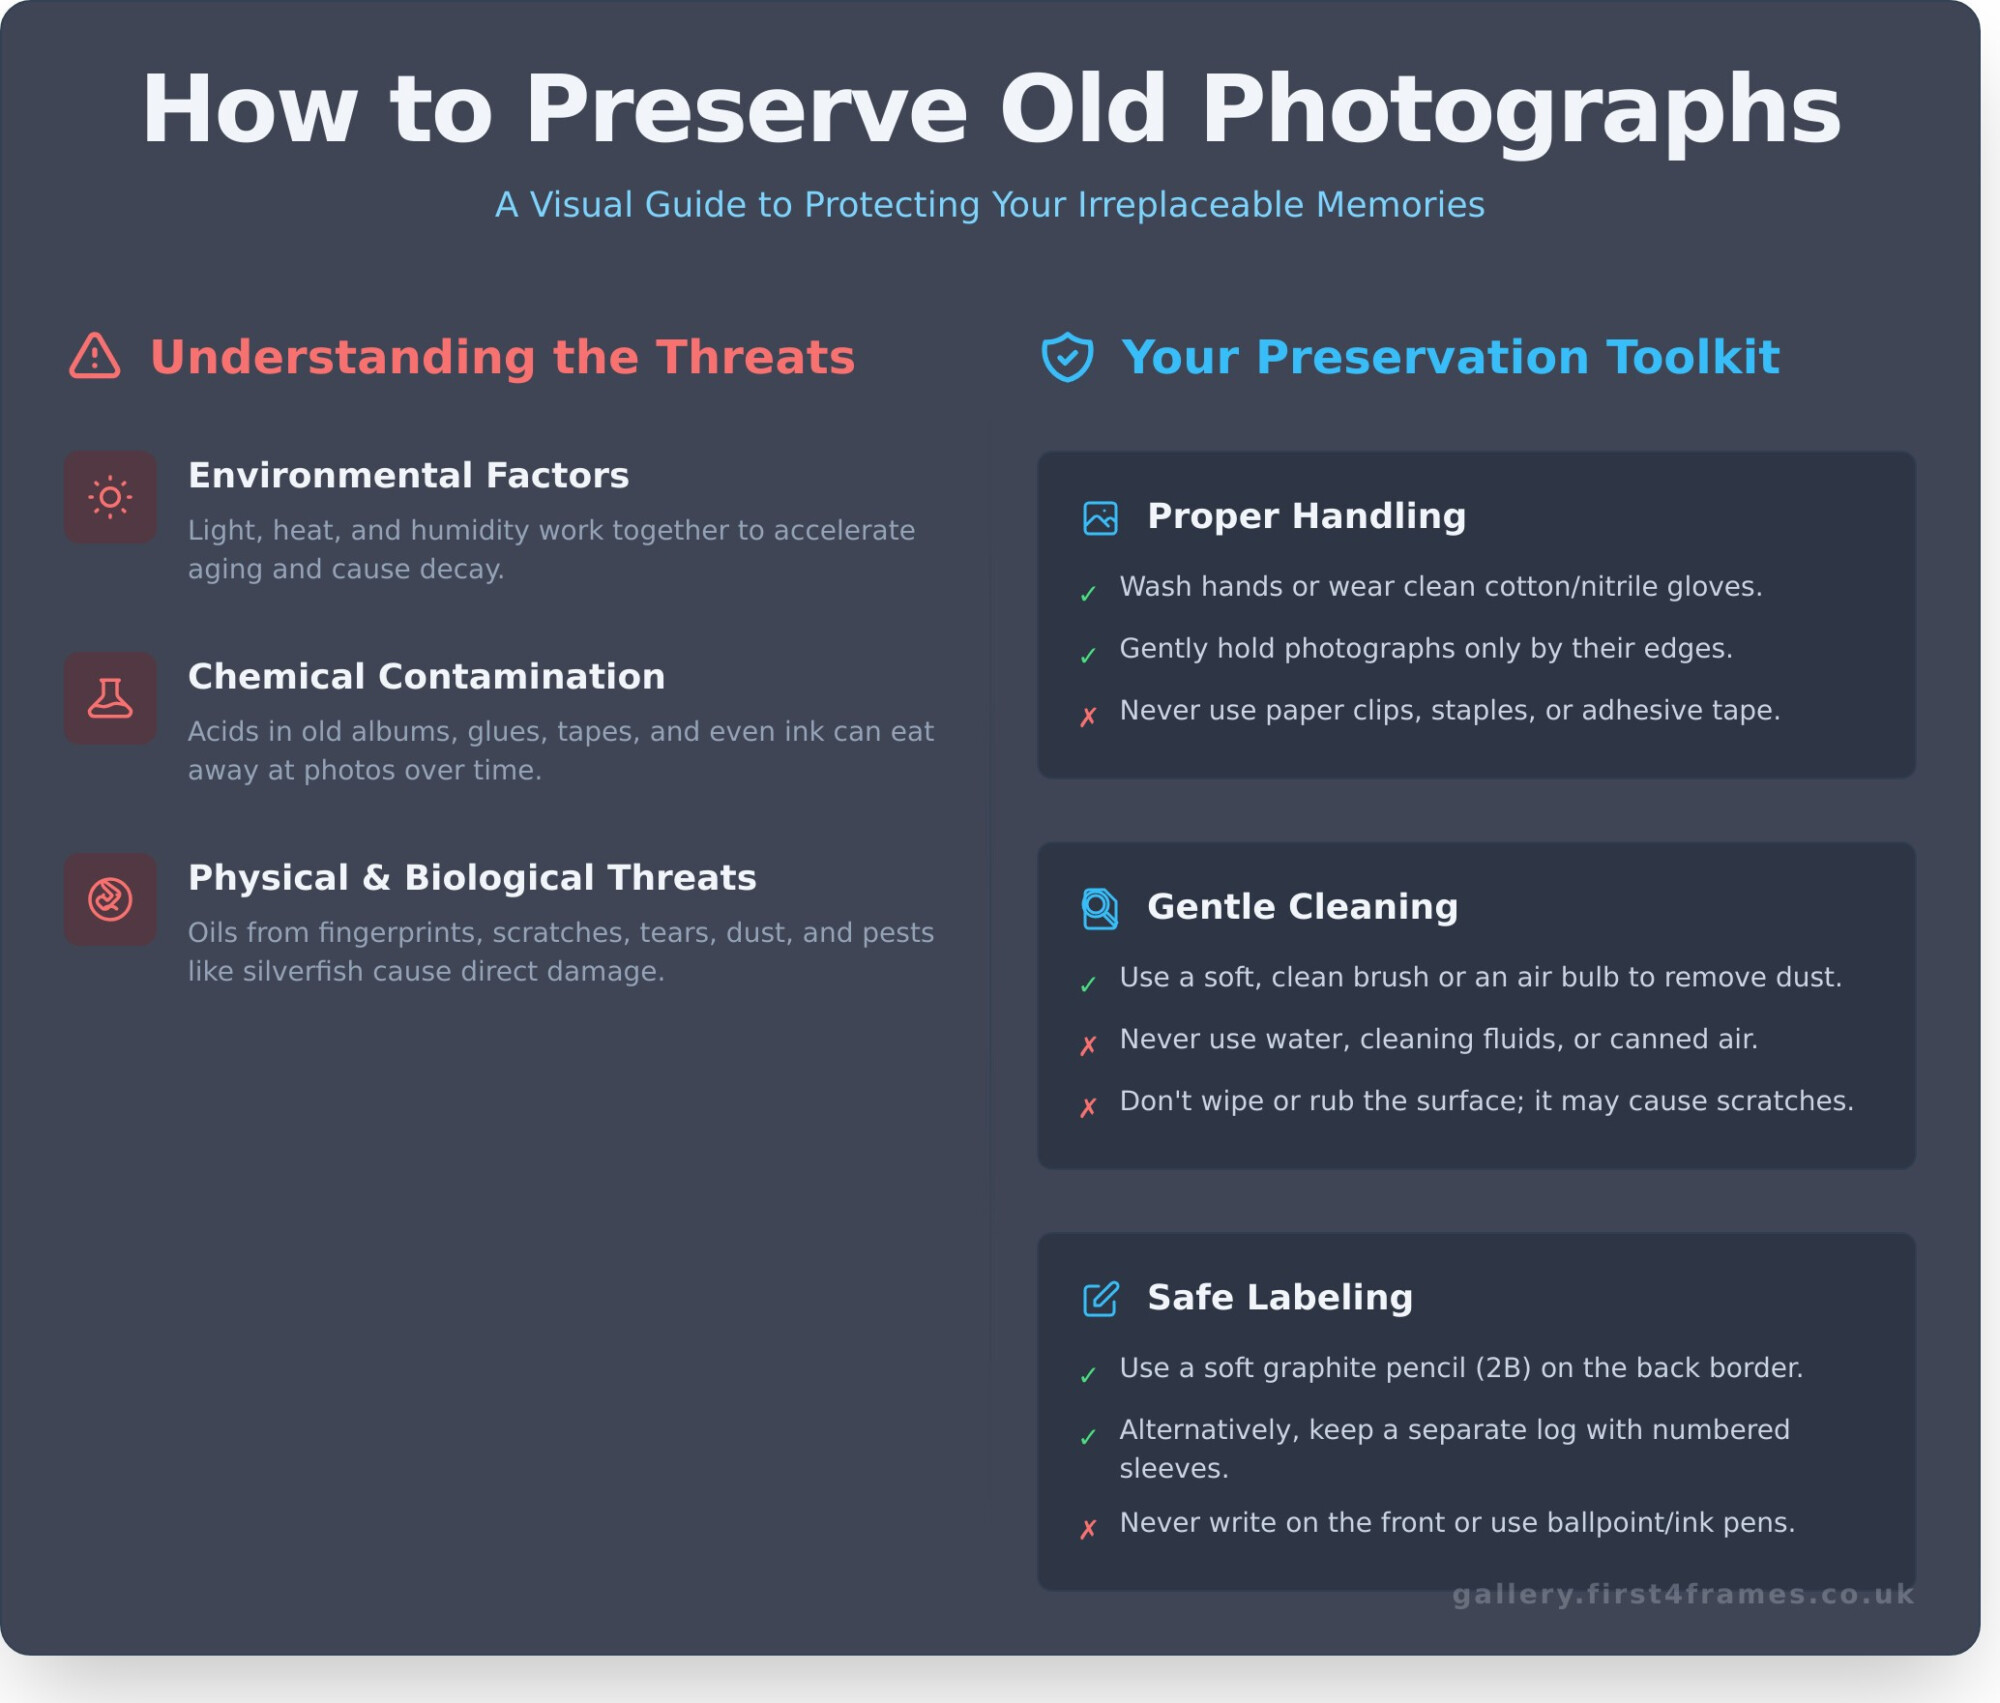
Preservation is an investment in the future of a memory. Archival framing is the use of chemically stable materials that prevent yellowing. While many retail options treat a tribute as a short-term gift, thoughtful memorial picture framing focuses on long-term stability. We prioritize acid-free mounting and matting because these “hidden” materials are the most important for longevity. Without them, acids can migrate from the backing board into the paper, causing irreversible brown stains known as foxing.
Sunlight can be incredibly destructive to ink and paper. UV-protective glass is a necessity to prevent sunlight from fading unique photographs over time, acting as a shield for the pigments. For those seeking the highest level of detail, we often suggest Giclée fine art prints. These offer significantly better fidelity and lightfastness compared to standard photo prints. Our workshop methods align with the Library of Congress guidelines for Caring for Photographs, ensuring your tribute remains protected for decades. Standard glass doesn’t provide the same security as the specialized glazing used in thoughtful memorial picture framing.
The Importance of Quality Mounts
Depth and perspective change how we view a portrait. Using double mounts is a simple yet powerful way to add depth and a “gallery” feel to a simple portrait. This technique creates a physical space between the glass and the artwork, which is crucial for preventing moisture damage and sticking. You can find more detail in our guide on Choosing the Perfect Mount for Bespoke Photo Frames.
Digital to Physical: High-Fidelity Printing
Many families only have digital files or old phone photos to work with. We specialize in preparing these digital files to create premium Giclée prints for framing, enhancing the quality before they hit the paper. Our professional photo printing and framing online service is designed to be straightforward and reliable. If you’re looking for a specific style to match your home, you can browse our framed art gallery for ideas.
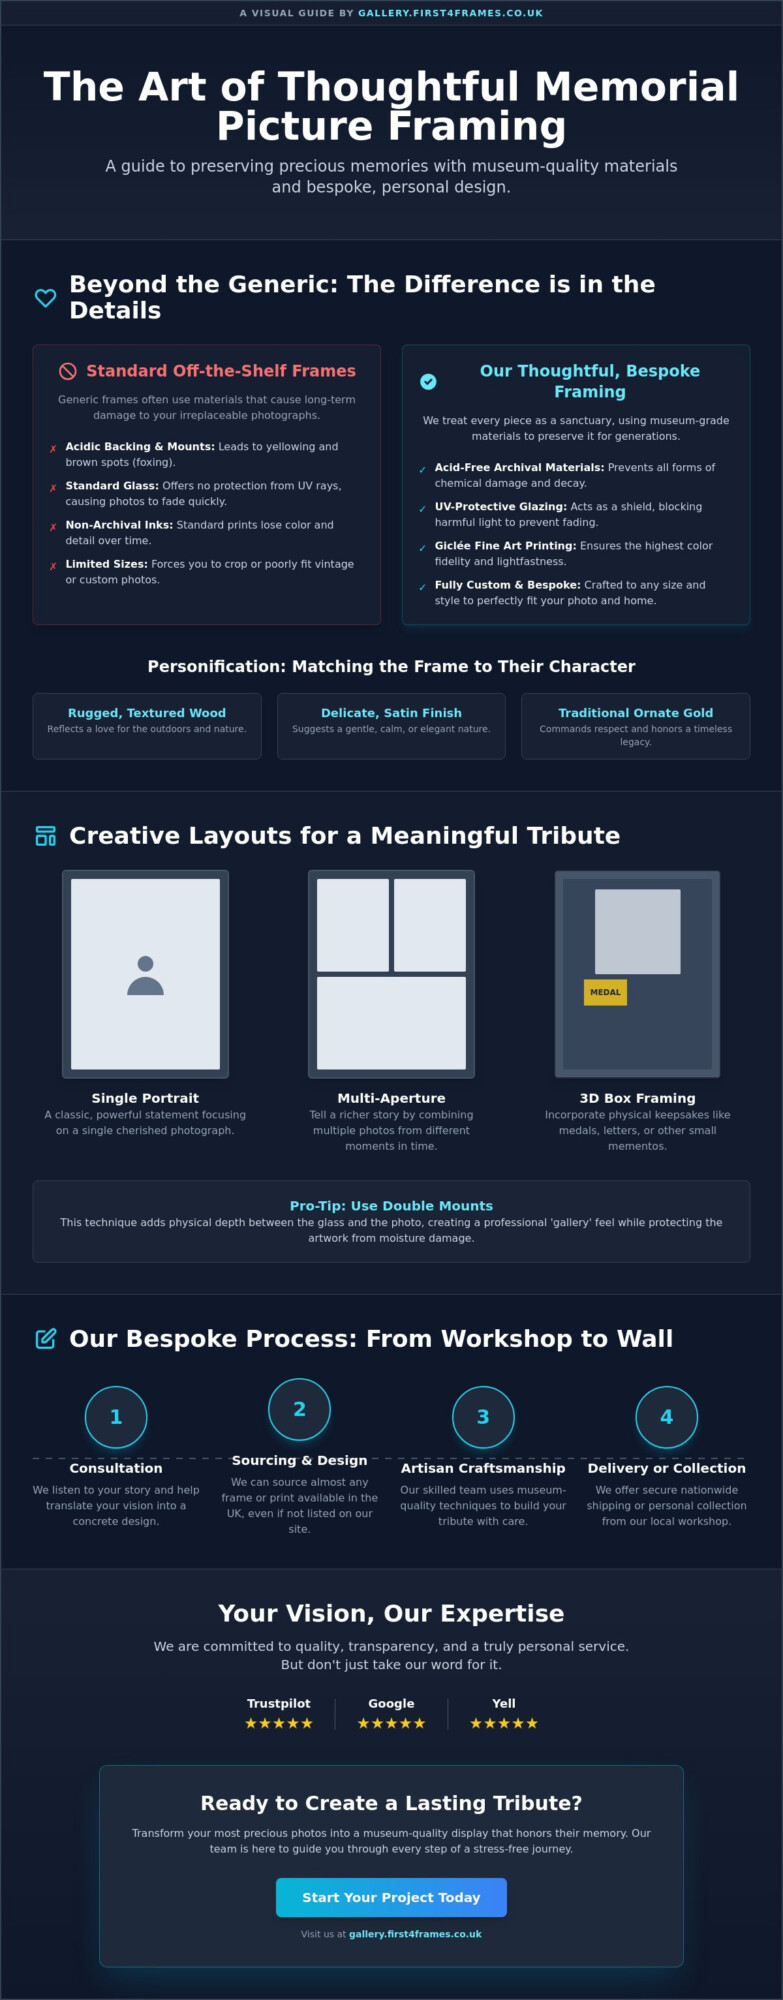
Creative Layouts for a Meaningful Tribute
A single portrait captures a moment, but a creative layout captures a lifetime. When we design a ‘Life in Pictures’ multi-aperture frame, we’re arranging a narrative that spans decades. This approach to thoughtful memorial picture framing allows you to combine childhood snapshots with later milestones, creating a visual biography that honors every stage of a legacy. We use generous whitespace and wide mount margins to ensure the display doesn’t feel cluttered. This breathing room creates a sense of peace and reverence, drawing the eye to the most important details.
Sometimes, a photograph isn’t enough to tell the full story. We can incorporate physical mementos like service medals, handwritten letters, or small keepsakes into a bespoke deep-frame design. This turns a simple wall hanging into a three-dimensional tribute. If you’re looking to create a larger family gallery, a memorial piece can serve as the emotional anchor for a ‘Statement Wall’. Our customers often share how these curated displays bring comfort, and you can read their stories on Trustpilot, Google, and Yell.
Standard vs. Bespoke Sizes
Old family photos rarely adhere to modern dimensions. While we offer a full range of traditional options, you’ll need to decide when to use standard UK sizes and when to go bespoke. Standard frames are efficient for modern prints, but unique vintage items often require custom-cut mounts to avoid cropping the image. For more technical details on dimensions, see our Standard Photo & Picture Sizes Guide.
The Artisan Touch: Hand-Finished Details
The beauty of a memorial often lies in the subtle details. We take pride in hand-picking wood grains and specific finishes that add a layer of genuine craftsmanship. Our flexibility means we can source almost any frame style available in the UK, even if it’s not currently on our website. If you’re missing a specific piece of art to accompany your family photos, we can source rare prints or specific artist styles upon request. To see the breadth of what we can create, visit our framed art gallery for inspiration.
The First4Frames Gallery Bespoke Process: From Workshop to Wall
Our approach to thoughtful memorial picture framing follows a clear, supportive path to ensure your tribute is perfect. We don’t just put a photo in a frame; we build a lasting sanctuary for your memories through a dedicated four-step journey. We start by listening. Every photograph carries a narrative, and our first step is a personal consultation to understand the legacy you wish to honor.
- Step 1: Consultation. We discuss your vision and the story behind the photo to ensure the design reflects the individual’s personality.
- Step 2: Selection. You’ll choose from our vast range of UK-wide frame options. If you have a specific style in mind that isn’t currently listed on our website, First4Frames Gallery can usually source it for you.
- Step 3: Crafting. Every piece is hand-assembled in our Falkirk workshop using professional standards and archival materials.
- Step 4: Delivery or Collection. We provide secure shipping across the UK, or you can choose local pickup in Central Scotland if you prefer to visit our workshop in person.
Trust and Transparency
Handling a memorial is a sensitive task that requires a high level of care. We encourage you to view our reviews on Trustpilot, Google, and Yell to see how we’ve helped other families create museum-quality tributes. Our commitment to quality means we never settle for generic solutions. If you need a specific giclée print or a rare frame style that you can’t find elsewhere, we’ll use our industry connections to source it on your behalf.
Getting Started with Your Memorial
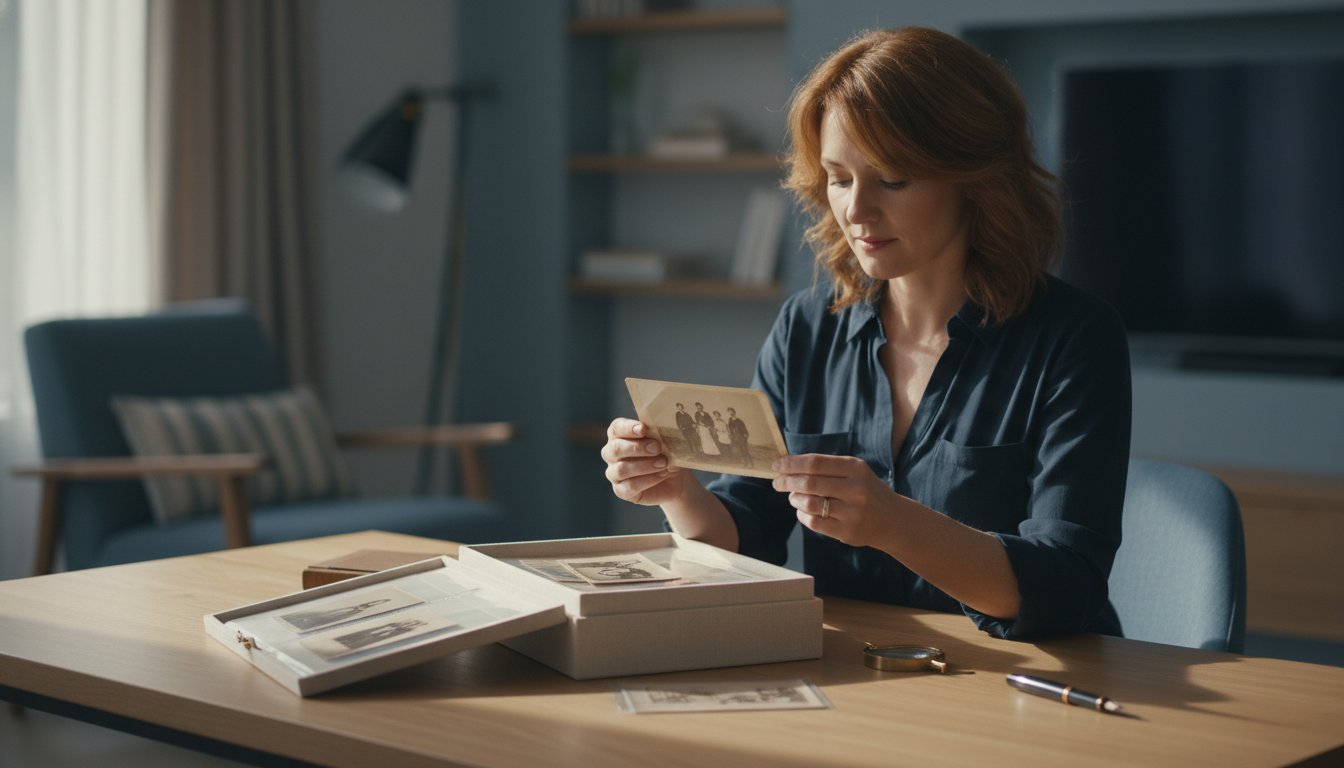
Whether you have a digital file ready for high-fidelity printing or a vintage heirloom that needs a custom housing, reaching out is the first step. First4Frames Gallery is here to provide bespoke quotes and expert guidance on how to preserve your most precious moments. Don’t let irreplaceable photos stay hidden in drawers when they could be honoring a life on your wall.
Contact our Falkirk workshop for a personal consultation.
Preserving Your Legacy for Generations
Creating a lasting tribute is a deeply personal journey that deserves the highest level of professional care. By choosing museum-grade archival materials and UV-protective glazing, you ensure that your most cherished memories remain protected from the passage of time. We’ve explored how bespoke layouts and personified design choices can transform a simple photograph into a powerful visual biography that truly honors a life well-lived.
At First4Frames, we take immense pride in every piece expertly crafted in our Falkirk workshop. Whether you need a specific artist print or access to nearly any frame style in the UK, our team is dedicated to providing a seamless, stress-free experience. We encourage you to check our reviews on Trustpilot and Google to see the high standard of service we provide to families across the country. It’s time to bring those irreplaceable moments out of storage and into your home where they can be celebrated every day.
Our artisan team is ready to help you navigate the process of thoughtful memorial picture framing with expertise and compassion. Design your thoughtful memorial frame with First4Frames today and create a beautiful, lasting tribute for the stories that matter most.
Frequently Asked Questions
Can you frame an old, fragile photograph that isn’t a standard size?
Yes, we specialize in creating custom housings for non-standard vintage photographs. Our bespoke process uses acid-free mounts and backings to secure fragile items without using harmful adhesives. Since we hand-assemble every piece in our Falkirk workshop, we can accommodate any unique dimensions. We focus on stabilizing the item for long-term display, ensuring your heirloom is protected from environmental damage while looking its absolute best.
What is the best glass to use for a memorial frame that will be in a sunny room?
UV-filtering glass is the essential choice for any memorial frame displayed in a bright, sunlit area. This specialized glazing blocks up to 99% of harmful ultraviolet rays, which are the primary cause of fading and pigment breakdown in photographs. By choosing this option, you ensure the longevity of your tribute. We offer several professional glazing levels to suit your specific environment, providing a clear view while acting as a protective shield for your legacy.
Do you offer ‘Ready-to-Hang’ memorial prints if I only have a digital file?
We provide a comprehensive service that transforms your digital files into high-quality, Ready-to-Hang Framed Art. Our team uses Giclée fine art printing to ensure maximum fidelity and color depth before professionally mounting and framing the piece. This all-in-one solution is perfect for thoughtful memorial picture framing when you only have a phone photo or digital scan. We handle the entire production process, offering secure UK shipping or local collection from our workshop.
Can I include a small object, like a piece of jewellery, inside the frame?
Yes, we can incorporate physical mementos like jewellery, medals, or letters using our bespoke deep-frame designs. These shadow boxes create a three-dimensional tribute that brings your loved one’s story to life beyond a simple flat image. Our artisans use specialized mounting techniques to secure these items safely without damaging them. This approach to thoughtful memorial picture framing turns a portrait into a comprehensive legacy piece that holds both images and precious keepsakes.
How long does the bespoke memorial framing process typically take?
The bespoke memorial framing process typically takes between one and two weeks from the initial consultation to completion. This timeframe allows our artisans to carefully source materials, hand-assemble the frame in our workshop, and ensure every detail meets our professional standards. If you’ve requested a specific frame style from our UK-wide network or a specialized Giclée print, we’ll keep you updated on the progress. We prioritize quality over speed to ensure a lasting result.