Have you ever browsed for the perfect piece of art, only to be stopped by a word you’re not quite sure of: Giclée? It’s a common question-is it just a fancy marketing term for a poster, or is there a real difference in quality? When you’re investing in art for your home, you deserve to know that your chosen piece won’t fade and that its quality matches its beauty. True Giclée prints represent the pinnacle of fine art reproduction, a world away from a standard print in both their spectacular detail and their longevity.
As passionate artisans with a love for craftsmanship, we want to demystify the jargon and share our expertise with you. In this complete guide, we will embark on a journey into the technology and artistry behind Giclée. You’ll discover exactly what makes these prints so special, learn how to identify genuine fine art quality, and understand the simple steps to care for your artwork, ensuring it remains a cherished masterpiece for a lifetime. Let’s explore the beauty and brilliance of Giclée together.
Key Takeaways
- Understand the crucial differences between a standard poster and a true fine art Giclée, from the archival inks to the premium paper it’s printed on.
- Discover the meticulous process that gives Giclée prints their spectacular colour accuracy and detail, making them a worthwhile art investment.
- Learn how to confidently identify high-quality Giclee Prints by asking the right questions and looking for specific signs of professional craftsmanship.
- Protect your beautiful new artwork by learning the essential care and framing techniques that will preserve its vibrancy for decades to come.
What Exactly is a Giclée Print? Beyond the Buzzword
You’ve likely seen the term ‘Giclée’ when browsing for premium art, but what does it truly mean? In simple terms, a Giclée (pronounced zhee-KLAY) print is the highest quality art reproduction available today. The term itself comes from the French verb ‘gicler,’ meaning ‘to spray,’ which aptly describes how microscopic droplets of ink are applied to the paper with incredible precision. But to truly understand what is a Giclée print, we must look beyond the name to the meticulous process that creates a near-perfect, museum-quality copy of an original piece.
To see this process in more detail, this video offers a fantastic overview:
This sophisticated method is worlds away from a standard desktop inkjet print. While a home printer uses a few dye-based inks on basic paper, the Giclée process relies on a combination of superior technology and premium materials. This synergy is what gives Giclée prints their spectacular colour accuracy, detail, and impressive longevity.
The Three Pillars of Giclée Quality
True Giclée quality rests on three essential components working in perfect harmony:
- The Printer: We use sophisticated, large-format printers that hold up to 12 different pigment ink cartridges. This allows for a much wider colour gamut, capturing subtle tones and hues that standard printers simply cannot replicate.
- The Ink: Giclée printing uses archival-quality pigment-based inks, not standard dyes. These pigments are lightfast and designed to resist fading for over 100 years, ensuring your artwork remains as vibrant as the day it was printed.
- The Paper: The foundation of the print is just as crucial. We use acid-free, archival certified fine art papers made from materials like 100% cotton rag. This premium substrate ensures the ink is absorbed perfectly and prevents the paper from yellowing over time.
Is Giclée Considered Fine Art?
Absolutely. The Giclée process has earned its place in the world’s most prestigious galleries, museums, and private collections. Artists embrace it as a way to create faithful reproductions of their original works, often in limited, hand-signed editions that hold significant value. This technology makes fine art more accessible, allowing collectors and art lovers to own a beautiful, lasting piece that captures every brushstroke and nuance of the original at a more approachable price point.
Giclée vs. Standard Prints: A Side-by-Side Comparison
When choosing art for your home, one of the most common questions is: what’s the real difference between a standard print and a Giclée? While both can look beautiful initially, the distinction lies in the premium materials and the precision of the process. This difference determines not just how the art looks today, but how it will look for generations to come, transforming a simple picture into a treasured heirloom. Let’s break down the key factors.
The Great Ink Debate: Pigment vs. Dye
The soul of a print is its ink, and this is where the first major difference appears. Standard printers typically use dye-based inks. These inks soak into the paper to create vibrant colours, but they are highly susceptible to fading from UV light and environmental factors. Their brilliance can sadly diminish in just a few years.
In contrast, Giclée prints use archival-quality pigment-based inks. These are microscopic particles of solid colour suspended in a liquid that sit on the surface of the paper. This method provides superior lightfastness, ensuring your art resists fading for 100-200 years under normal conditions, preserving the artist’s original vision.
Paper & Longevity: Why ‘Archival’ Matters
The foundation of a lasting print is the paper it’s printed on. Standard posters often use paper containing acid and lignin, which cause it to yellow and become brittle over time. Archival paper, essential for Giclée printing, is acid-free and made from high-quality materials like 100% cotton rag, alpha-cellulose, or premium canvas. To be considered a true fine art reproduction, the materials must meet strict criteria, often guided by Fine Art Trade Guild standards, ensuring your artwork is beautifully preserved for a lifetime.
Colour Accuracy and Detail
This is where the artistry of the Giclée process truly shines. A standard printer uses four colours (CMYK: Cyan, Magenta, Yellow, and Black) to create an image. A professional Giclée printer uses a far more sophisticated system with up to 12 different pigment inks. This dramatically expands the colour gamut, allowing for the reproduction of breathtakingly subtle tones, deep blacks, and delicate gradients that are simply impossible with standard printing. The result is a near-perfect, true-to-life copy of the original masterpiece.
Ultimately, the higher price of a Giclée print-often ranging from £50 to over £200 depending on size and artist-directly reflects an investment in longevity, colour fidelity, and museum-grade quality. It’s the choice for anyone who sees art not just as a decoration, but as a beautiful piece to be enjoyed for a lifetime.
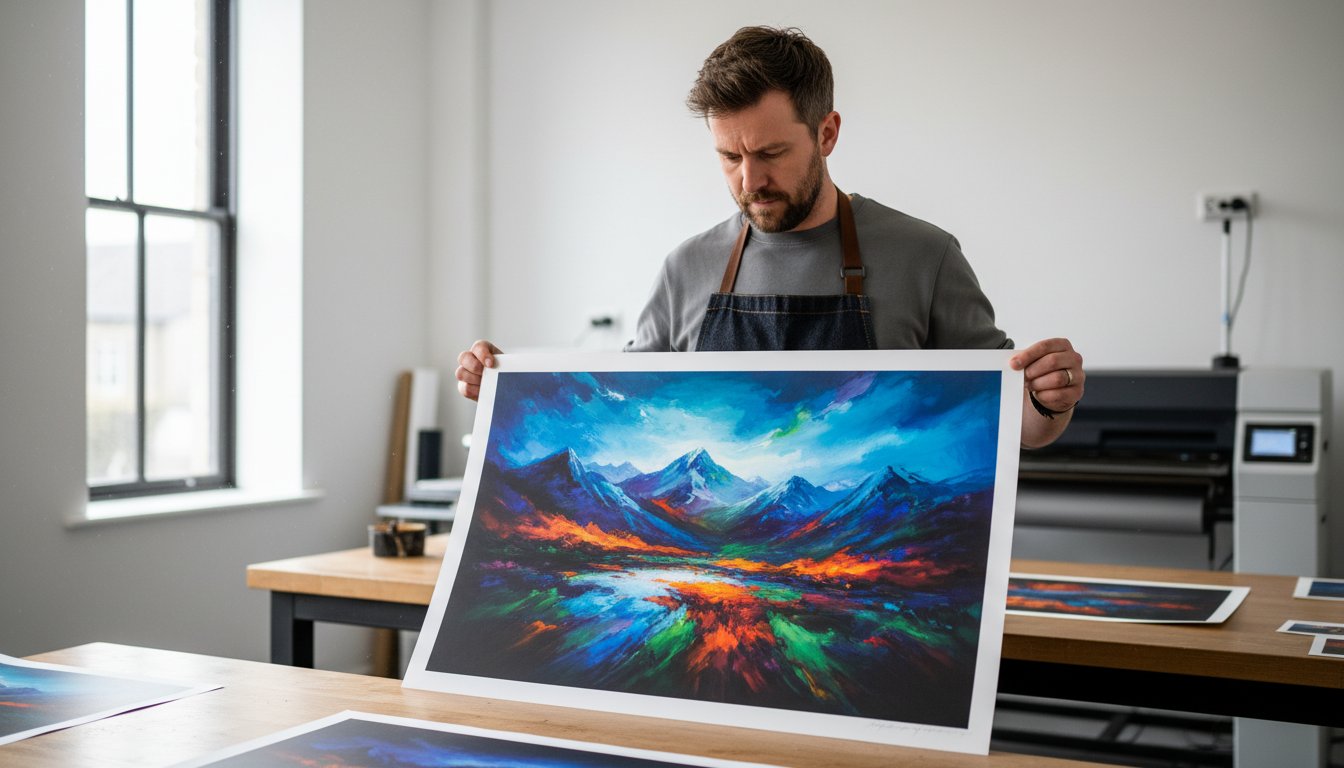
The Giclée Printing Process: From Digital File to Masterpiece
Creating a giclée print is far more than just clicking ‘print’. It’s a meticulous, hands-on process where art and technology meet, guided by the expert eye of a master printer. This dedication to craftsmanship is what transforms a digital file into a breathtaking piece of fine art, justifying its value and longevity. The difference in quality is immediately apparent; this hands-on approach is a world away from a standard desktop printer, a distinction expertly detailed in this comparison of Giclée vs. Standard Prints.
Step 1: The Perfect Digital Capture
Everything begins with the source. The final print can only ever be as good as the digital file it comes from. For an original piece of art, this means using a professional, high-resolution scanner or camera to capture every subtle brushstroke and colour nuance. This digital master file is then painstakingly colour-corrected and proofed by a specialist, who adjusts tones and brightness to perfectly match the original artwork. This foundational step ensures the digital file is a flawless blueprint for the final print.
Step 2: The Master Printer’s Role
This is where human expertise truly shines. A skilled printer doesn’t just load the paper; they act as a custodian for the artist’s vision. Their first decision is crucial: selecting the perfect archival paper. Whether it’s a textured cotton rag or a smooth matte finish, the choice is made to complement the artwork’s style and mood. Next, they calibrate the specialised giclée printer, ensuring its wide-gamut pigment inks are perfectly aligned to reproduce the colours from the proofed digital file with stunning accuracy. They oversee the entire printing process, making micro-adjustments to guarantee a flawless result.
Step 3: Quality Control and Finishing
The journey isn’t over when the print emerges from the machine. Each piece is carefully inspected under controlled lighting for any imperfections, no matter how minor. The print is then left to ‘cure’ for up to 24 hours, allowing the pigment inks to fully set and stabilise, which is vital for its archival quality. For limited edition Giclee Prints, this is also when the artist or publisher will sign and number each piece by hand, adding a final, authenticating touch to the masterpiece.
How to Choose and Identify a High-Quality Giclée Print
Embarking on your art-buying journey is an exciting experience. To ensure you invest in a piece that offers lasting beauty and value, it helps to know the hallmarks of quality. A little knowledge empowers you to become a savvy collector, choosing spectacular art with confidence. Think of this as your checklist for identifying premium giclée prints that you will treasure for a lifetime.
What to Look For Before You Buy
The difference between a standard poster and a fine art print lies in the details. A truly exceptional giclée print is a testament to craftsmanship, built from superior materials. Before you purchase, look for transparency from the seller on these key components:
- The Paper: The foundation of the print must be of archival quality. Look for descriptions like “acid-free,” “100% cotton rag,” or “museum-grade.” This ensures your print won’t yellow or degrade over time, preserving its original beauty.
- The Inks: The printer should use high-quality, pigment-based archival inks. Unlike standard dye-based inks that can fade in a few years, pigment inks are rated to last for 100+ years without noticeable fading when kept out of direct sunlight.
- The Visual Quality: Examine the print closely if you can. The colours should be deep, rich, and accurately represent the original artwork. Details should be crisp and clear, with no signs of pixelation or blurriness, even on close inspection.
Understanding Limited vs. Open Editions
You will often see prints described as either “open” or “limited” editions. An open edition means an unlimited number of prints can be produced, making them more affordable and accessible. A limited edition, however, has a fixed production run-for example, only 50 or 100 prints will ever be made. These are often hand-signed and numbered by the artist (e.g., 5/50), adding a layer of scarcity and collectability that can help the piece hold or even increase its value over time.
Trust the Seller: The Importance of a Good Gallery
Ultimately, the best way to guarantee quality is to buy from a reputable source. A trusted gallery or printmaker will be passionate about their craft and completely transparent about their process. They should be able to tell you exactly what paper and inks they use and provide details about the artist. This expertise is your assurance that you are purchasing a genuine, high-quality piece of fine art.
At First4Frames, we pride ourselves on this transparency and our commitment to premium craftsmanship. We believe art should be both beautiful and built to last. Ready to find your perfect piece? Browse our curated collection of artist prints.
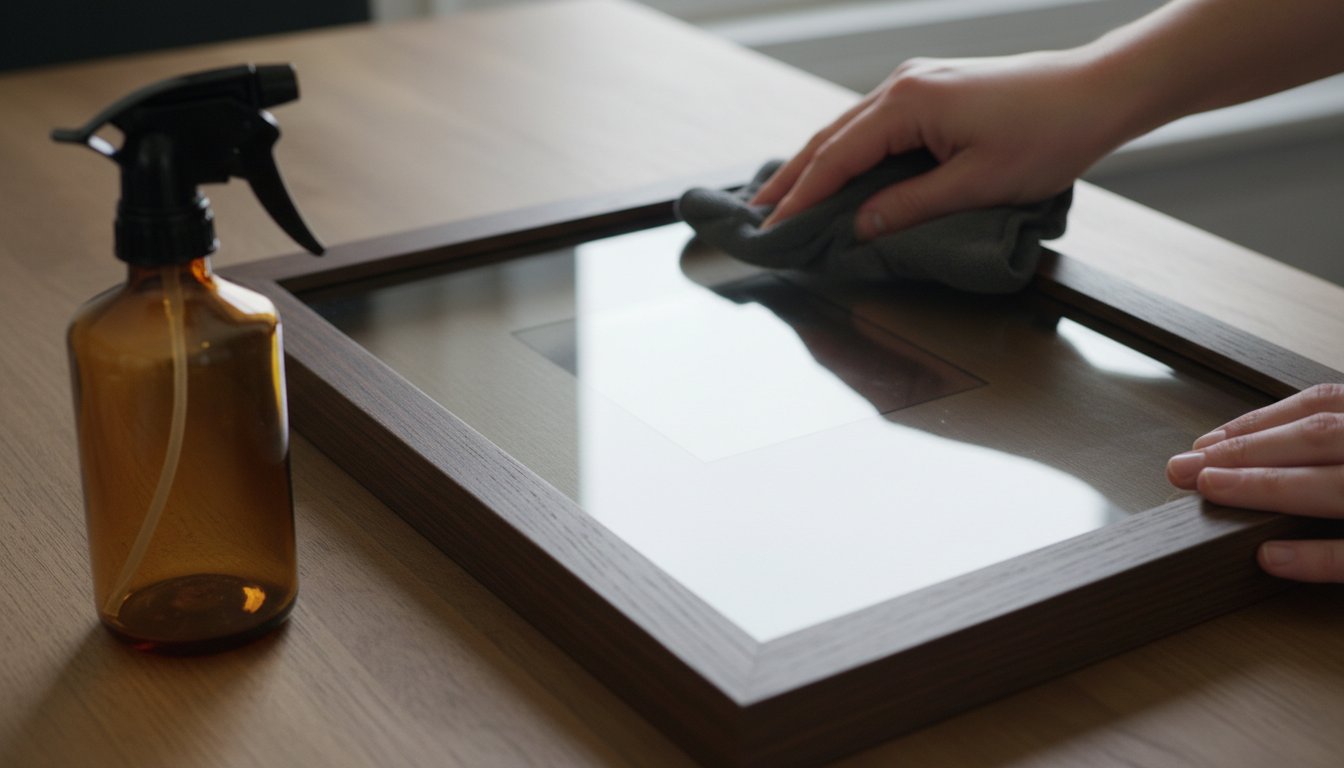
Caring for Your Giclée Print: The Crucial Role of Framing
You’ve invested in a beautiful piece of fine art-a giclée print that captures every nuance of the original artist’s vision. To ensure this spectacular artwork remains vibrant for generations, proper care is essential. The single most important step you can take to protect its longevity and value is professional framing. A frame is far more than a decorative border; it is the bridge between your art and its environment, providing crucial protection from the elements that can cause damage over time.
The Golden Rules of Framing a Giclée Print
To preserve the archival quality of your print, a few non-negotiable rules apply. These conservation-grade practices ensure your art is shielded from harm:
- Use UV-Protective Glazing: Always opt for glass or acrylic that filters out at least 97% of harmful ultraviolet (UV) light. This is your first line of defence against fading and discolouration caused by light exposure.
- Choose Acid-Free Materials: The mount (also known as a mat) and backing board must be 100% acid-free and of archival quality. Standard materials contain acids that can leach into the paper over time, causing yellowing and irreversible damage.
- Create a Breathing Space: The surface of the print should never be in direct contact with the glazing. A mount or special spacers create a small air gap, preventing moisture build-up, mould growth, and the print potentially sticking to the glass.
Choosing the Right Display Location
Where you hang your art is just as important as how it’s framed. Even the best conservation framing needs a helping hand. Avoid placing your treasured Giclée prints in environments that could compromise their integrity. Steer clear of hanging them in direct sunlight, as constant exposure can cause fading. It’s also wise to keep them away from areas of high humidity or fluctuating temperatures, such as bathrooms, kitchens, or above radiators, which can cause the paper to warp or ripple.
Why Professional Framing Makes a Difference
While DIY framing is an option, the expertise of a professional framer is an investment in the life of your art. We understand the science behind art preservation, using only premium, conservation-grade materials and proven techniques to protect your piece. A perfectly chosen bespoke frame does more than just protect; it enhances the artwork, complements your décor, and draws the viewer’s eye to the image. It’s the final, perfect touch that allows your art to truly shine. Let our experts frame your art perfectly and give it the presentation and protection it deserves.
Embrace the Lasting Beauty of Giclée
As we have explored, a Giclée print is far more than just a reproduction; it is a testament to artistic quality and longevity. By understanding the meticulous process involving archival inks and premium paper, you can confidently distinguish a true fine art piece from a standard print. Remember that professional framing is the final, crucial step in preserving its spectacular colour and detail for generations to come.
At First4Frames Gallery, we combine our passion for art with over 20 years of bespoke framing expertise. We collaborate with talented Scottish artists and use only museum-quality materials to create our beautiful Giclee Prints, ensuring every piece is a lasting masterpiece. We handle the craftsmanship so you can focus on finding the art you love.
Your journey into the world of fine art is just beginning. Discover your next masterpiece in our Giclée print gallery and find the perfect piece to bring your space to life.
Your Giclée Print Questions Answered
Are Giclée prints worth the money?
Absolutely. Think of a Giclée not as a simple poster, but as a long-term investment in art. While the initial cost, which can range from £50 to over £200, is higher than a standard print, you are paying for superior quality. Giclée printing uses archival inks and acid-free paper, ensuring spectacular, fade-resistant colours that faithfully capture the artist’s original vision. This level of craftsmanship ensures your art remains beautiful for a lifetime.
How long will a Giclée print last?
A professionally produced Giclée print is created to museum-quality standards. When cared for properly and displayed away from direct, prolonged sunlight, it can last for over 100 years without any significant fading or discolouration. This exceptional longevity is thanks to the use of stable, pigment-based archival inks and premium, acid-free paper. It’s a testament to a process designed to preserve the integrity and beauty of an artwork for generations to enjoy.
Can I make my own Giclée prints at home with a desktop printer?
Unfortunately, a standard home printer isn’t equipped for true Giclée printing. The process requires a specialised, professional-grade inkjet printer that uses a minimum of 8 to 12 pigment-based archival inks. This technology achieves a far wider range of colours and much finer detail than typical home devices. For a genuine fine art reproduction that captures every nuance, it’s essential to use a trusted professional printing service with the correct equipment and expertise.
Is a Giclée print the same as a canvas print?
Not always, though you can have a Giclée print on canvas. “Giclée” refers to the premium printing *process*-using archival pigment inks for superior colour and detail. “Canvas print” simply refers to the *material* the image is printed on. You can have a lower-quality print on canvas, or you can elevate it by choosing the Giclée method. The key difference is the print quality, ink longevity, and colour fidelity that makes Giclée the fine art standard.
How can you tell if a print is a genuine Giclée?
There are a few clear signs of genuine Giclée craftsmanship. The print should exhibit incredibly fine detail with no visible dot patterns, even under close inspection; the colour should appear as a continuous tone. It will be on heavy, high-quality archival paper or canvas, not thin or glossy photo paper. Reputable sellers and artists will also often provide a certificate of authenticity, giving you confidence that you are purchasing true Giclée prints.
Do Giclée prints increase in value?
While their primary value is in their exceptional quality and longevity, a Giclée print can increase in monetary value. This is most likely to happen with a limited-edition print that is hand-signed by a well-regarded or rising artist. Factors like the artist’s reputation, the rarity of the edition, and the print’s condition all play a crucial role. It is best viewed as an investment in lasting, beautiful art, with the potential for financial appreciation.