Glasgow’s vibrant energy is unforgettable, but capturing that unique soul for your own walls can feel like a daunting task. You know you want a piece of the city to call your own-a memory of its iconic architecture or the mood of its cobbled lanes-but where do you begin? And once you find a print you love, how do you ensure its quality and navigate the world of framing without the hassle, confident it will look perfect in your space?
Embark on a journey of artistic discovery with our definitive guide. We believe that finding beautiful art prints of Glasgow should be a joy, not a chore. Here, we’ll explore everything from the majestic sweep of the Clyde to the contemporary cool of the Merchant City, helping you connect with a piece that truly resonates. We will also demystify the art of professional framing, showing you how the right bespoke frame doesn’t just protect your print-it elevates it, creating a spectacular, ready-to-hang masterpiece for your home.
Capturing the Heart of Glasgow: More Than Just a Picture
Glasgow is a city of beautiful contradictions. It’s where magnificent Victorian grandeur stands proudly alongside the raw, industrial grit of its shipbuilding past. This unique character-a blend of history, humour, and resilience-makes it an endlessly inspiring subject for artists. Choosing from the many beautiful art prints of Glasgow available is about more than just decoration; it’s about bringing a piece of that spirit home, creating a powerful emotional connection to a place you love.
To see this creative process in action, watch how a local artist develops their Glasgow-inspired illustrations:
A high-quality print elevates a memory into a timeless piece of art. It transforms your space, turning a simple photograph or illustration into a focal point that tells a story-your story of the city.
The Spirit of the City in Art
From the iconic Finnieston Crane dominating the River Clyde skyline to the cobbled charm of the West End’s hidden lanes, artists capture the city’s soul. They find inspiration not just in landmarks but in the everyday energy, celebrating civic pride and personal memories. An artist’s interpretation can highlight the striking architecture of Charles Rennie Mackintosh or the playful spirit of the city’s famous cone-hatted statues, which form a key part of Glasgow’s public art. These artworks become a tribute to the moments and places that define our connection to Glasgow.
Why Choose a Quality Giclée Print?
When selecting art prints of Glasgow, the quality of the print itself makes all the difference. A Giclée (pronounced “zhee-clay”) print is a premium, gallery-quality reproduction created using specialist archival inks and fine art paper. This process ensures the artwork you choose is a perfect, lasting tribute to the city.
- Superior Colour Accuracy: Giclée printing captures the artist’s original vision with breathtaking detail and a rich, vibrant spectrum of colour.
- Archival Quality: The use of pigment-based inks and acid-free paper means your print is designed to resist fading and yellowing for over 100 years.
- Exceptional Detail: This method produces a sharpness and clarity that standard printing simply cannot match, preserving every brushstroke and fine line.
Unlike a standard poster that can quickly lose its vibrancy, a Giclée print is an investment in craftsmanship and longevity, ensuring your piece of Glasgow remains beautiful for generations to come.
Iconic Glasgow Landmarks Through the Artist’s Eye
Glasgow is a city of spectacular contrasts, and nothing captures its unique spirit quite like a piece of art. Beyond a simple photograph, an artist’s interpretation reveals the soul of a place-the dramatic light on a tenement, the vibrant energy of a crowd, or the quiet dignity of an industrial giant. This curated tour explores how different artists see the city’s most beloved landmarks, helping you find the scenes that resonate with your own Glasgow story and inspire the perfect gallery wall.
Architectural Marvels: The University, Kelvingrove & Mackintosh
The city’s architecture offers a rich palette for artists. The gothic splendour of the University of Glasgow, with its spires reaching into often-moody skies, is a frequent subject for dramatic, atmospheric prints. Nearby, the warm, red sandstone of the Kelvingrove Art Gallery and Museum is an icon in itself. It’s a building that not only inspires artists with its stunning exterior but also houses much of Glasgow’s nationally recognized art collection. For a different aesthetic, the clean lines and distinctive motifs of Charles Rennie Mackintosh’s work inspire beautiful, elegant art prints perfect for a modern space.
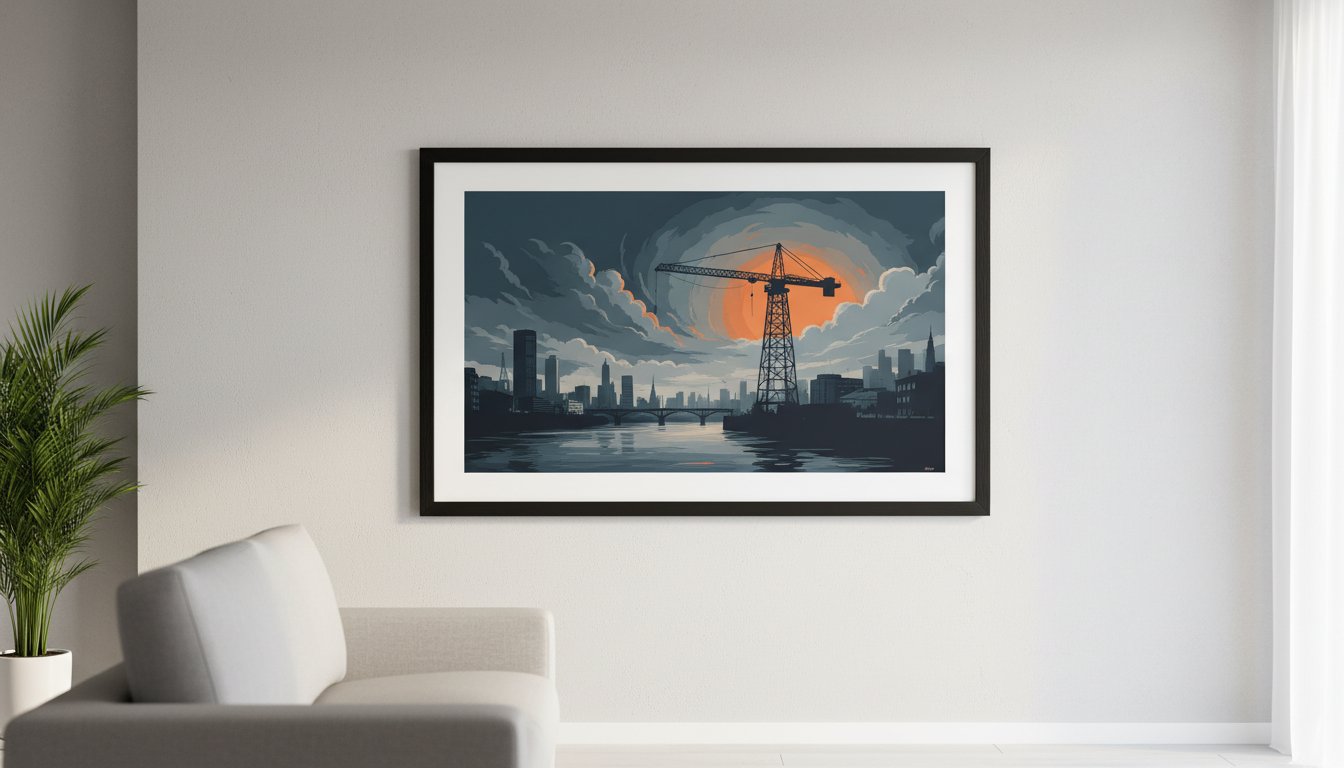
Industrial Heritage: The Finnieston Crane & River Clyde
Glasgow’s strength and history are forged in its industrial past, symbolised perfectly by the Finnieston Crane. Artists capture its stark, powerful silhouette in every mood-from a bold graphic against a clear sky to a melancholic figure in the soft Glasgow rain. Prints of the River Clyde and its bridges tell stories of connection and resilience, adding a sense of grounded history to any room. These pieces are a tribute to the city’s engineering prowess and enduring character.
Cultural Hubs: The Barras, Music Venues & West End
The vibrant heart of Glasgow beats strongest in its cultural hubs. Artists often depict the brilliant chaos and colour of The Barras market, capturing the energy of the weekend crowds. For music lovers, a print of the legendary Barrowland Ballroom, with its iconic flashing stars, is a must-have. In contrast, the charming, fairy-lit cobbles of Ashton Lane or the tranquil beauty of the Botanic Gardens in the West End offer a softer, more romantic view of the city, showing the incredible diversity found in art prints of glasgow.
The Duke of Wellington (And His Cone)
No landmark better represents Glasgow’s unique and irreverent sense of humour than the Duke of Wellington statue, permanently crowned with a traffic cone. This quirky icon is a source of immense local pride and endless artistic inspiration. You’ll find it reimagined in every style imaginable: as a bold, minimalist graphic; a detailed, humorous illustration; or even a subtle watercolour. A print of the Duke is more than just a picture; it’s a statement about the playful, defiant spirit of the city.
Finding Your Style: A Guide to Glasgow Art Genres
Choosing art is a deeply personal journey. The perfect piece does more than just fill a space on your wall; it acts as a bridge between your home’s decor and your own personality, telling a story about who you are. This guide is designed to help you navigate the diverse world of art prints of glasgow, empowering you to discover which style resonates with you and select a beautiful print with absolute confidence.
Atmospheric Photography
Photography captures a fleeting moment and preserves its soul forever. For a timeless, dramatic feel, consider a moody black and white print of a rain-slicked Ashton Lane. If your space is modern and energetic, a vibrant colour photograph of the Finnieston Crane at sunset will make a spectacular statement. Pay close attention to how the artist uses light and shadow to evoke the unique atmosphere that makes Glasgow so special.
Vibrant Illustrations & Graphic Design
For a bold injection of personality, look no further than illustrations and graphic design. Clean, minimalist travel poster styles featuring landmarks like the Duke of Wellington statue offer a contemporary look that complements modern interiors perfectly. Alternatively, an intricate, detailed illustration of the city’s architecture invites closer inspection, revealing new details every time. These prints are a fantastic way to add a pop of colour and character to a kitchen, hallway, or home office.
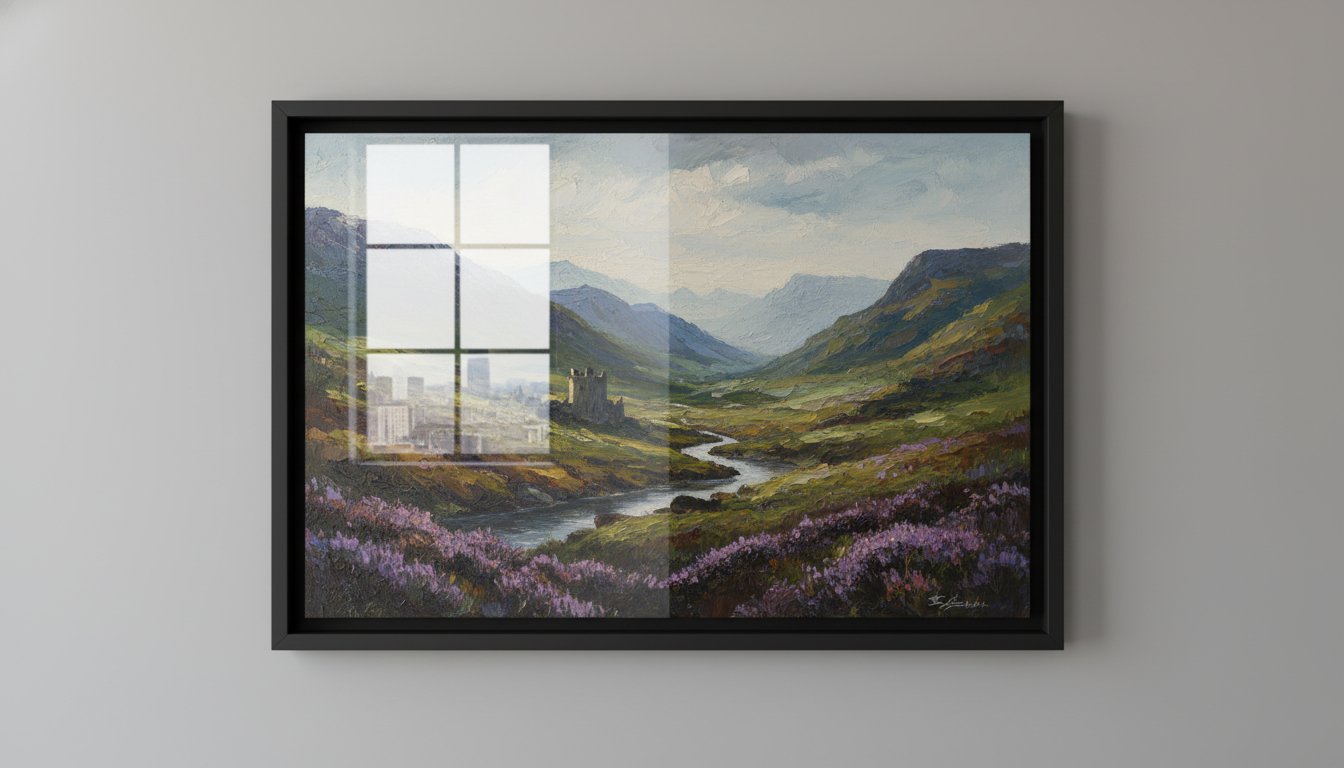
Classic Paintings & Watercolours
Glasgow has a rich artistic heritage, a legacy beautifully captured in classic mediums now available as premium Giclée prints. The soft, evocative feel of a watercolour cityscape can bring a sense of calm to a bedroom, while the rich textures of an oil or acrylic painting reproduction add depth and sophistication. For those inspired by this history, the extensive archives at the University of Glasgow Special Collections offer a fascinating glimpse into the city’s artistic past. These timeless pieces are ideal for bringing warmth to traditional or eclectic homes.
Ultimately, the best style is the one you connect with. Whether you’re drawn to the gritty reality of photography or the charming lines of an illustration, the right print will transform your space. Ready to find the piece that speaks to you? Embark on your own journey of artistic discovery in our online gallery.
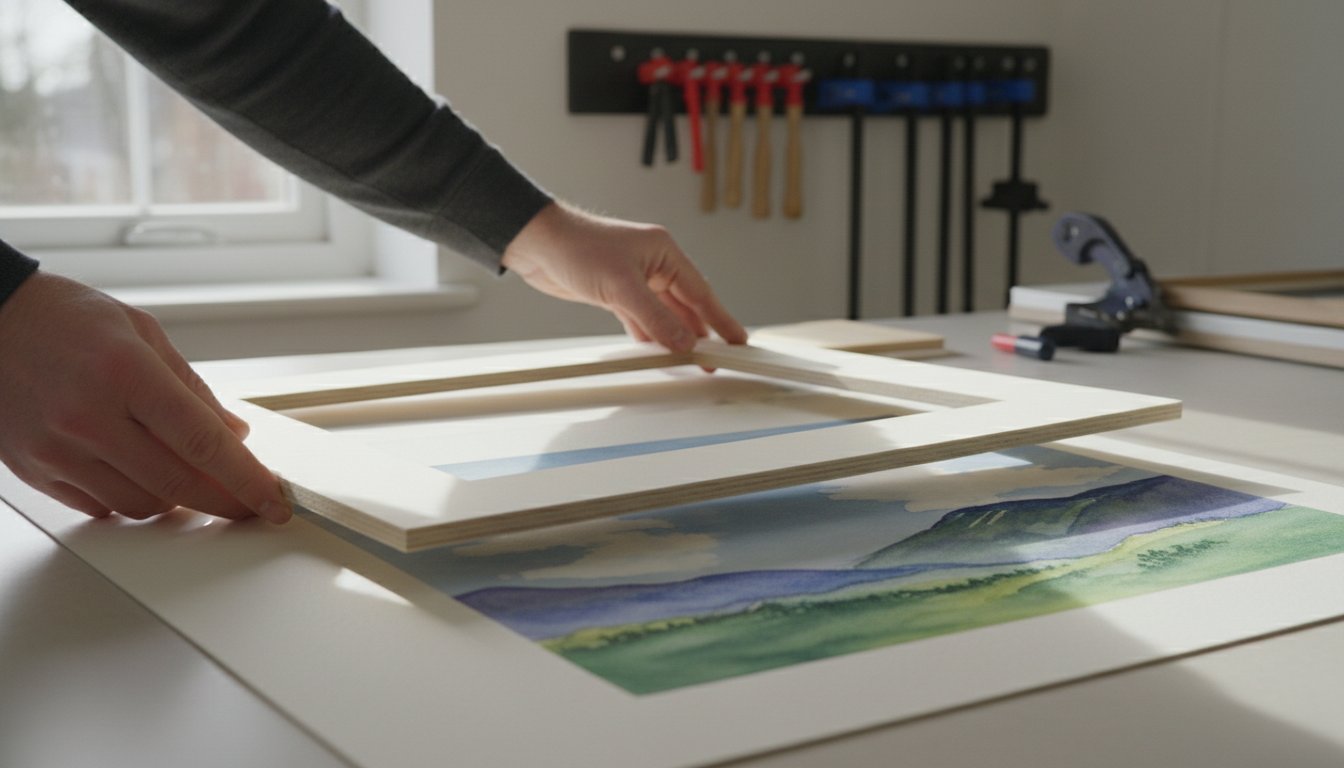
The Finishing Touch: Why Professional Framing Elevates Your Art
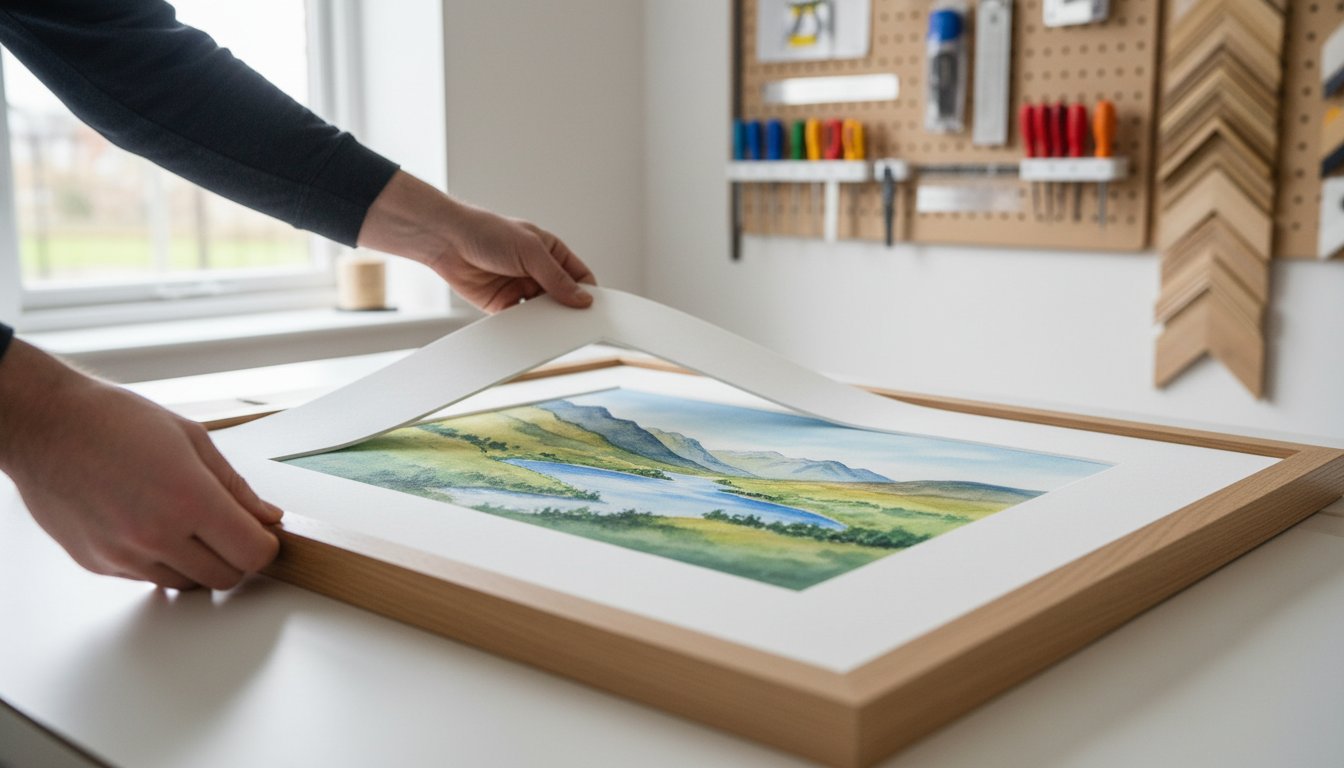
You’ve found it-the perfect print that captures the spirit of Glasgow. But the journey from screen to wall isn’t complete. All too often, a beautiful piece of art ends its life rolled up in a delivery tube, waiting for a frame that never comes. We believe a frame isn’t just an accessory; it’s an integral part of the artwork itself, the final step that brings it to life in your home.
That’s why we offer a seamless, one-stop-shop experience. We take the hassle out of presentation, ensuring your chosen artwork arrives perfectly finished and ready to display with pride.
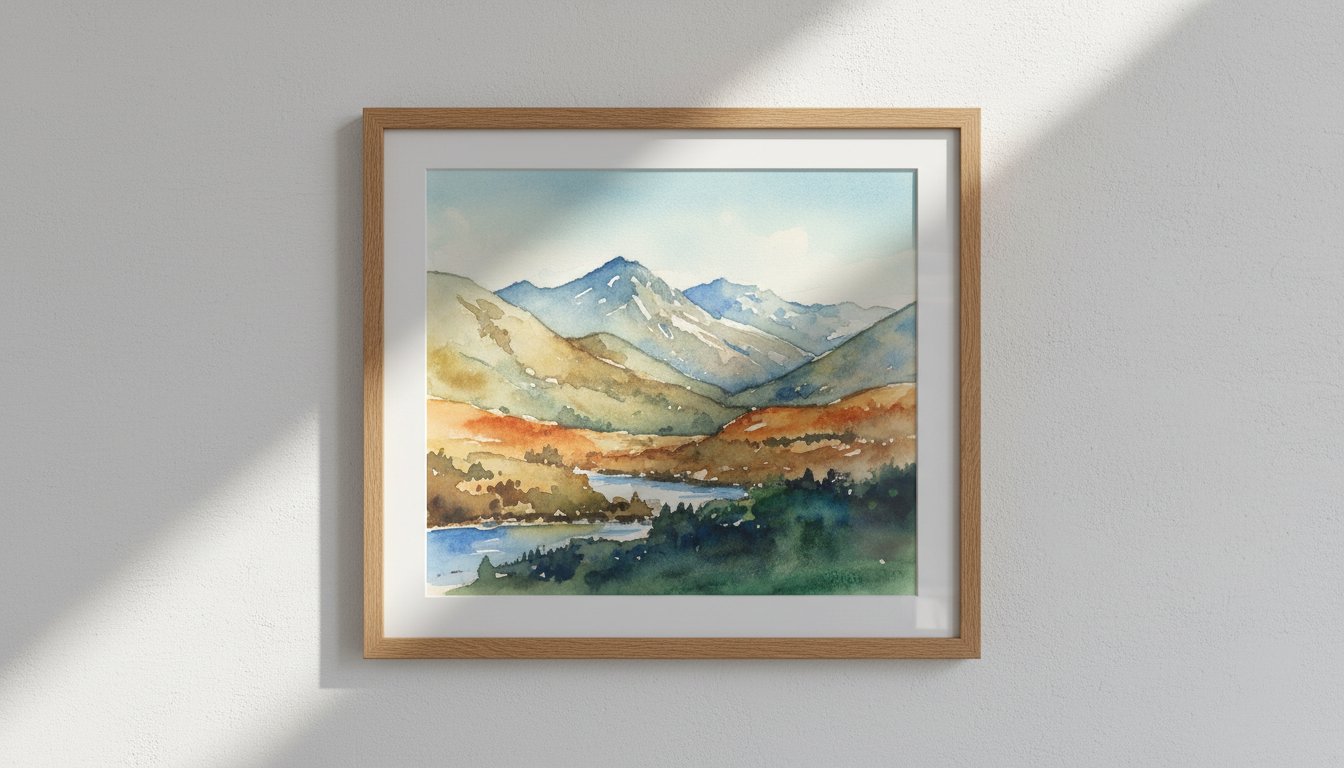
A Frame is a Bridge to Your Room
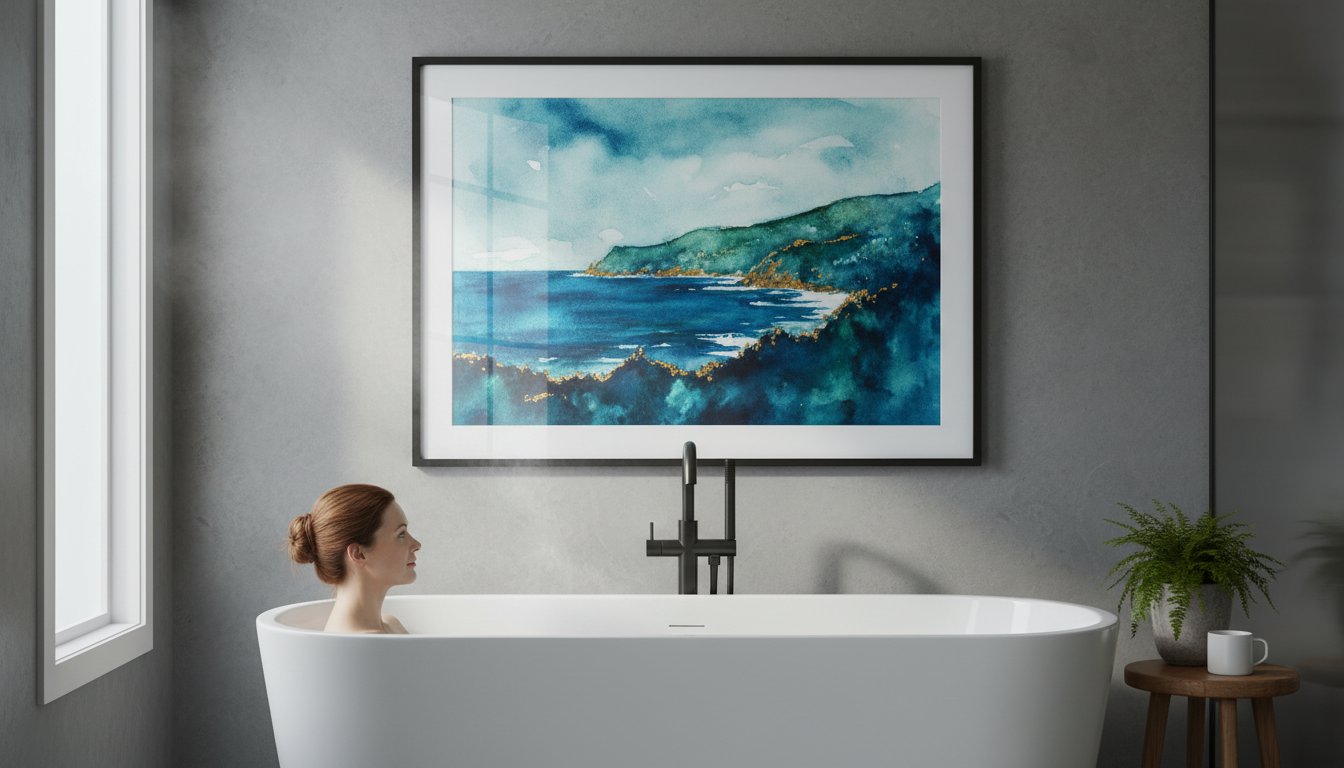
Think of a frame as the essential bridge connecting your new artwork to your existing decor. The right choice of material and colour can harmonise the print with your space. A classic solid wood frame adds warmth and tradition, while a sleek black or white frame offers a contemporary, gallery-style finish. For a more industrial or modern look, brushed metallics can provide a stunning contrast. The mount is equally important, creating breathing space that draws the eye inward and gives your print the focus it deserves.
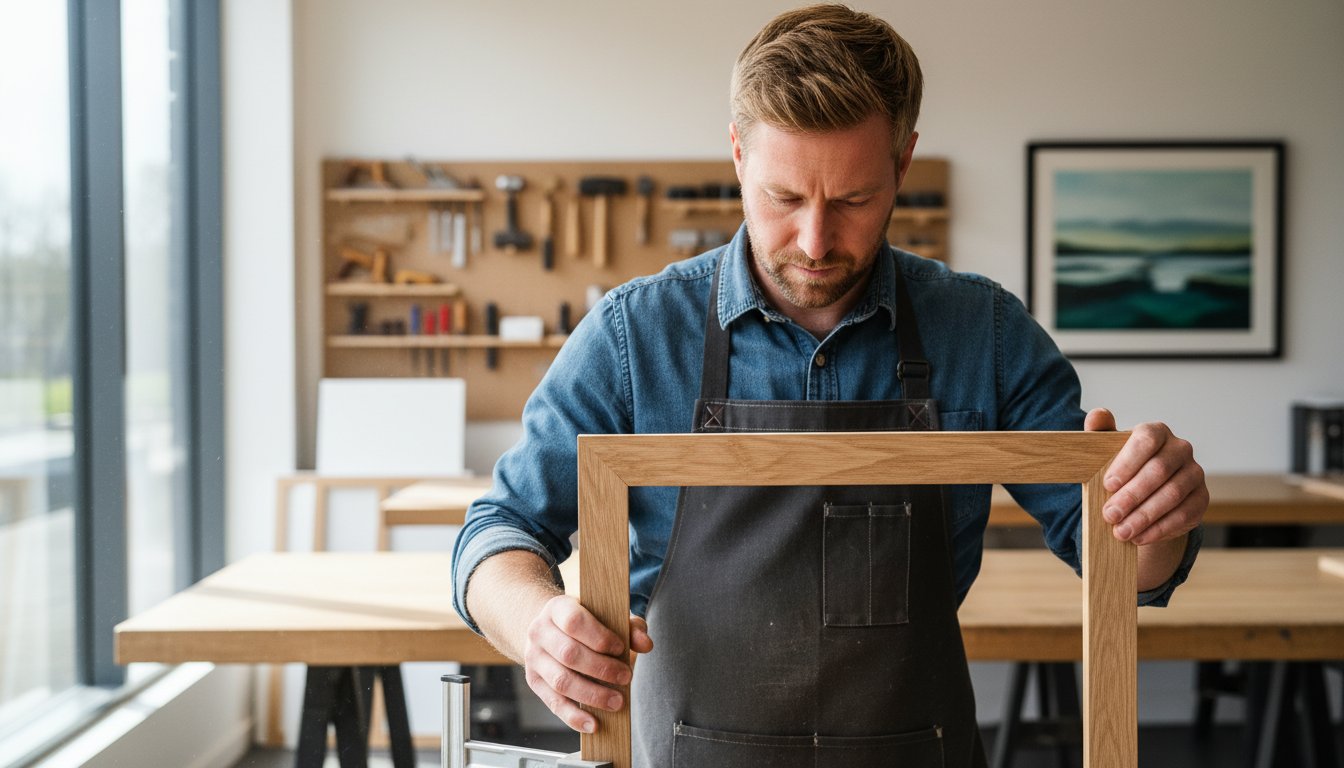
Bespoke Framing vs. Off-the-Shelf
While off-the-shelf frames offer a quick solution, they often fall short in quality and protection. Our bespoke framing service uses premium, acid-free materials to preserve the vibrancy of your print for decades, preventing discolouration. Unlike standard sizes that can pinch or leave gaps, a custom-built frame ensures a perfect, secure fit. This professional craftsmanship not only looks superior but provides the long-term protection your fine art prints of Glasgow warrant.
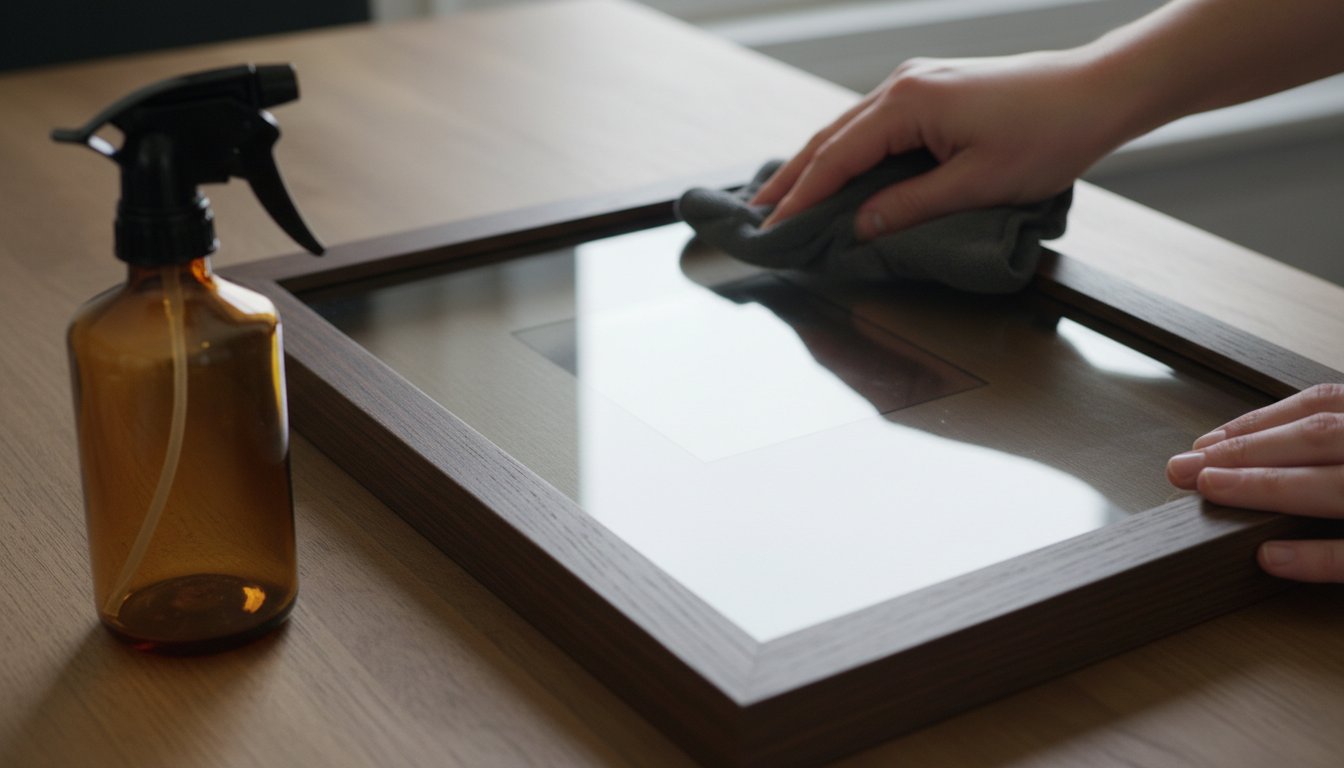
The Ease of Ready-to-Hang Framed Art
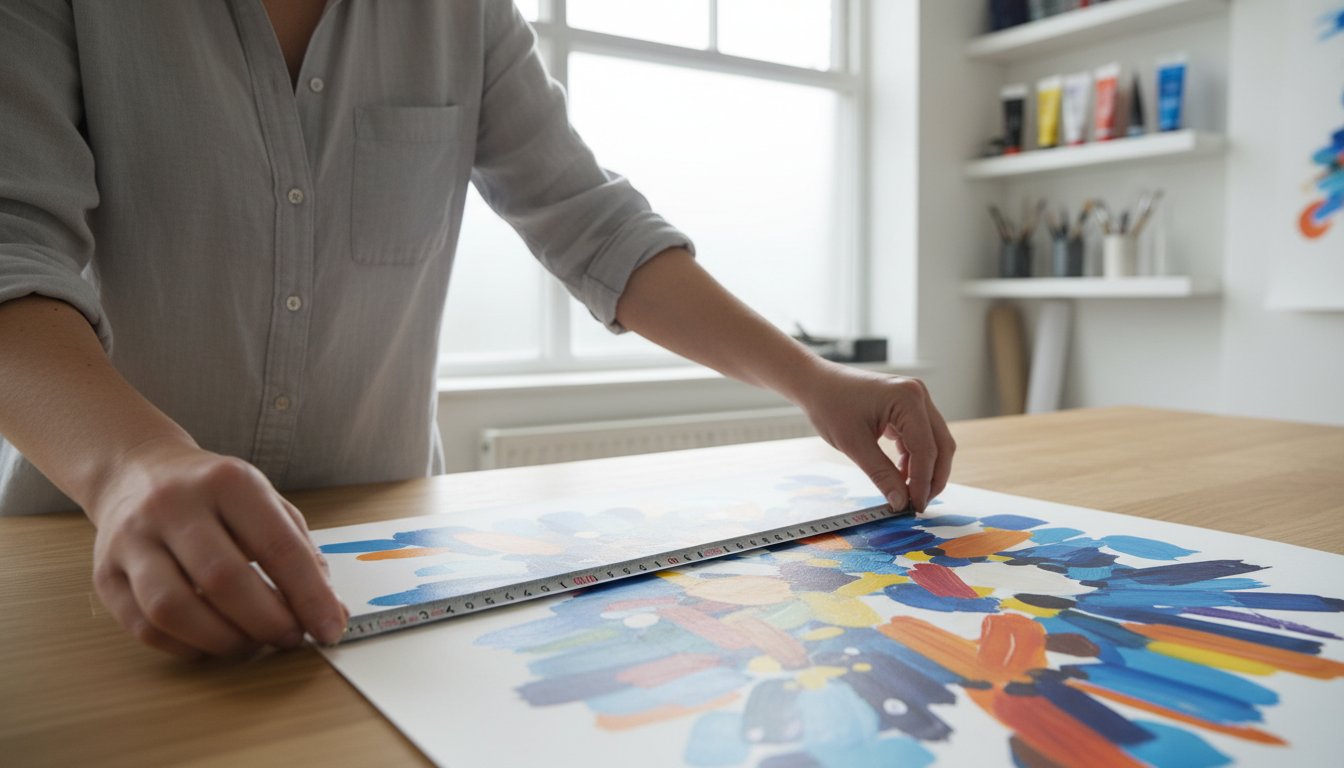
Imagine the ultimate convenience: your chosen print arrives at your door, not in a tube, but flawlessly framed and ready to hang. There are no extra trips to a framer, no complicated measurements, and no delays. You simply unbox your piece and place it on the wall. This is the simple, elegant solution for busy art lovers who value both quality and time.
Transform your space without the fuss. Browse our collection of framed Glasgow prints and let us do the work, so you can focus on enjoying your beautiful new art.
Your Piece of Glasgow Awaits
Choosing the perfect art prints of glasgow is a journey into the heart of the city itself. It’s about more than just a picture; it’s about finding a piece that captures Glasgow’s unique energy, from its iconic landmarks to its vibrant, hidden corners. As we’ve explored, selecting an artistic style that speaks to you and understanding how a professional frame elevates the final piece are the key steps to making your chosen artwork a true centrepiece.
At First4Frames Gallery, we pour our passion for craftsmanship into this very journey. With over 20 years of bespoke framing experience, we collaborate directly with talented Scottish artists to create a spectacular collection. Each piece is a premium, archival-quality Giclée print, ensuring the beauty and character of Glasgow will not fade over time, becoming a lasting part of your home.
Ready to find your perfect view of the city? Explore our curated collection of Glasgow art prints and begin your own artistic discovery today.
Frequently Asked Questions
What are the most popular Glasgow landmarks to have in an art print?
Our collection celebrates the city’s unique character, with certain landmarks being perennial favourites. The iconic Duke of Wellington statue (complete with cone), the majestic Glasgow University tower, and the industrial silhouette of the Finnieston Crane are incredibly popular. For a touch of vibrant culture, many customers also choose spectacular prints of the Barrowland Ballroom neon sign. These beautiful art prints of Glasgow capture the true spirit and history of the city, making them a perfect addition to any home.
What is the difference between a poster and a high-quality Giclée art print?
The difference lies in the quality and longevity. A poster is typically mass-produced on thinner paper with standard inks that can fade over time. In contrast, a Giclée print is a premium, fine art reproduction. We use archival-quality pigment inks on heavyweight, acid-free paper, resulting in a spectacular print with rich, deep colours and an identical level of detail to the original artwork. A Giclée print is an investment designed to last a lifetime without fading.
How do I choose a frame that will match my home decor?
A frame is the perfect bridge between your artwork and your room’s decor. For modern or minimalist interiors, a simple black or natural oak frame often works best. If your decor is more traditional, consider a classic wood finish to add warmth. Think about your existing colour palette-you can either match a dominant colour in the room or choose a contrasting frame to make your Glasgow art print a true statement piece. Our team is always happy to offer expert advice.
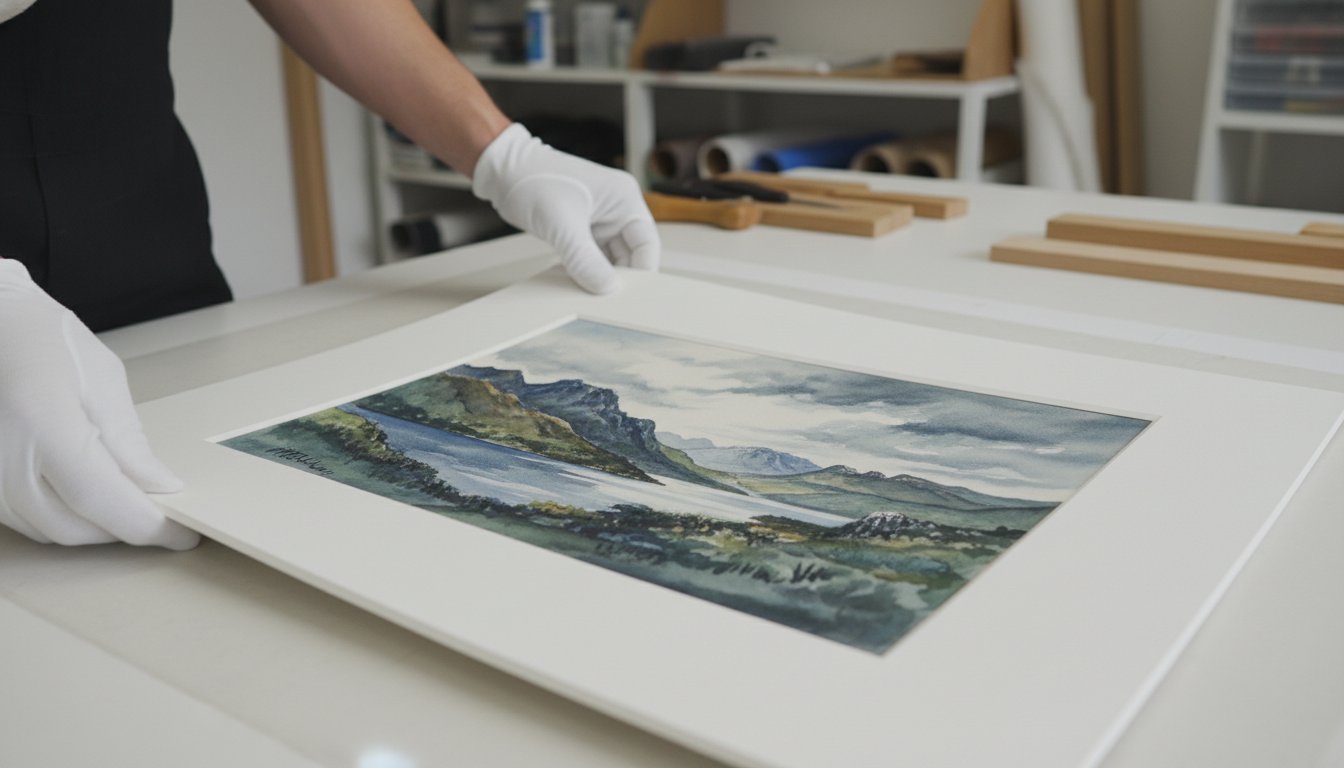
Can you frame a Glasgow print that I already own?
Absolutely. We offer a hassle-free, bespoke framing service for artwork you already cherish. As trusted professionals with over twenty years of experience, we can help you select the perfect frame and mount combination to protect and enhance your print. Simply bring your artwork to our workshop, and our skilled craftspeople will create a beautiful, custom frame that does your piece justice. Your art is in safe hands with us.
Do you feature local Scottish and Glasgow-based artists in your collection?
Yes, we are passionate about championing local talent. Our collection of art prints of Glasgow proudly features a curated selection of work from Scottish and Glasgow-based artists. We believe this is essential for capturing the city’s authentic soul and offering our customers unique, heartfelt perspectives. By supporting local artists, we ensure our gallery is filled with fresh, inspiring pieces that truly celebrate the creativity thriving right here on our doorstep.
How long does it take to receive a custom-framed print?
We pride ourselves on offering a speedy, reliable service without compromising on our high standards of craftsmanship. Typically, a bespoke, professionally framed print is ready for collection or dispatch within 7-10 working days from when you place your order. This allows our team the necessary time to meticulously craft the perfect frame for your chosen artwork. We will always keep you updated on the progress of your beautiful new piece.