That moment of hesitation before ordering a bespoke frame is all too familiar. You’ve found a spectacular piece of art, but now the questions begin: have I measured correctly? Will it fit perfectly? The fear of a costly mistake can take the joy out of creating a beautiful display. But what if we told you that learning how to measure for a picture frame is a simple skill? As passionate artisans, we believe every artwork deserves a perfect home, and that journey begins with a single, confident measurement.
In this step-by-step guide, we demystify the entire process with the precision of true craftsmanship. We’ll walk you through exactly what to measure, whether you’re planning to use a beautiful mount or letting the art speak for itself. You’ll finally understand terms like ‘aperture’ and ‘rebate’ and gain the confidence to order your next custom frame flawlessly. Say goodbye to uncertainty and get ready to give your art the professional finish it truly deserves.
Key Takeaways
- Learn the single most important rule for a perfect fit: always measure the artwork itself, not the wall space where it will hang.
- Master how to measure for a picture frame with our simple, step-by-step process that guarantees accurate dimensions every time.
- Uncover the secret to a professional gallery finish by understanding how a picture mount can both elevate and protect your artwork.
- Understand the difference between artwork size and frame size to confidently place your bespoke order and avoid common, frustrating errors.
The Golden Rule: Why You Must Measure Your Artwork First
Embarking on the journey to frame a beloved piece of art is exciting. But before you fall in love with a particular style, there is one golden rule that guarantees a perfect, professional finish: always measure your artwork first, not the wall space. This simple step is the foundation of the entire process and the most critical part of learning how to measure for a picture frame. All frame dimensions are determined by the size of the piece it will house, ensuring the final result is balanced, secure, and beautifully presented.
To help you get started, this short video offers a clear visual guide on the correct measuring technique.
Getting it right doesn’t require complex equipment. You only need a few basic tools to ensure your measurements are spot-on:
- A quality steel tape measure for accuracy.
- A pencil for making light marks.
- A piece of paper or a notebook to record your dimensions.
Defining the Terminology
When ordering a frame, you’ll encounter a few specific terms. Understanding them is key to a successful result. The Artwork Size is the exact edge-to-edge dimension of your print or canvas. The Aperture (or window) is the opening in the mount board that your artwork is viewed through; it’s usually slightly smaller than the artwork to create a neat overlap. Finally, the Rebate is the inner lip of the frame where the glass, mount, artwork, and backing board all sit. For a deeper look into the anatomy of a frame, this resource explaining What is a Picture Frame? offers a brilliant overview.
Ready-Made vs. Bespoke Frames: A Quick Comparison
While ready-made frames from high-street shops are convenient, they are produced in standard sizes that often don’t quite match your artwork, leading to awkward gaps or cropping. A bespoke frame, however, is crafted to your exact measurements. This is where your accuracy pays off, unlocking a truly professional finish that protects and enhances your art. Taking the time to measure correctly is the single most important step towards achieving that spectacular, gallery-quality look in your own home.
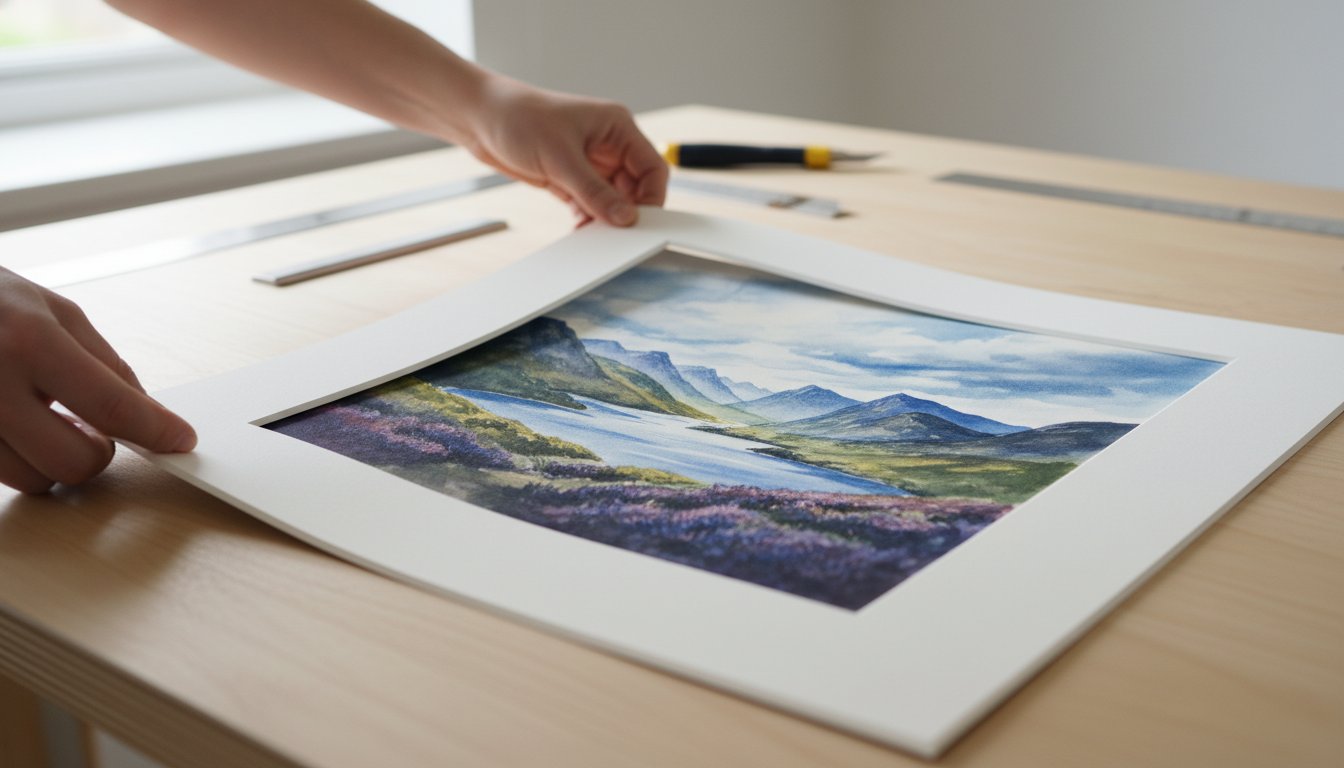
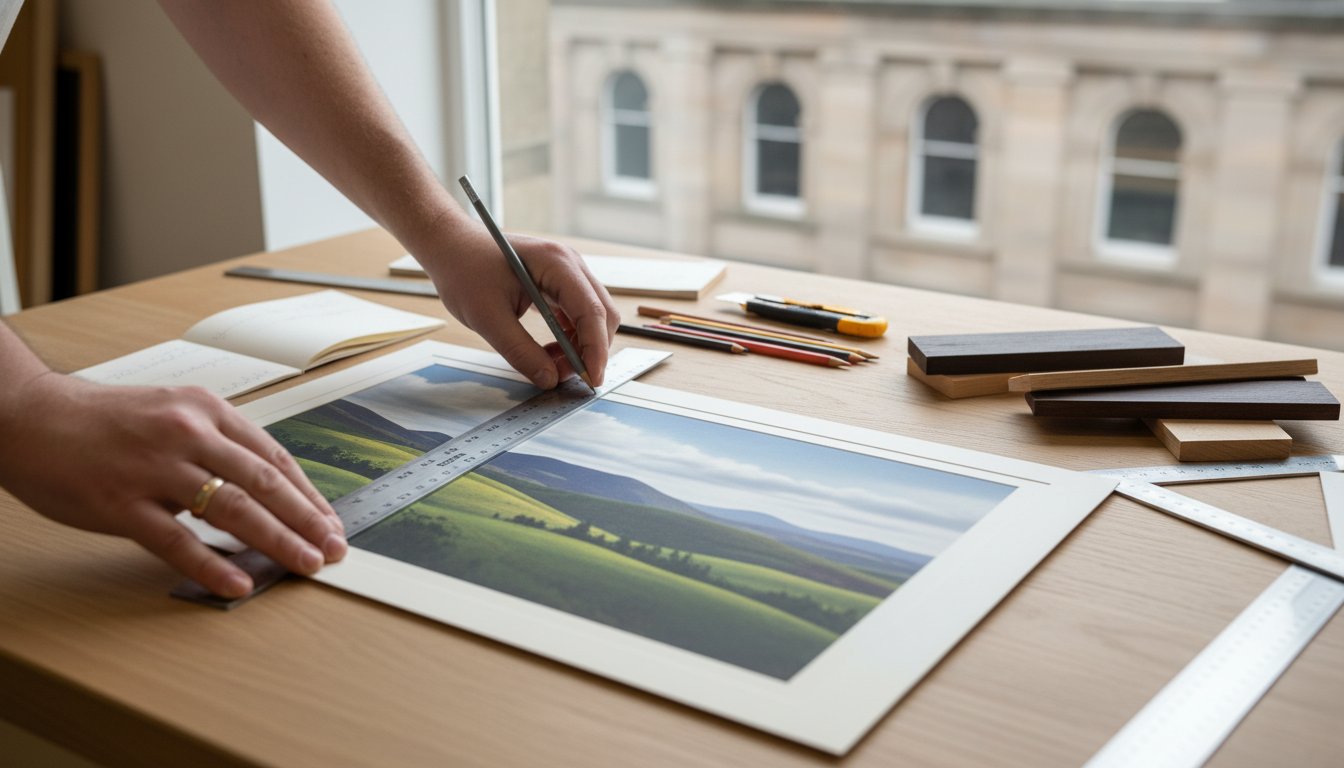
Your 5-Step Guide to Measuring Artwork Accurately
Achieving a flawless, professionally framed finish starts with one crucial element: accurate measurements. Taking a few moments to measure your artwork correctly is the most important step in understanding how to measure for a picture frame. This simple process ensures your bespoke frame will be the perfect home for your piece, enhancing its beauty without compromise. Follow these five steps for a perfect fit, every time.
- Lay your artwork on a clean, flat surface. Before you begin, ensure the area is free from any debris that could damage your piece. A large, clear dining table or a clean floor works perfectly.
- Measure the width. Using your tape measure, measure the full width of your artwork from the absolute left edge to the absolute right edge. This is your first critical dimension.
- Measure the height. Next, measure the height from the very top edge to the very bottom edge. Be precise and ensure your tape measure is straight.
- Double-check your measurements. This step is non-negotiable! We live by the craftsman’s motto: measure twice, order once. Re-measure both the width and height to confirm your numbers are correct.
- Record your dimensions clearly. Write down your final measurements, making a clear note of which is the width and which is the height (e.g., Width = 400mm, Height = 600mm). This prevents any confusion when placing your order.
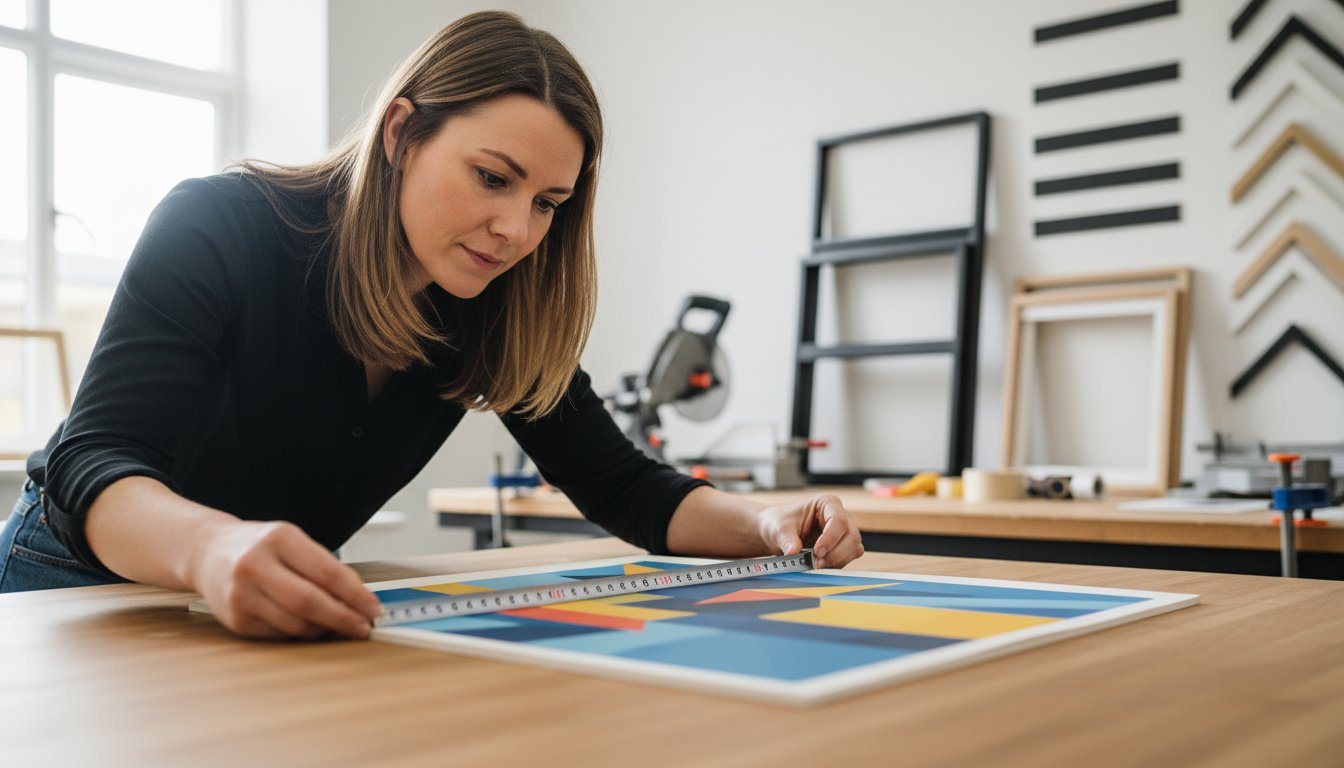
Technique Tips for Precision
To guarantee your measurements are as accurate as possible, follow the techniques used by experts. Always use a rigid steel tape measure; a fabric or plastic one can stretch and lead to inaccuracies. For the best results, measure the width and height in at least two different places to ensure your artwork is perfectly square. Following professional standards, as recommended by organisations like the Professional Picture Framers Association (PPFA), means recording your dimensions in millimetres (mm) for the greatest precision.
What If Your Artwork Has a Border?
Many prints and photographs come with a white border, which presents a creative choice. Do you want this border to be visible, or would you prefer it to be hidden beneath a mount? If you want to display the entire piece, including any signatures or edition numbers in the border, simply measure the full paper size as described above. However, if you plan to use a mount to overlap the edge, you only need to measure the image area you wish to be visible. This is a key detail in learning how to measure for a picture frame that truly complements your art.
Measuring Different Types of Artwork
Every beautiful piece you wish to display is unique, and the secret to a perfect, professional finish lies in taking the right measurements from the start. The method for how to measure for a picture frame changes slightly depending on what you are framing. Whether it’s a deep canvas, a delicate print, or a treasured piece of memorabilia, each requires a specific approach to ensure it is housed perfectly.
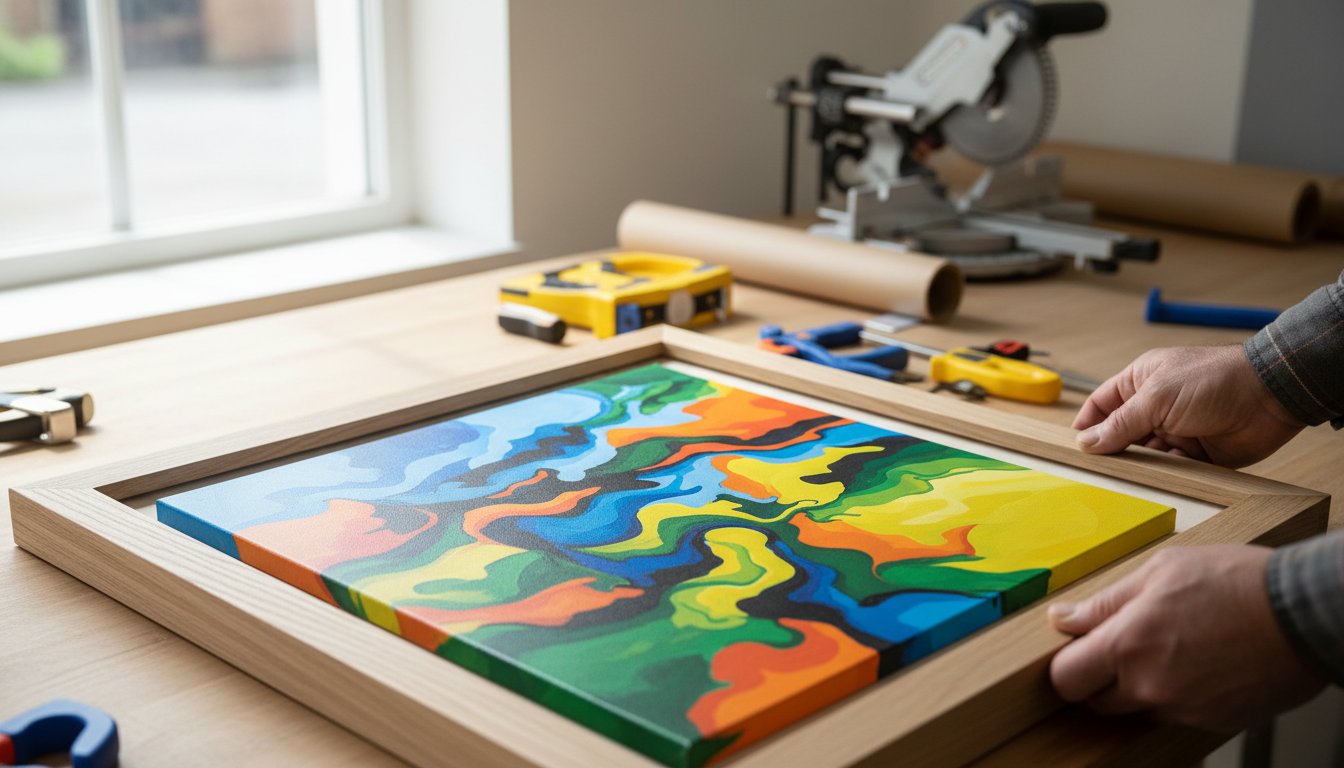
For Canvas Paintings and Stretched Art
A canvas painting brings texture and depth to a room, and its frame should honour that. To measure a stretched canvas, you’ll need two sets of dimensions:
- Face Dimensions: Using your tape measure, find the width and height of the canvas face. Measure from the outer edge to the outer edge. It’s wise to measure in a couple of places to check for any slight variations in the stretcher bars.
- Depth: Measure the thickness of the stretched canvas, from the front face to the back. This is the depth of the stretcher bar. This measurement is crucial for selecting a frame with a suitable rebate depth to hold the canvas securely, or for choosing a beautiful, bespoke floater frame that allows the canvas to sit proudly within it.
For Photographs, Posters, and Prints
When framing works on paper, the process is wonderfully straightforward. You simply need to measure the full paper size from edge to edge, both for width and height. Don’t measure just the printed image area, as the full paper dimensions are what determine the frame and mount size. Once you have these precise dimensions, you can start planning your display. For larger projects, this expert gallery wall guide offers some spectacular ideas on arranging multiple pieces. Getting this measurement right is the first step towards creating a professionally framed piece that looks spectacular on your wall.
For 3D Objects and Memorabilia
Framing three-dimensional items like sports shirts, medals, or family heirlooms creates a stunning and personal display. This requires a special type of frame, often called a shadow box, and three key measurements: width, height, and most importantly, depth. Measure the object at its widest, tallest, and deepest points to ensure the bespoke box frame has enough clearance. This allows your treasured item to sit comfortably without being compressed against the glazing, preserving it in a premium, gallery-worthy display for years to come.
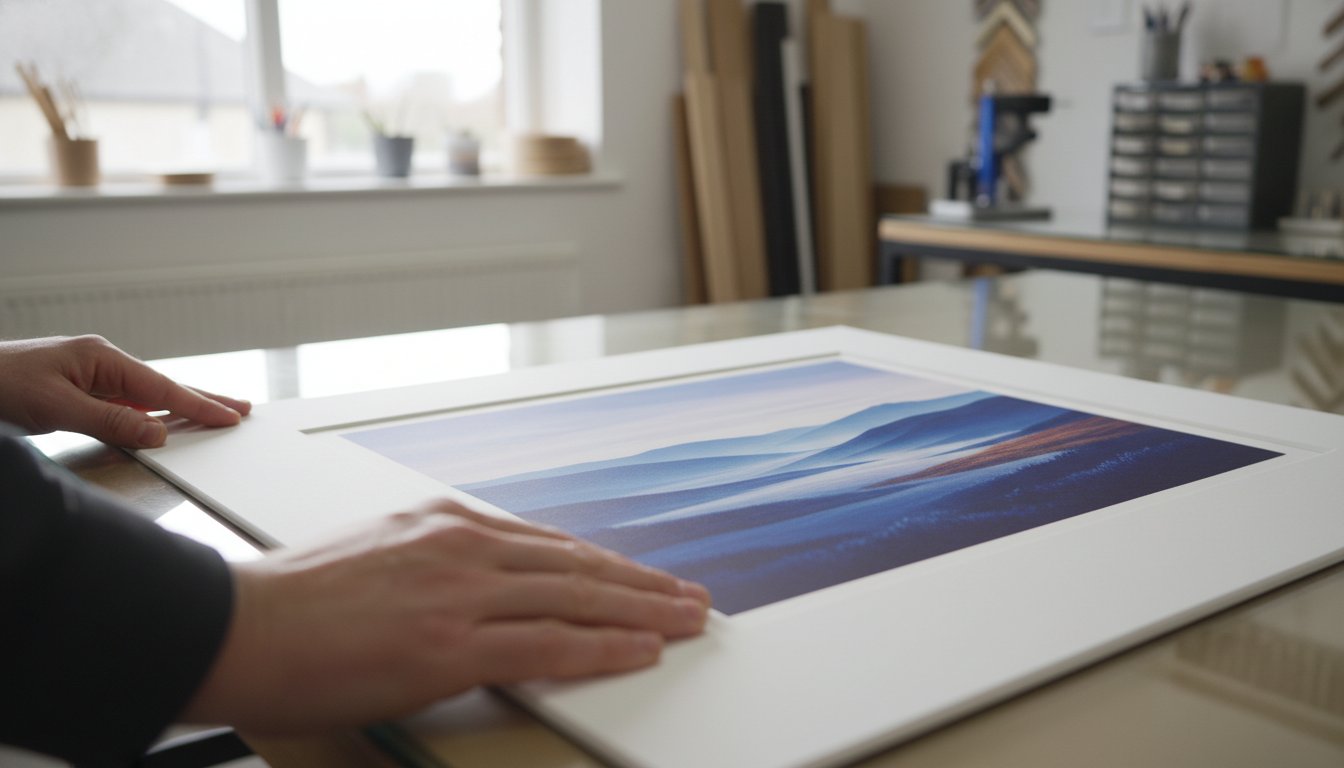
The Mount Factor: How to Measure for a Professional Look
A picture mount, sometimes called a mat or passe-partout, is the elegant border between your artwork and the frame. It’s a signature of bespoke framing that does more than just look beautiful; it serves a dual purpose of visual appeal and essential preservation. A professionally cut mount creates a vital air gap, preventing your precious artwork from touching the glass, which protects it from potential moisture damage. Visually, it provides ‘breathing room’, drawing the viewer’s eye inward to the piece itself.
Getting this step right is a critical part of learning how to measure for a picture frame, as this is where mistakes can easily be made. A common and well-balanced starting point for a border is 50mm, but the perfect width depends on your art and personal taste. For more guidance on aesthetics, explore our detailed guide on Choosing Mounts & Glass.
Calculating the Mount Aperture
The ‘aperture’ is the window of the mount through which your artwork is seen. To prevent the artwork from falling through, the aperture must be slightly smaller than the paper it’s printed on. This creates a small overlap, typically around 5mm on each side, to securely hold the picture in place behind the mount.
Our simple guideline for this is to subtract 10mm from your artwork’s height and width. For example, if you have a print that measures 200mm x 300mm, your ideal mount aperture would be 190mm x 290mm.
Calculating the External Mount Size
Once you have your aperture dimensions, you can calculate the final, external size of the mount. This is the measurement that will need to fit perfectly inside your chosen frame. The formula is straightforward:
Aperture Size + (2 x Border Width) = External Mount Size
Let’s continue our example. With a 50mm border and a 190mm wide aperture, the calculation is:
(190mm aperture width) + (2 x 50mm borders) = 290mm external mount width.
After doing the same for the height, this final external dimension becomes the ‘artwork size’ you will use when ordering your frame. This simple calculation is key to how to measure for a picture frame to achieve a truly professional finish.
From Measurements to Frame: Finalising Your Order
You’ve done the hard work and your measurements are ready. This final step is crucial for turning those numbers into the perfect bespoke frame. The most important thing to remember is this: the frame size you order is the internal size of the frame, designed to fit your artwork or mount perfectly. This is often called the ‘glazing size’, as it matches the dimensions of the glass or acrylic front.
This is the golden rule of how to measure for a picture frame and ensures a snug, professional fit every time.
- If you are not using a mount: The frame size you need to order is simply the exact height and width of your artwork.
- If you are using a mount: The frame size you need to order is the external dimension of the mount you calculated in the previous step.
Putting It All Together: A Worked Example
Let’s transform your calculations into a final frame size. Imagine you have a beautiful A4 print and want to give it breathing room with a classic mount.
- Artwork Size: A4 Print (210mm x 297mm)
- Desired Mount Border: A consistent 50mm on all sides.
- Calculation for Frame Size (External Mount Size):
- Width: 210mm (Art) + 50mm (Left) + 50mm (Right) = 310mm
- Height: 297mm (Art) + 50mm (Top) + 50mm (Bottom) = 397mm
In this scenario, the perfect frame size to order is 310mm x 397mm.
Considering the Frame Moulding Width
The final piece of the puzzle is the frame profile, or ‘moulding’, itself. Every frame has its own width, which adds to the overall dimensions of the piece on your wall. For example, if you choose a sleek, modern frame with a 20mm wide moulding, you need to account for this.
To find the final wall space required, simply use this formula:
Final Dimension = Frame Size + (2 x Moulding Width)
Using our example, a 20mm moulding would make the final piece 350mm x 437mm. Considering this now ensures your perfectly framed art will have the ideal spot in your home. With your final measurements in hand, you are ready to find the perfect frame. Explore our gallery of premium, bespoke frames to bring your vision to life.
Common Mistakes and When to Ask an Expert
You’ve carefully followed the steps, but a few common pitfalls can turn a perfect project into a frustrating experience. Knowing what to avoid is just as important as knowing how to measure for a picture frame correctly. Here are a few frequent missteps we see and our advice on when to call in a professional.
To ensure a flawless fit, be mindful of these common errors:
- Measuring the Old Frame’s Window: It’s tempting to measure the visible artwork area in an existing frame, but this is a mistake. You need the exact dimensions of the artwork itself, from edge to edge, as the frame’s inner recess is built to hold this size.
- Forgetting the Mount Overlap: A window mount isn’t cut to the exact size of your art. It must slightly overlap the artwork (typically by 3-5mm on each side) to hold it securely in place and prevent it from falling through. Ignoring this overlap will result in unsightly gaps.
- Mixing Up Units: A simple but costly error. Always double-check whether you are providing measurements in millimetres (mm) or inches (in). At First4Frames Gallery, we work in millimetres for ultimate precision, so ensure your figures are consistent.
For pieces that are particularly valuable, deeply sentimental, or unusually shaped-such as textiles, medals, or 3D objects-we always recommend seeking professional advice. The complexity of these items often requires specialised techniques that go beyond a simple measurement.
The First4Frames Gallery Promise: Perfect Fit Guaranteed
With over 20 years of experience handcrafting bespoke frames right here in Falkirk, we’ve seen it all. Our passionate team of experts is here to guide you, eliminating any guesswork and ensuring your measurements are spot-on. We work with your exact dimensions to create a premium, handcrafted frame that perfectly honours your art, guaranteed.
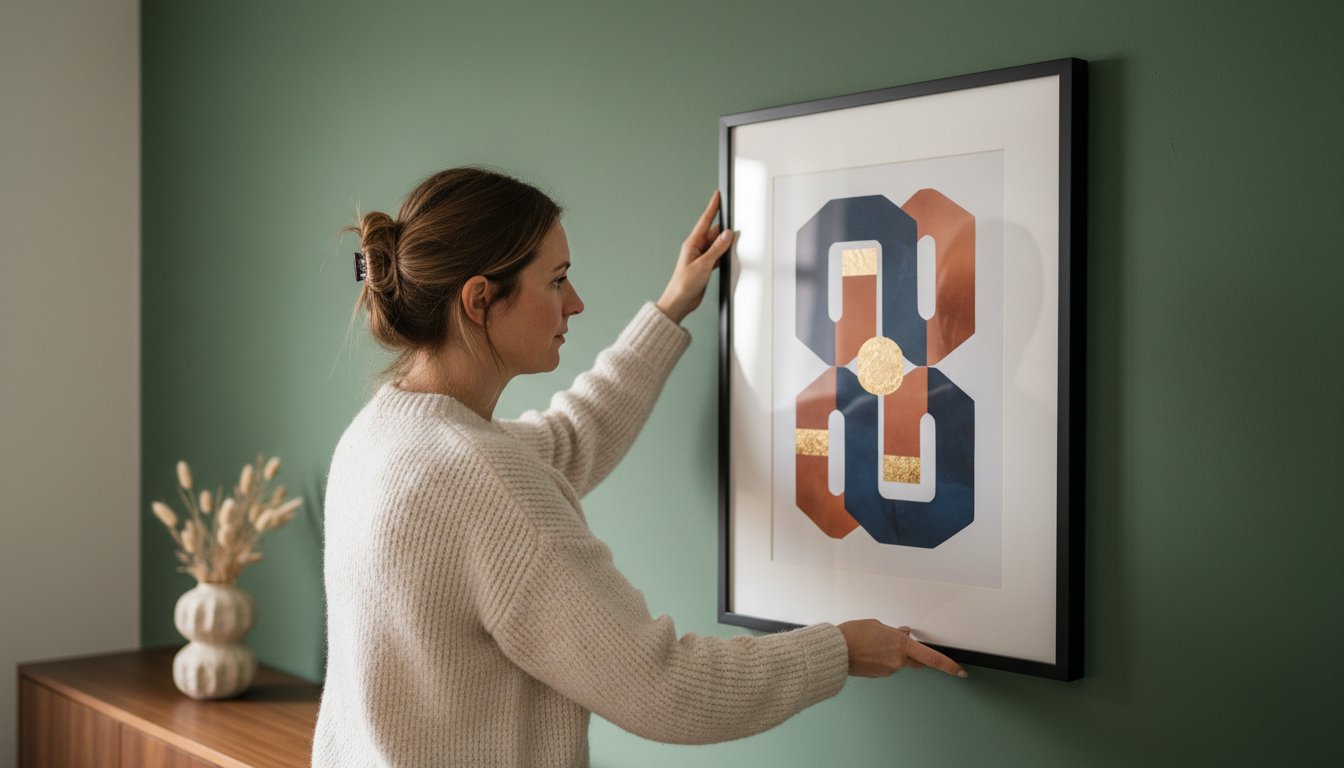
Ready to Get Started?
You’ve done the measuring; now let our craftsmanship do the rest. Your artwork deserves a frame that acts as the perfect bridge between it and your home décor. For a deeper dive into all your options, explore our Custom Picture Framing: The Ultimate Guide.
Ready to bring your vision to life? Upload your dimensions and explore our bespoke framing options today.
Bringing Your Vision to Life with the Perfect Frame
You’re now equipped with the essential knowledge for a flawless fit. Mastering how to measure for a picture frame is the crucial first step, and by remembering to measure your artwork first and carefully considering the mount, you’re well on your way to achieving a truly professional result. This precision is the bridge between your art and a spectacular display.
When you want to guarantee perfection, our expertise is at your service. Based in Falkirk, Scotland, the First 4 Frames team brings over 20 years of passion and craftsmanship to every project. We offer a hassle-free, bespoke framing service to the entire UK, ensuring your artwork is given the beautiful, high-quality presentation it deserves.
Ready to transform your art into a masterpiece? Start your bespoke framing project with our experts. We look forward to helping you create something truly special for your walls.
Perfecting Your Fit: Your Picture Framing Questions Answered
Should I measure in inches or centimetres/millimetres?
In the UK, while inches are common for standard-size frames, we recommend using millimetres (mm) for the greatest accuracy. At First 4 Frames, our bespoke craftsmanship relies on precision, and millimetres eliminate conversion errors. When you measure, choose one unit and use it consistently. For the most professional, perfect fit, especially with custom mounts and frames, millimetres are the preferred choice of expert framers and will ensure a spectacular result for your artwork.
What size frame do I need for an A4 or A3 print?
This depends on whether you wish to include a mount. For an A4 print (210 x 297mm) without a mount, an A4 frame is the perfect fit. To create a more premium, gallery-style display, place your A4 print in a larger A3 frame (297 x 420mm) with a mount. The mount provides a beautiful visual border, drawing the eye directly to the artwork and elevating its presence on your wall.
How much smaller should the mount opening (aperture) be than the artwork?
The mount opening, or aperture, should always be slightly smaller than your artwork to secure it neatly. We recommend an overlap of 5mm on each side, meaning the aperture should be 10mm smaller than your artwork’s height and width. For an A4 print (210 x 297mm), the ideal aperture would be 200 x 287mm. This ensures the paper’s edges are hidden and the art is held securely in place.
Do I measure the image itself or the entire piece of paper?
Always measure the full dimensions of the paper your artwork is on, not just the printed image area. Frame and mount sizes are determined by the overall paper size they need to contain. This is a critical step in understanding how to measure for a picture frame correctly. Measuring the entire sheet ensures that any white borders are properly accounted for and your artwork fits flawlessly within the mount and frame.
How do I measure for a frame if my picture is not a standard size?
For any non-standard or uniquely sized piece, our bespoke framing service is the perfect solution. Simply use a tape measure to find the exact height and width of your artwork in millimetres. Once you have these precise dimensions, you can order a custom frame and mount crafted to your exact specifications. This ensures that even the most unusually shaped art receives the beautiful, professional presentation it deserves.
Can I measure my old frame to find the size for a new one?
Yes, but you must measure correctly. To find the right size, turn the old frame over and measure the inside opening at the back-from one inside edge to the opposite inside edge. This measurement is the ‘glazing size’ and indicates the size of the artwork it holds. Do not measure the front or the exterior dimensions, as the width of the frame moulding will give you an incorrect size for your new frame.
How thick can the artwork be to fit in a standard frame?
Our standard frames are designed to comfortably house artwork on paper or card, a mount, and a backing board, accommodating a total depth of around 3-4mm. For thicker pieces, such as canvas boards, textiles, or 3D memorabilia, a deeper frame profile is required. These are often called ‘box frames’ or ‘canvas frames’. If your art is thicker than standard paper, please contact us for bespoke advice to ensure a perfect and secure fit.