What if that “budget-friendly” frame you just bought is actually a ticking time bomb for your favorite artwork? It’s tempting to think you’re saving money by choosing a quick DIY solution, but the professional framing vs diy cost debate isn’t just about the initial price tag. We know the feeling of finding a print you love, only to have it sit in a drawer because you’re worried about damaging it or can’t find a frame that fits. You want your home to have a gallery-standard finish, yet the confusion over glass types and mounting materials often stops the creative process in its tracks.
At First4Frames Gallery, we’ve spent years perfecting the art of bespoke craftsmanship because we believe every piece of art deserves a permanent, protected home. In this guide, you’ll discover the true cost comparison between DIY kits and professional services, highlighting why the 2mm float glass we use offers a clarity that cheap perspex simply can’t match. You’ll learn how to avoid the hidden risks of material degradation and see why investing in hand-made, custom frames is the only way to ensure your memories stay vibrant for decades. We’ll show you how our dedicated team balances cost with the uncompromising quality your art deserves, proving why bespoke is still the smartest investment in 2026.
Key Takeaways
- Identify the hidden “mistake tax” that can instantly turn a budget DIY project into a costly replacement when materials are damaged.
- Compare the visual fidelity of our 2mm float glass against standard Perspex to see how professional glazing affects your art’s long-term vibrancy.
- Use our value threshold guide to analyze the professional framing vs diy cost and decide which pieces deserve bespoke craftsmanship.
- Learn why hand-made timber frames provide essential structural integrity for oversized prints that standard plastic frames simply cannot support.
- Understand our professional logistics process that guarantees your custom order arrives safely and in perfect condition via reliable couriers.
The Hidden Costs of DIY Framing: Is It Actually Cheaper?
Choosing to frame your own artwork usually means one of two things: buying a pre-made kit from a big-box retailer or attempting to assemble a picture frame using basic household tools. At first glance, the professional framing vs diy cost seems to favor the home-made approach. It’s easy to be seduced by the low price of a standard plastic frame, but these initial savings often mask a series of hidden expenses that we see customers struggle with every day. When you’re working with delicate prints or sentimental photographs, the true cost isn’t just the materials; it’s the risk to the art itself.
We often talk about the “Mistake Tax” in our workshop. This is the unavoidable cost that occurs when a DIY project goes wrong. It only takes one slip of a utility knife on a mount board or a single scratch on a static-heavy piece of perspex to ruin your materials. Unlike the 2mm float glass we use for its superior clarity and scratch resistance, the cheap materials found in DIY kits are unforgiving. If you have to buy your supplies twice because of a simple error, your “cheap” project has suddenly become more expensive than a bespoke, hand-made frame from a professional team.
To better understand the value behind these costs, watch this helpful video:
Beyond the materials, there is the significant factor of your own time. Measuring, cutting, and assembling a frame to a gallery standard can take hours of focused labor. When you calculate the professional framing vs diy cost, you must account for the value of your own afternoon. Our craftsmen have spent years refining their techniques, allowing us to provide a level of precision and structural integrity that is nearly impossible to replicate on a kitchen table. We handle the frustration so you can simply enjoy the finished result.
The Tool Barrier for Home Framers
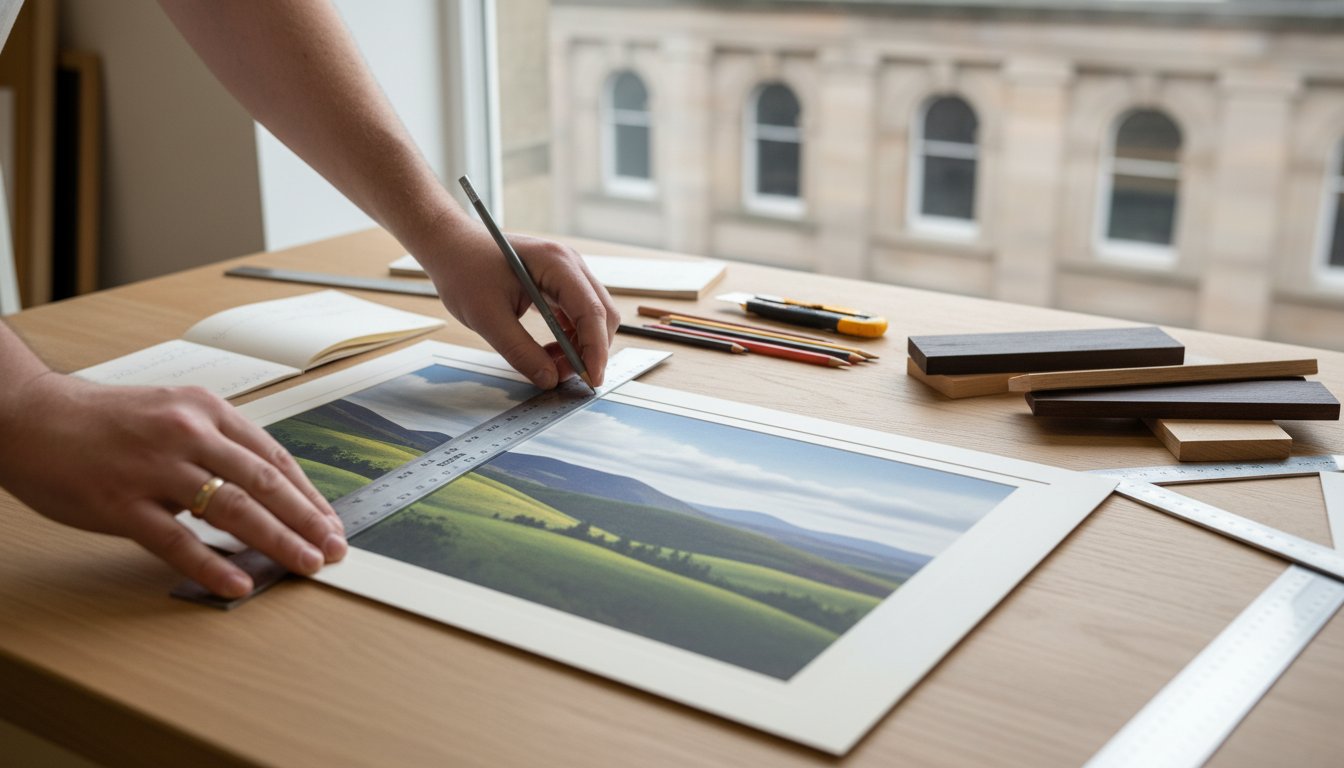
To achieve a professional finish, you need more than just a hammer and some glue. True bespoke framing requires an investment in specialized equipment like professional-grade mat cutters and joining vices. Without these, you’ll often find visible gaps in the corners of your frame or uneven borders on your mount. We’ve invested in the highest-quality machinery to ensure every corner is seamless and every cut is perfect. If you’re looking for a specific solution and don’t want to invest hundreds in tools, we’re always happy to give advice on the best path forward for your artwork.
Professional Framing vs DIY: A Quality and Material Comparison
When you evaluate the professional framing vs diy cost, the physical components of the frame tell the most compelling story. A budget-friendly DIY kit might look acceptable on a shelf, but the materials often compromise the very art they’re meant to showcase. We’ve seen how standard, mass-produced frames can fail over time, leading to bowed edges or damaged prints that lose their value. We believe that a frame should be a guardian for your artwork, not just a temporary holder.
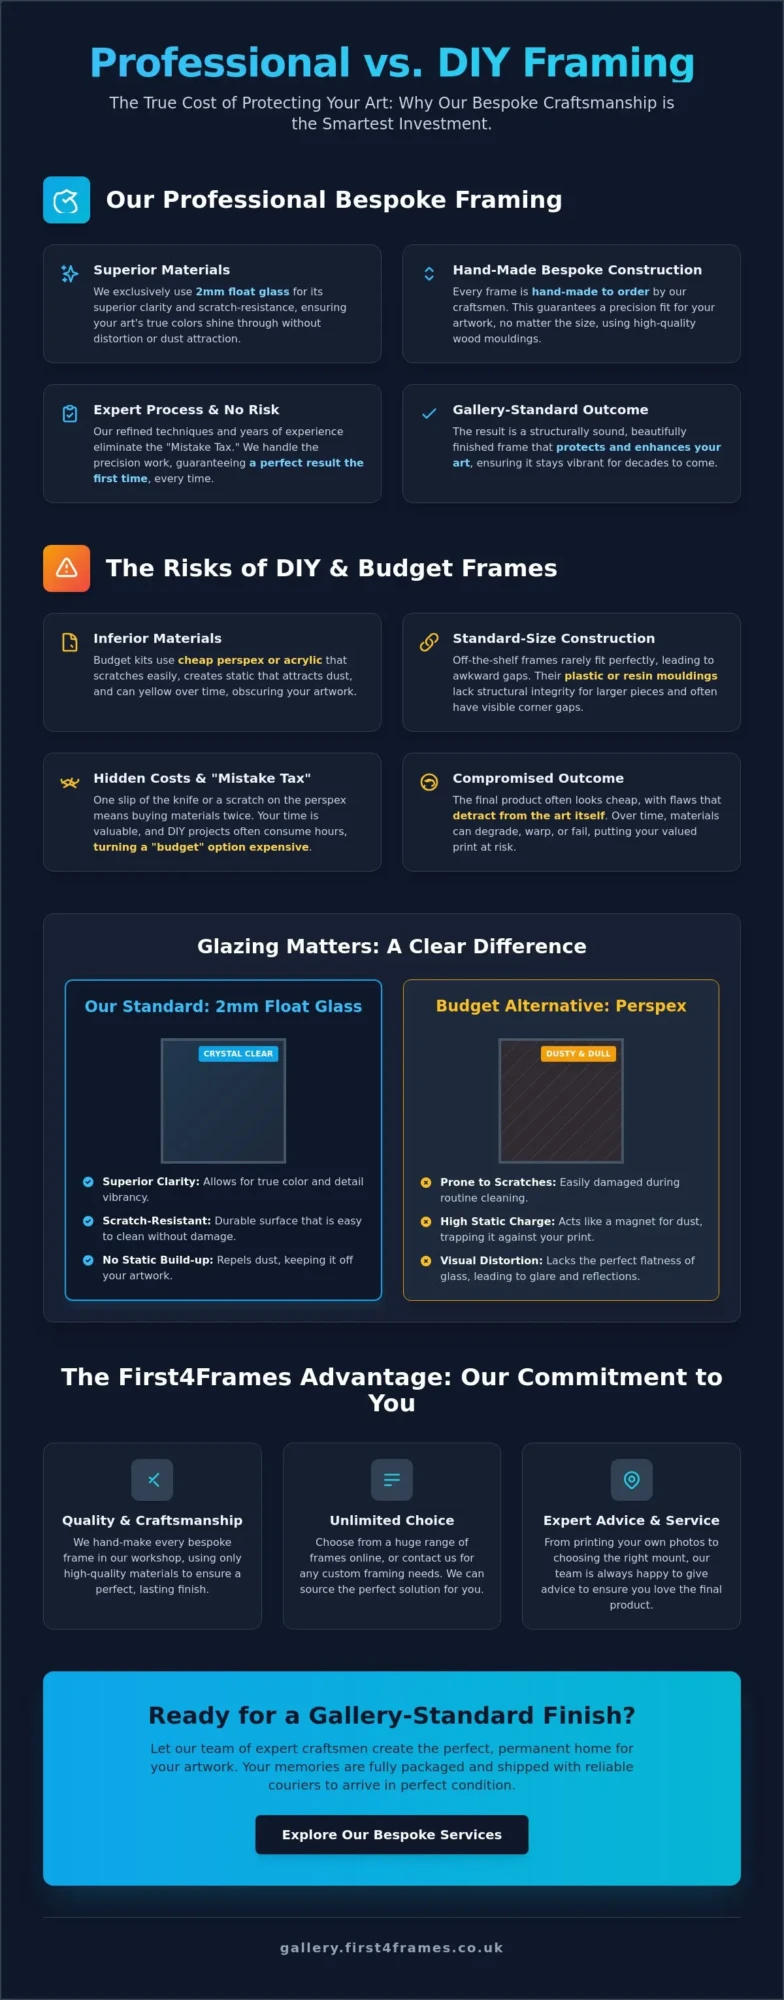
Why 2mm Float Glass Beats Perspex
Most DIY kits and budget online sellers use Perspex or acrylic glazing to keep costs down. While it’s light and cheap to ship, it creates a static charge that acts like a magnet for household dust, often trapping it against your print. It also scratches easily during routine cleaning, which permanently obscures your view of the art. We use 2mm float glass in every bespoke frame we create. This professional standard offers superior clarity and a scratch-resistant surface that maintains its fidelity for years, allowing the true colors of your print to shine through.
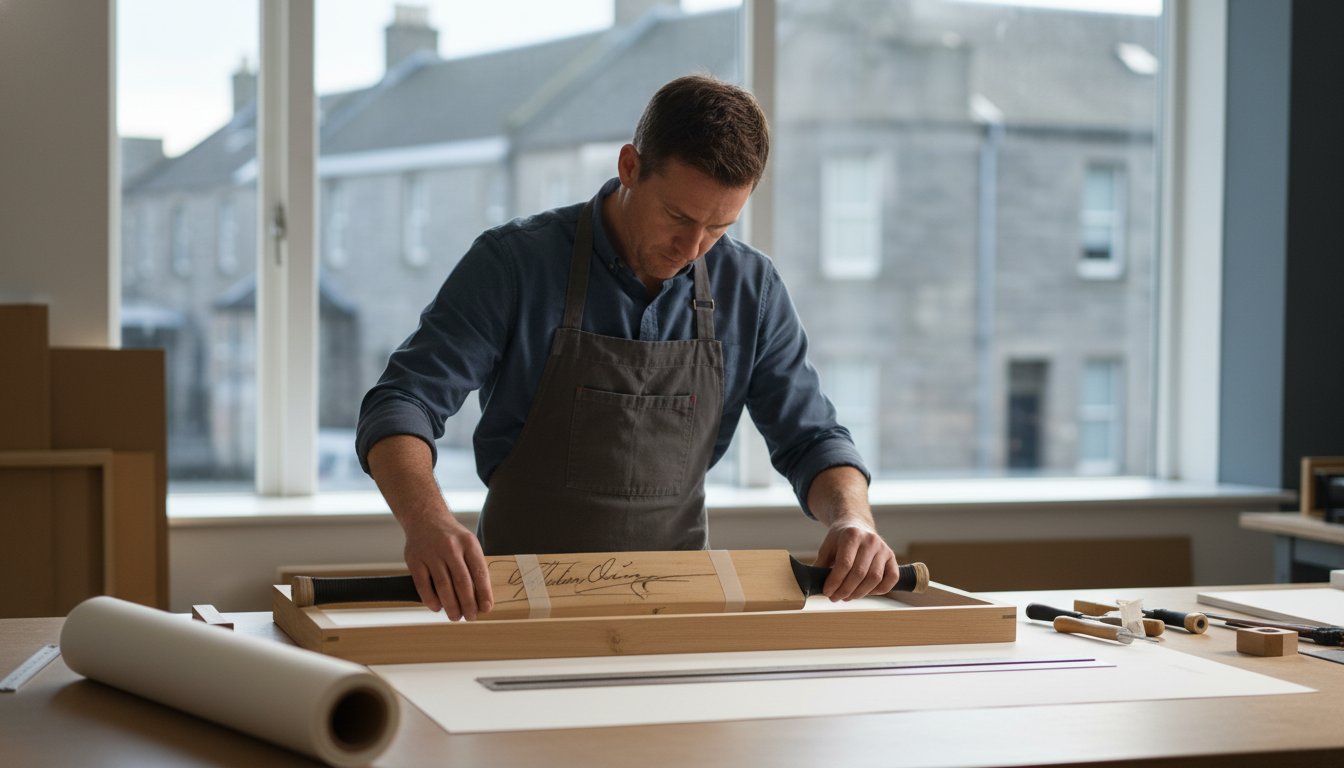
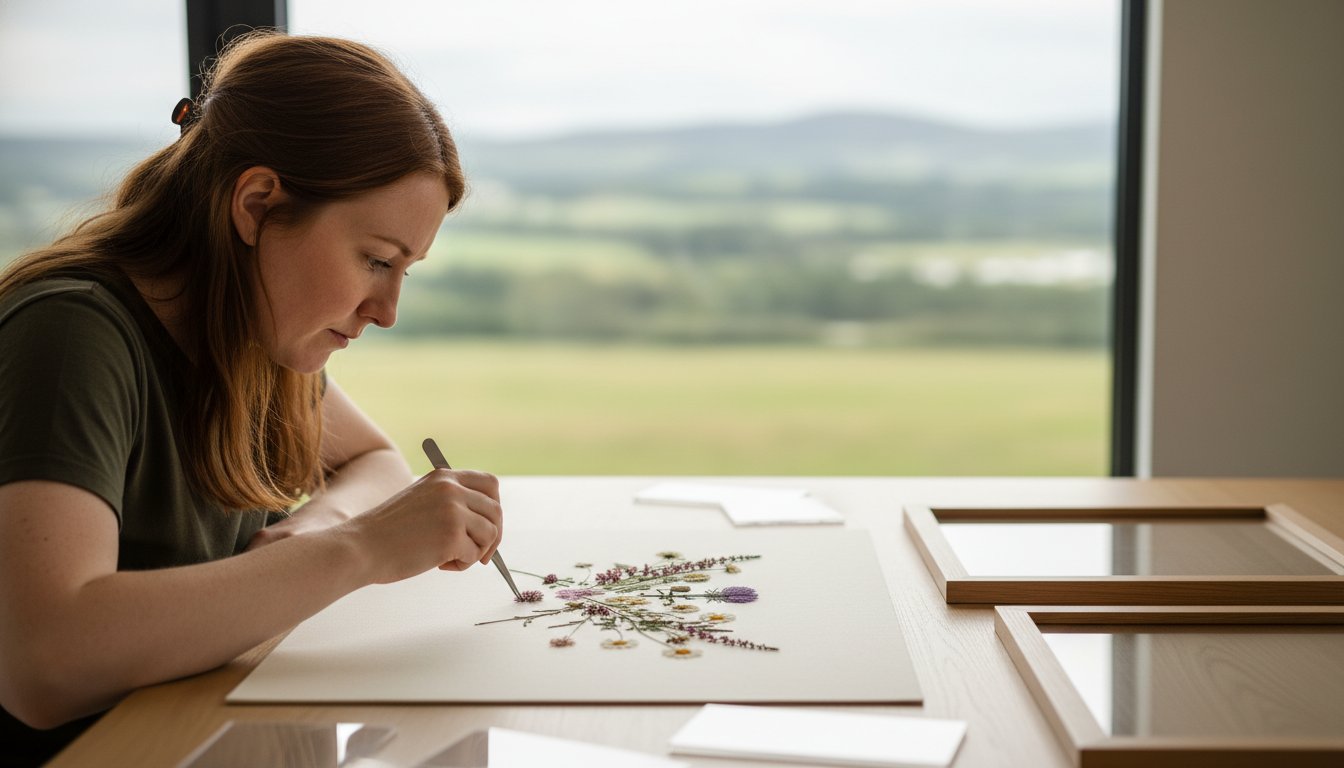
The Craft of Hand-Made Bespoke Frames
Every order at First4Frames Gallery is individually hand-made by our team of craftsmen in our workshop. Unlike plastic or resin frames that rely on standard sizes, our bespoke approach ensures a precision fit for your specific print, no matter how unusual the dimensions. We use high-quality wood mouldings that provide the structural integrity needed for larger works, preventing the sagging and corner gaps often seen in cheaper alternatives.
Professional framing also provides a critical barrier against environmental damage. By using archival mounting techniques, we help prevent “foxing,” those small brown spots caused by acid in cheap paper and trapped moisture. Our goal is to ensure your art is preserved for decades, not just a few seasons. If you’re ready to see the impact of high-quality craftsmanship, feel free to browse our collection of framed art or contact us for personalized advice. We’re always happy to help you find the perfect match for your creative vision.
Calculating Your Framing Budget: When to DIY and When to Call the Experts
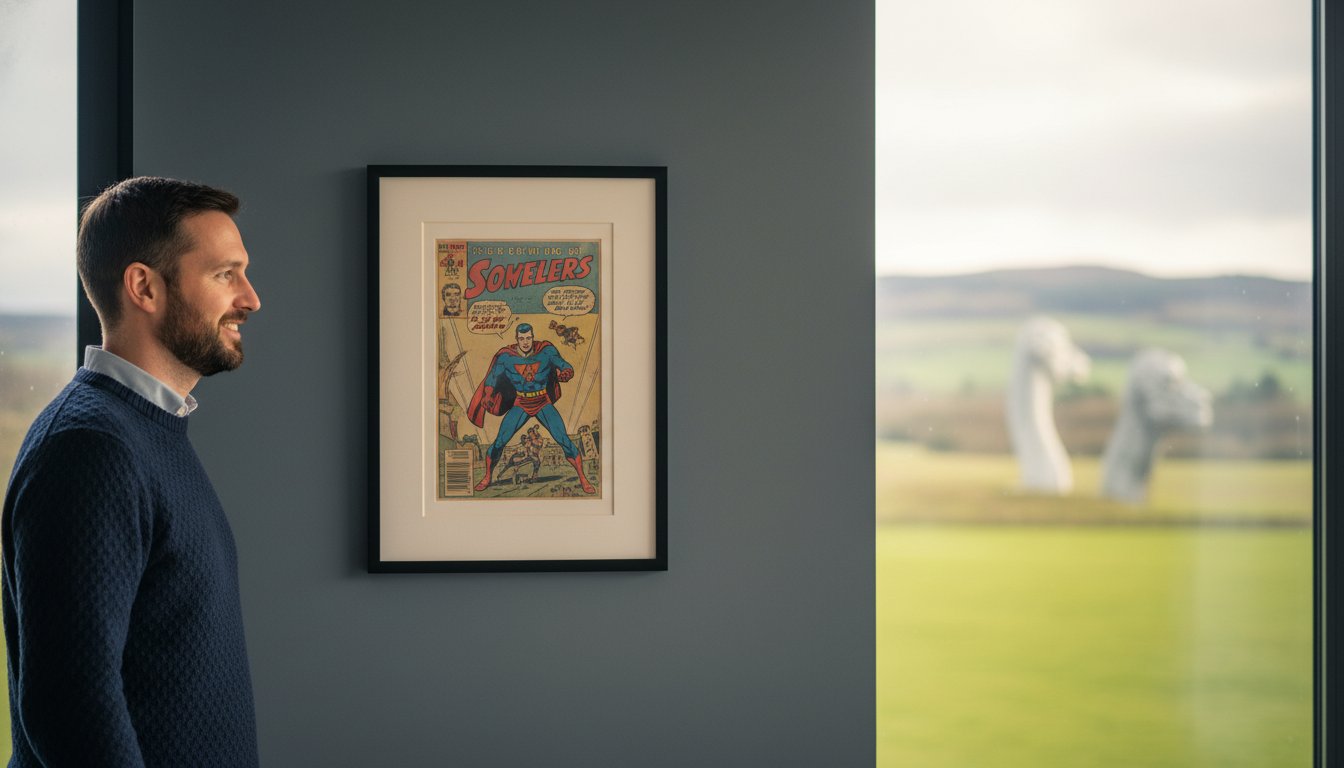
Deciding between professional framing vs diy cost often comes down to the value of the piece itself. We suggest a simple rule of thumb: if your artwork, print, or photograph cost more than £50, it deserves the security of bespoke protection. Shop-bought frames typically use acidic backings that cause paper to yellow and become brittle over time. By choosing our hand-made service, you’re investing in acid-free materials and 2mm float glass that actively preserve your art’s longevity and vibrancy.
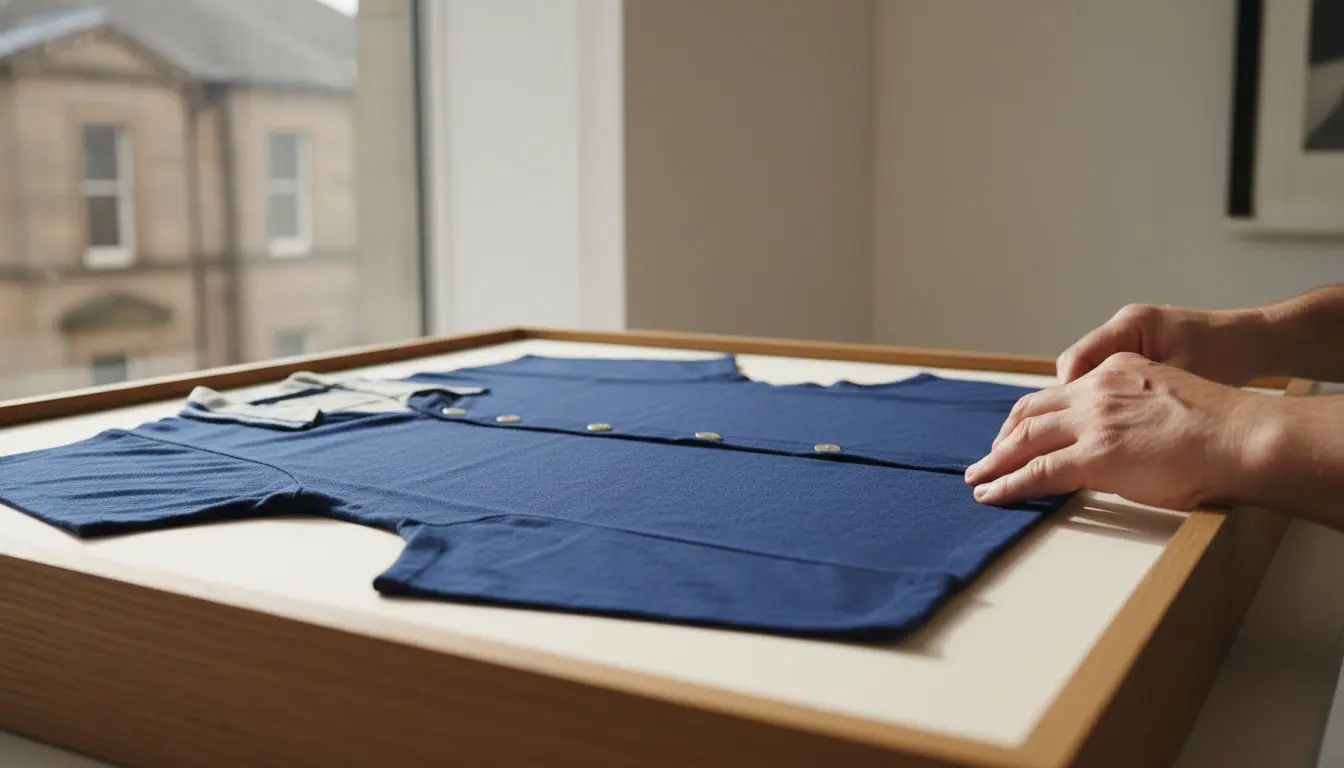
Size and depth present their own sets of hurdles that home kits rarely solve. Oversized landscape prints or heavy canvases require the structural integrity of timber frames joined with professional precision. DIY kits often bow or warp under the weight of larger dimensions, risking a fall from the wall. Similarly, if you’re looking to display memorabilia like sports shirts or medals, a shadow box is required. These 3D displays are complex to build at home. We specialize in these custom framing options, ensuring your treasures are mounted securely and look stunning from every angle.
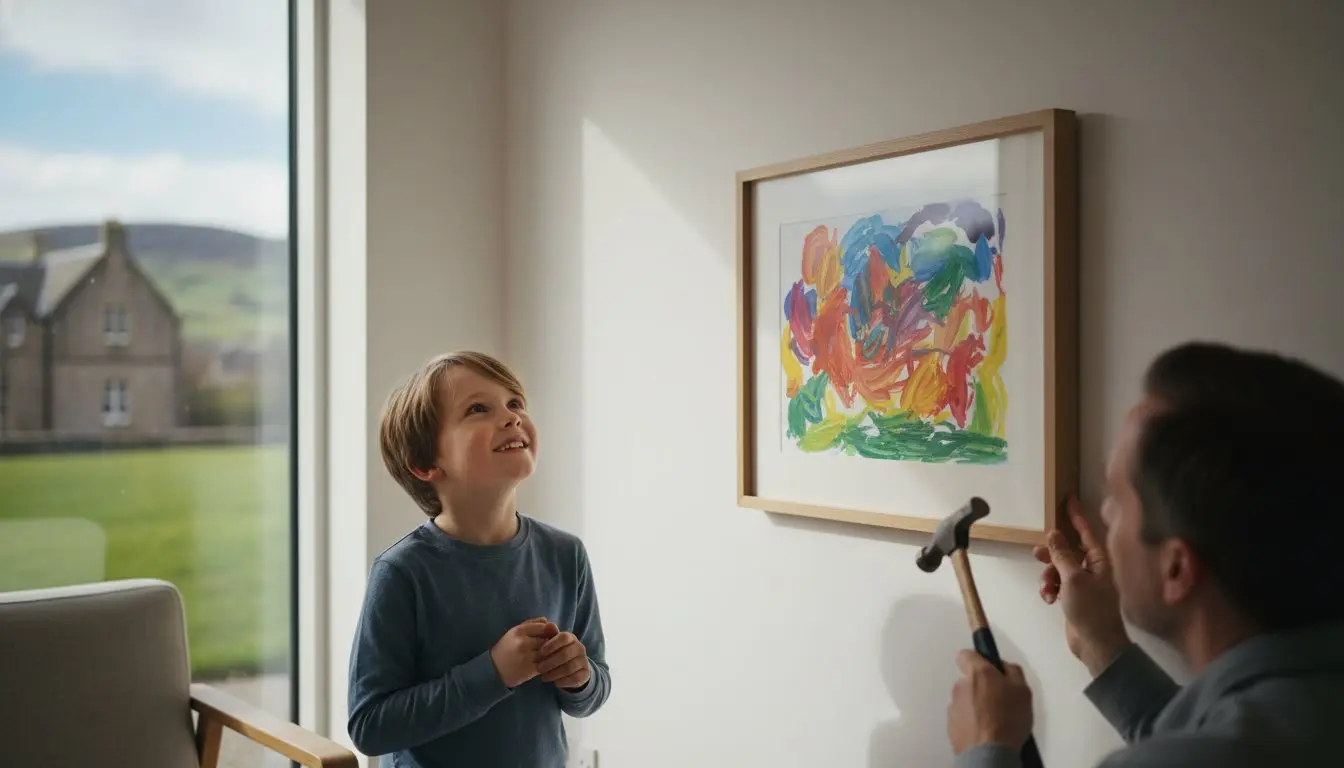
Our team takes great pride in the “Ready-to-Hang” factor. When you order from us, you don’t receive a box of parts and a confusing instruction manual. You receive a finished piece of craftsmanship. Every order is fully packaged to prevent damage and shipped using reliable couriers. This ensures your frame arrives in perfect condition, ready to transform your wall immediately. We handle the technical logistics so you don’t have to worry about the professional framing vs diy cost of ruined materials.
Choosing the Right Frame Style for Your Space
Selecting the perfect moulding is about more than just matching a color. It’s about finding a style that bridges the gap between the artwork and your home decor. We’re always happy to give advice to ensure the final result feels like a cohesive part of your environment. For more inspiration on textures and finishes, explore our guide on custom framing styles.
Ready to give your art the professional finish it deserves? Explore our Ready-to-Hang Framed Art collection today and find the perfect match for your home.
The First4Frames Gallery Advantage: Bespoke Quality Delivered to Your Door
We believe that the final decision regarding professional framing vs diy cost shouldn’t be a compromise on quality. Our service is designed to remove the stress of assembly and the risk of damage, providing a comprehensive solution for your home or business. While DIY kits often leave you with a box of parts and a list of worries, First4Frames Gallery delivers a hand-made, bespoke product that is ready to hang the moment it arrives.
Our commitment to material superiority is evident in every piece we produce. We exclusively use 2mm float glass for its clarity and durability, ensuring your art looks exactly as the creator intended. This is a significant step up from the thin, static-prone perspex used by many other online galleries. When combined with our premium wood mouldings, the result is a frame that feels substantial and looks professional. We also offer a specialized service to print and frame your own digital photographs, bringing gallery-standard quality to your personal memories.
The journey of your frame doesn’t end when the last nail is driven. We take extraordinary care with our professional logistics. Every order is fully packaged in protective materials to prevent any transit damage. We ship using only reliable couriers, ensuring that your investment arrives in perfect condition. This level of care is often missing from the DIY experience, where the responsibility for safe handling and assembly falls entirely on you. By choosing First4Frames Gallery, you’re choosing a partner that values your art as much as you do.
From Our Falkirk Workshop to Your Wall
There’s a distinct personal touch that comes from a dedicated team of craftsmen. In our Falkirk workshop, we treat every order with the same passion and attention to detail as if it were for our own homes. We offer a large range of frames online, but our capacity for customization is nearly limitless. If you have a unique project or need specific guidance on the professional framing vs diy cost for a complex piece, please contact us for bespoke advice. We’re always happy to share our industry experience to help you find the best possible framing solution.
Invest in the Longevity of Your Artwork
Choosing how to display your art is a significant decision for any collector. While the initial professional framing vs diy cost might seem lopsided, the long-term value of bespoke craftsmanship is clear. We’ve seen how the “mistake tax” and the degradation of cheap materials like perspex can quickly turn a budget project into a costly regret. By choosing our hand-made, bespoke frames, you’re investing in 2mm float glass and high-quality timber that protects your art for decades. It’s about more than just a frame; it’s about preserving the fidelity of your most cherished pieces.
Our team handles every order with the care of a dedicated artisan, from the first cut in our workshop to the final packaging. We ensure your finished piece is delivered safely via reliable couriers, ready to transform your space immediately. Whether you’re framing a personal photograph or a fine art print, we’re here to provide the expert advice and professional logistics you need. Browse our gallery of ready-to-hang framed art today to find the perfect finish for your walls. We look forward to helping you bring your creative vision to life with the quality it deserves.
Frequently Asked Questions
Is it cheaper to buy a frame or have it custom made?
Buying a ready-made frame is usually cheaper upfront, but custom-made frames offer significantly better long-term value and protection. When you evaluate the professional framing vs diy cost, you’ve got to consider that bespoke options use archival materials that prevent your art from yellowing or warping. Our hand-made frames are built to the exact millimetre, ensuring your artwork is secure and perfectly presented without the risks of “making it fit” a standard size.
What are the risks of using cheap Perspex instead of professional glass?
Cheap Perspex is a magnet for household dust due to static electricity and it scratches very easily during routine cleaning. These scratches permanently obscure your art and can’t be polished out. We use 2mm float glass as our standard because it provides superior clarity and a much tougher surface. This ensures your art remains vibrant and visible for decades without the hazy, dull finish often seen with plastic glazing.
How much does professional framing typically cost in the UK?
The cost of professional framing in the UK varies based on the size of the artwork, the complexity of the mounting, and the specific wood mouldings you choose. While the initial professional framing vs diy cost is higher, it includes the expertise of a dedicated team and the use of premium, preservation-grade materials. We focus on providing a transparent value proposition where the quality of the craftsmanship justifies the investment in protecting your valuable art.
Can I frame my own digital photos to a professional standard?
How does First4Frames ensure my framed art arrives without breaking?
We use a meticulous, multi-layered packaging process specifically designed to protect glass and timber during transit. Every bespoke frame is fully wrapped and cushioned to prevent shifting or impact damage within the box. We then ship your order using reliable, professional couriers who specialize in handling fragile items. This careful approach to logistics ensures your hand-made frame arrives in perfect condition, ready to be displayed on your wall immediately.